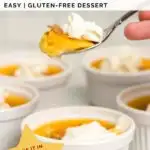
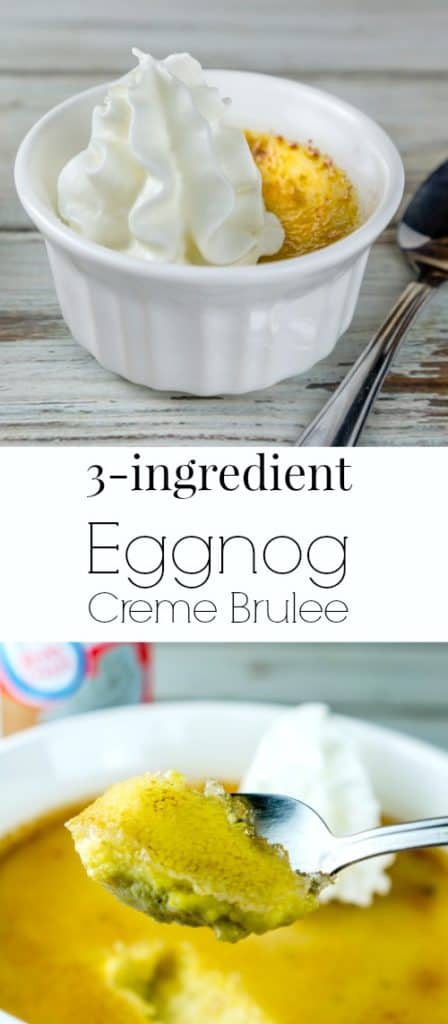

Eggnog Creme Brulee is the perfect dessert for the holiday season! This 3-ingredient creme brulee recipe is super easy and delicious. Instructions are included for making this eggnog creme brulee in individual ramekins or in a family-style dish that is perfect for potlucks.
This eggnog dessert is gluten-free and surprisingly easy to make! It travels well and is made the day before to save you time (and oven space) the day of the holiday!

This Eggnog Creme Brulee recipe wass sponsored by Collective Bias, Inc. and Reddi-wip®. I am super excited to share it with you!
With the holiday season coming up, I've been thinking of different ways to use everyone's favorite holiday drink: eggnog.
The most obvious way would be to just drink it, endlessly. But I decided to be a bit more reasonably and creative, and I think I've come up with what might just be the greatest idea ever:
Eggnog crème brulee
Crème brulee is one of those desserts that sounds fancy and gourmet but it is actually SO easy to make! Especially when you start with a special shortcut ingredient: eggnog.
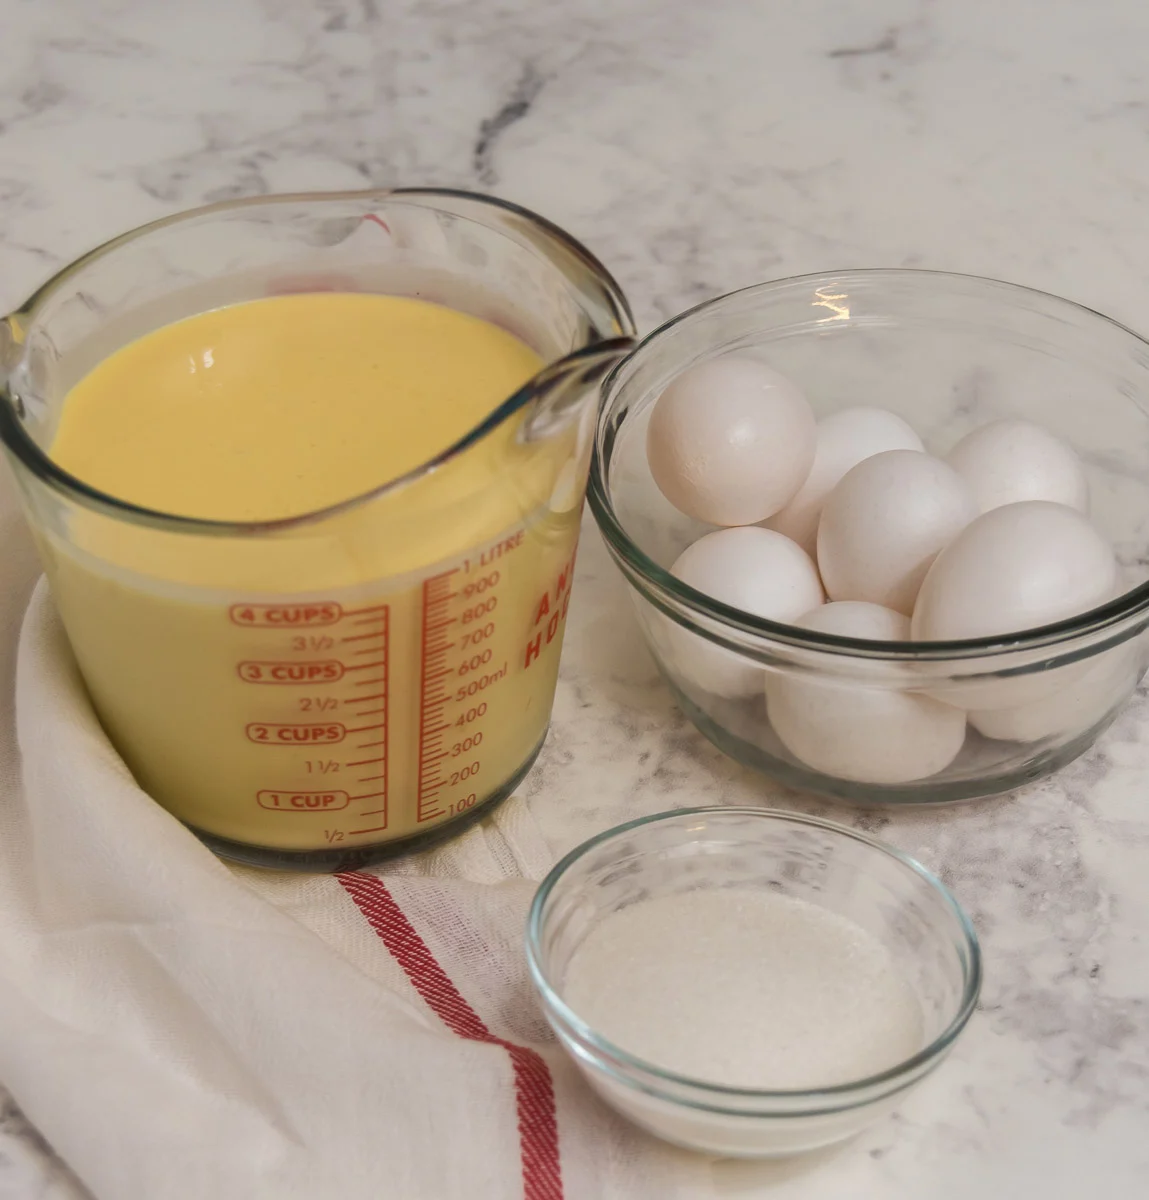
Eggnog is already sweetened, so ALL you need to bake a delicious custardy crème brulee is eggnog and egg yolks. Save those egg whites for a healthy breakfast the day after Christmas, but go ahead and indulge on Christmas day!)

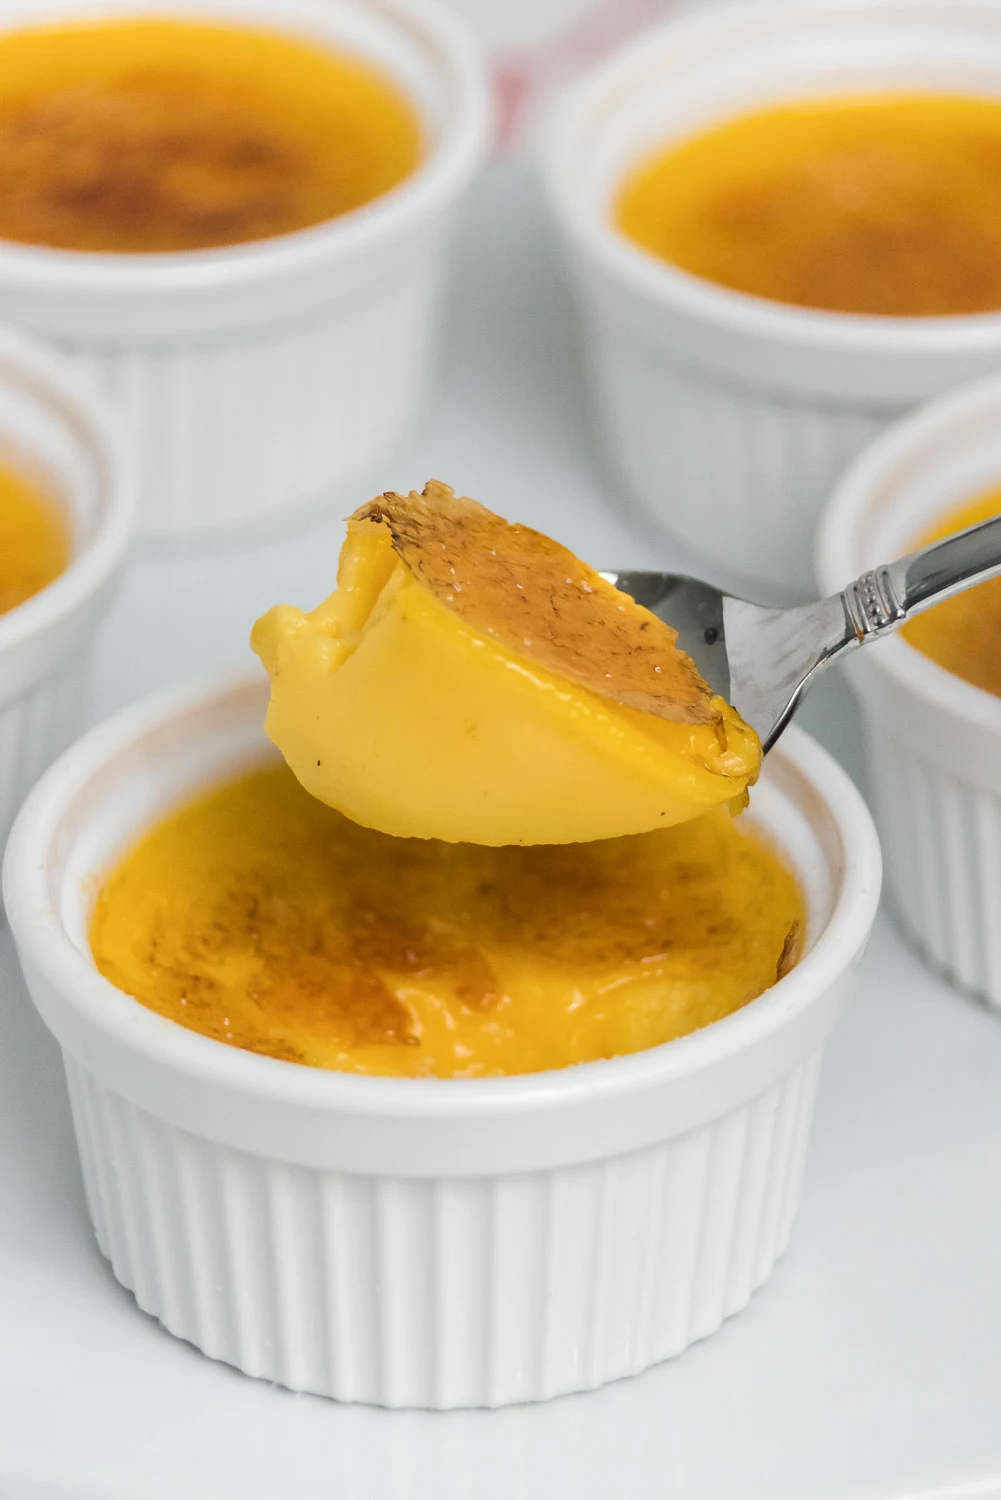
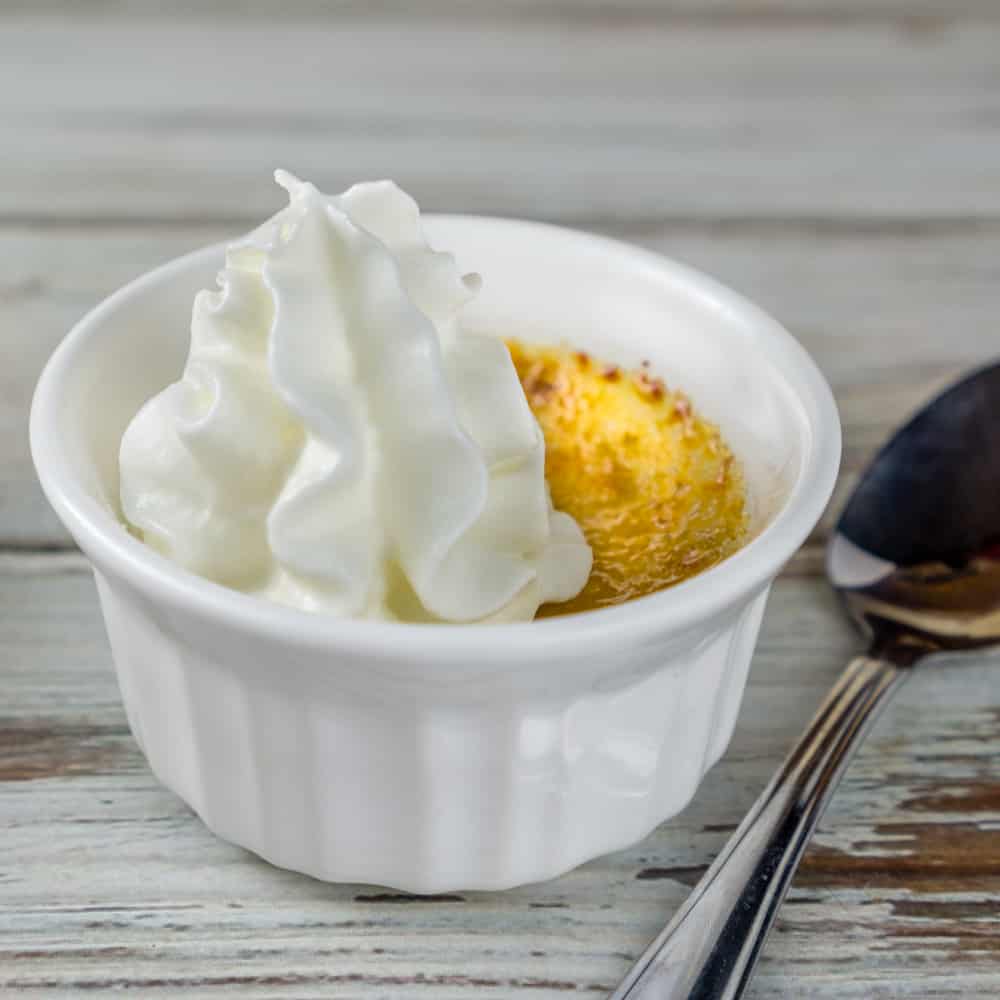
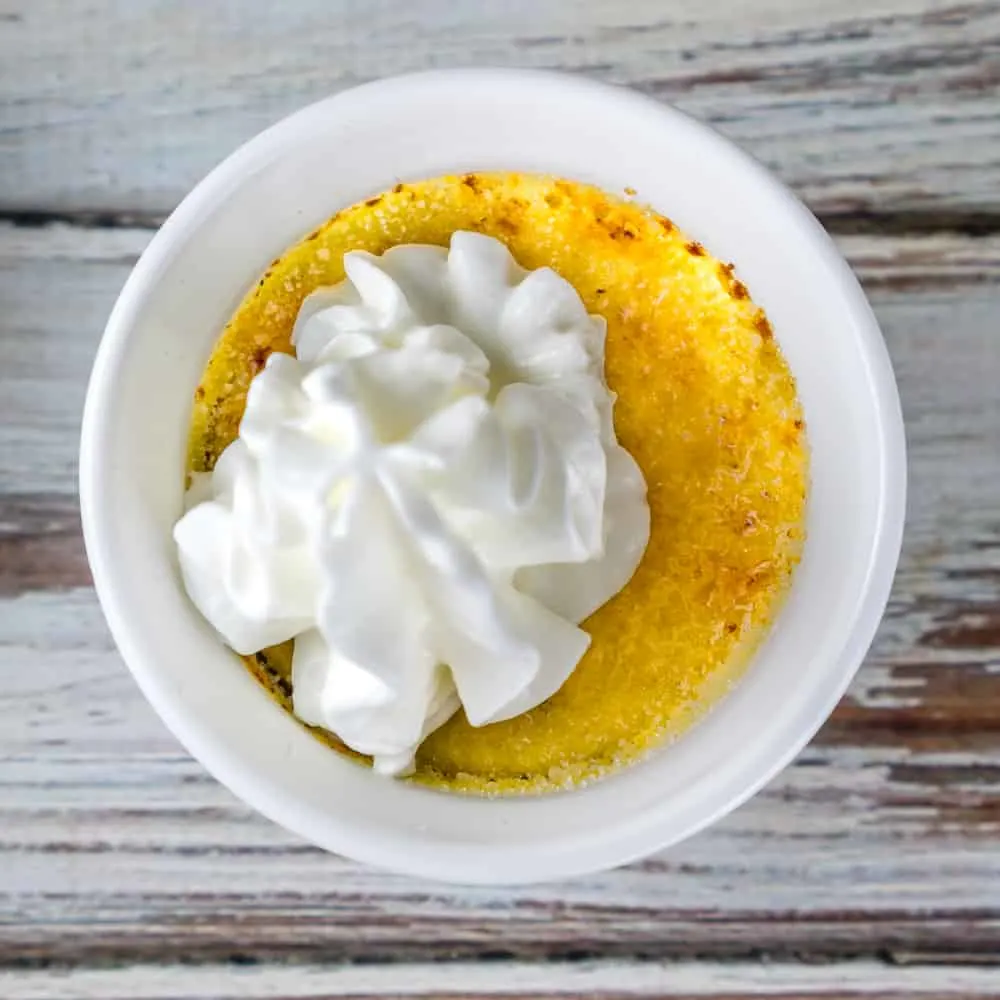
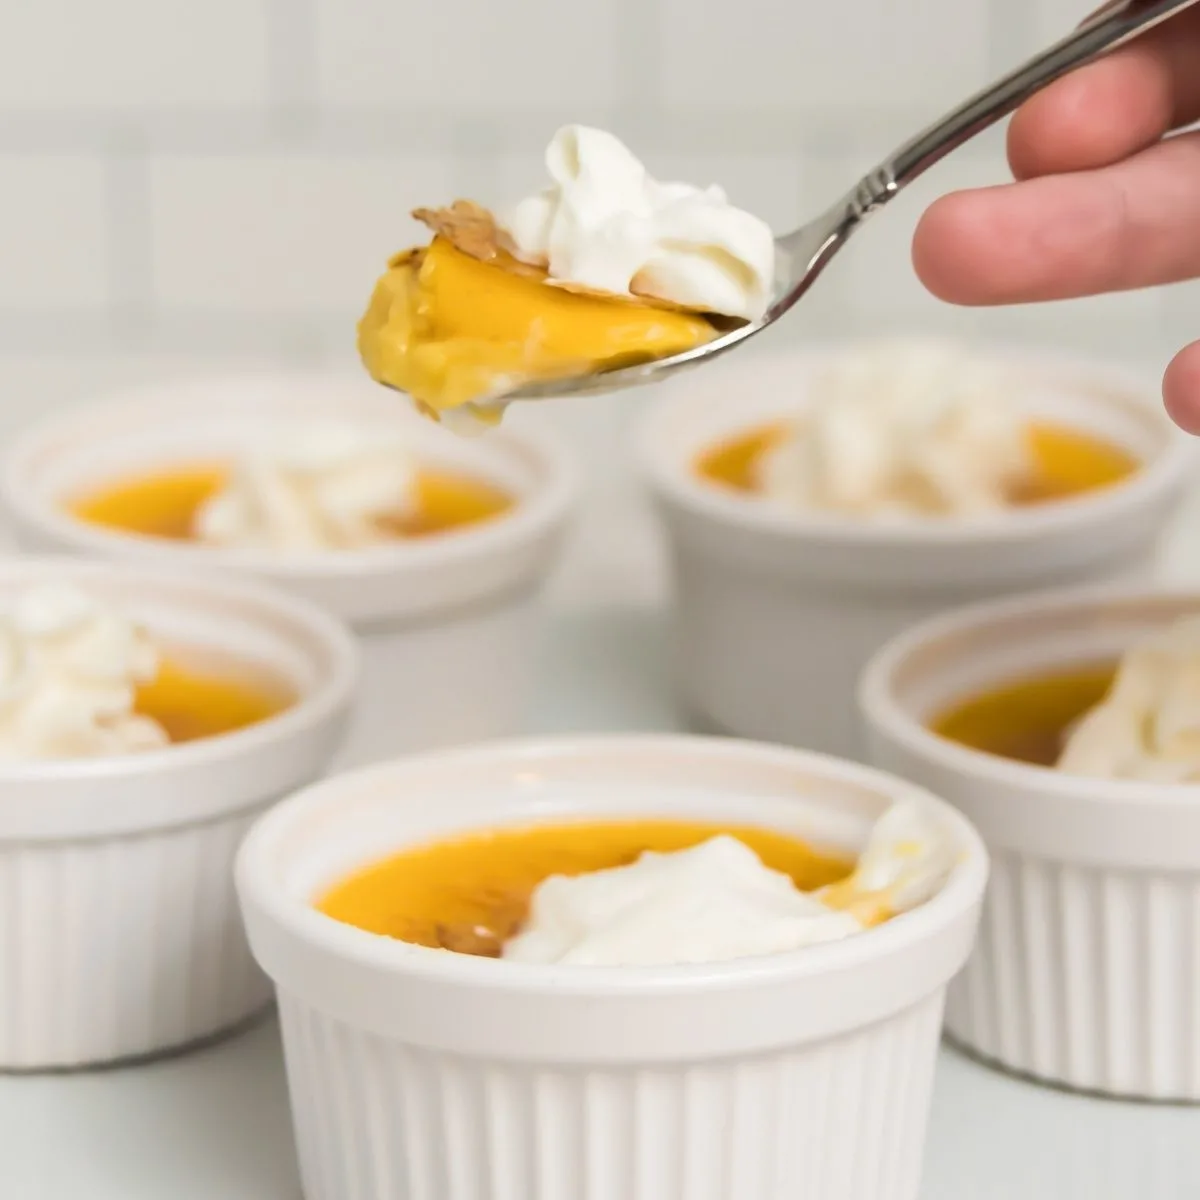
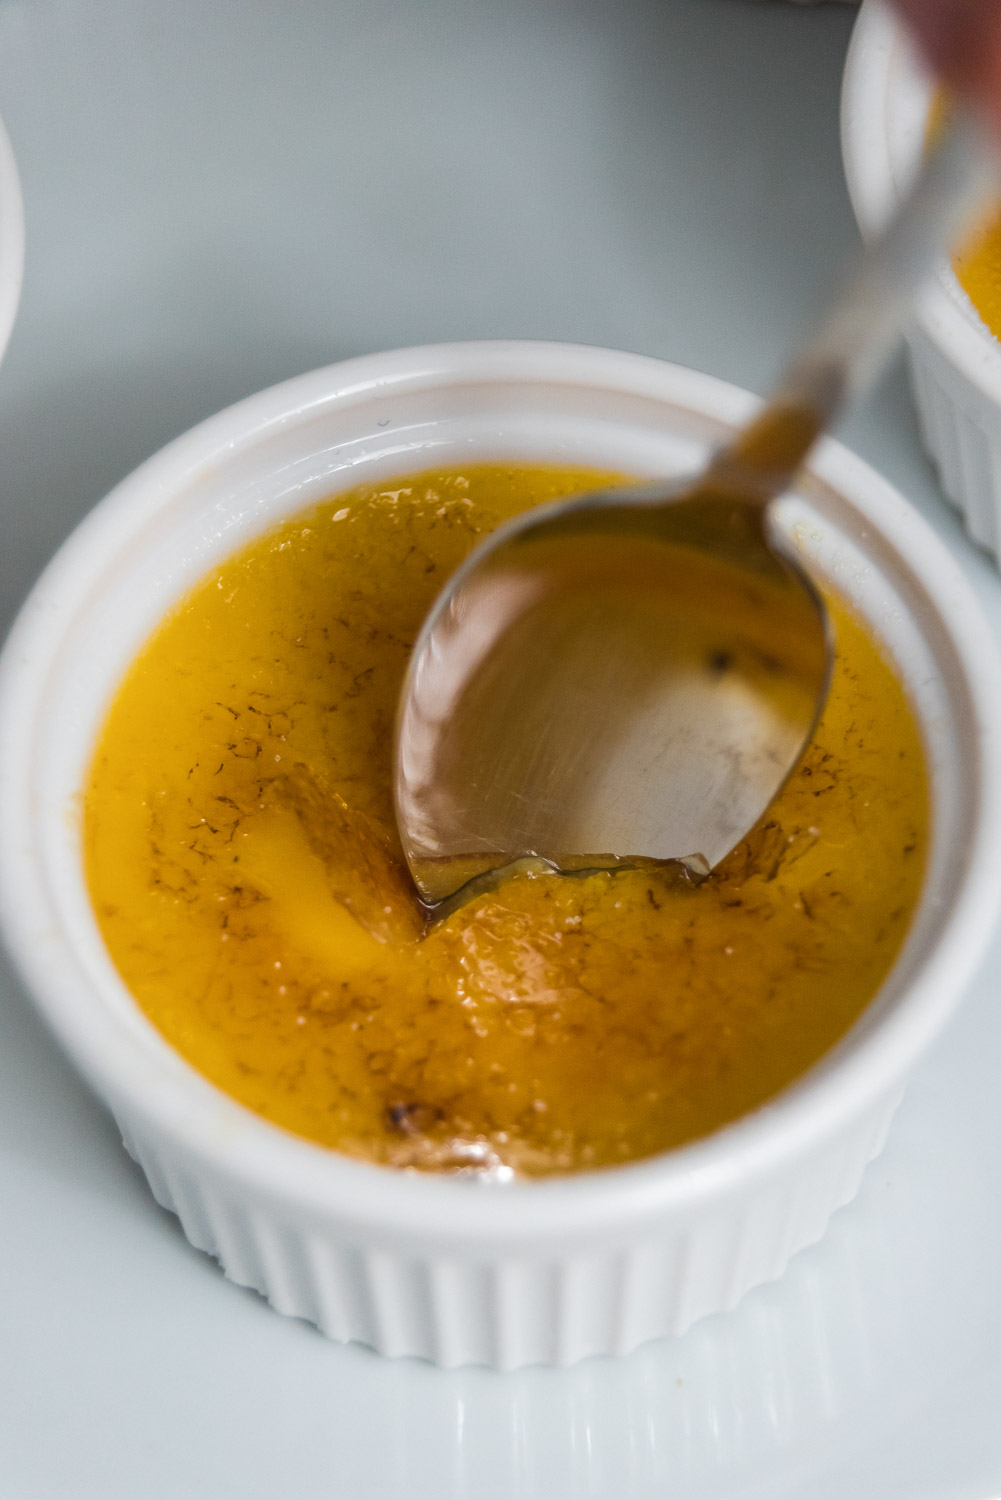
Caramelize some sugar on top (there's that third ingredient - sugar!), and you've got an irresistible holiday dessert. That crispy caramelized creme brulee topping is a perfect pairing for the creamy custard underneath.
You can top this creme brulee with whipped cream (optional, but... is it really?) and you've got an easy homemade creme brulee that your guests will be talking about long after your holiday party is over!
Related recipe: Instant Pot Crème Brulee Cheesecake
What you will need:
Ingredients:
- 32-oz container of eggnog
- 8 egg yolks
- ½ cup sugar for the topping (approximately, depending on your baking container size and shape)
- Optional: cinnamon, pumpkin spice
- Optional: Whipped cream for topping, berries for serving

Equipment:
- Culinary torch (more tips on this later!)
- A stand-up mixer (it makes the job easier!)
- 8 ramekins or a 1.5-quart baking dish
- A large dish for the water bath
- A 2- or 3-quart saucepan
Related recipe: Grinch Chocolate Truffles
How to make it:
Step 1 - get everything ready: Preheat the oven to 300F. Get your ingredients and water bath ready (more on that below!).
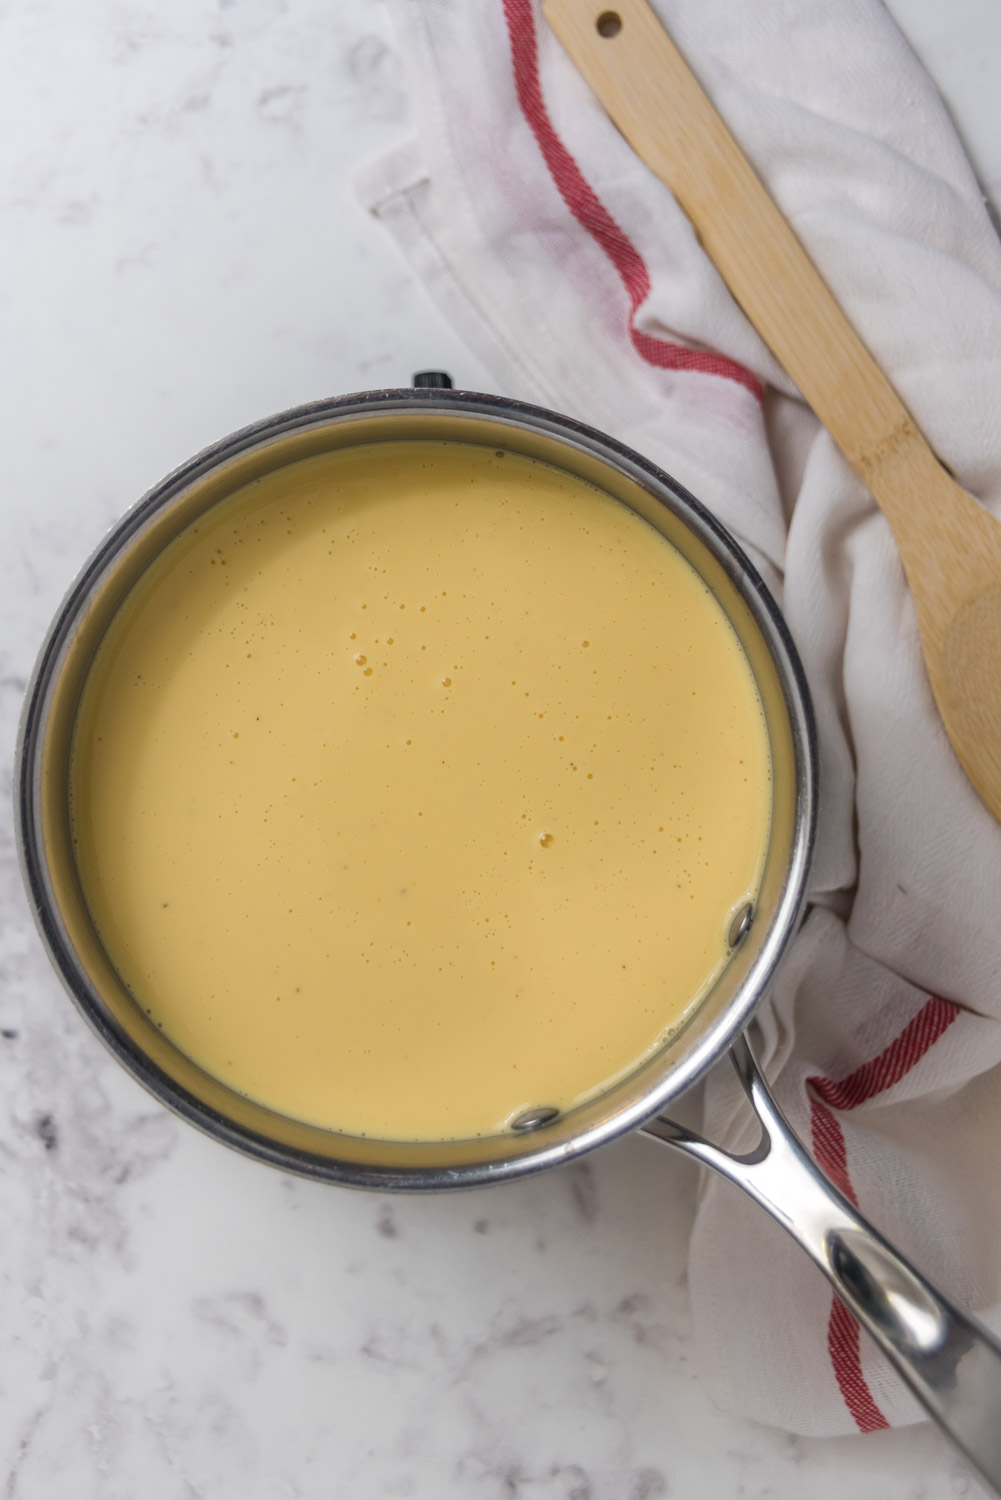
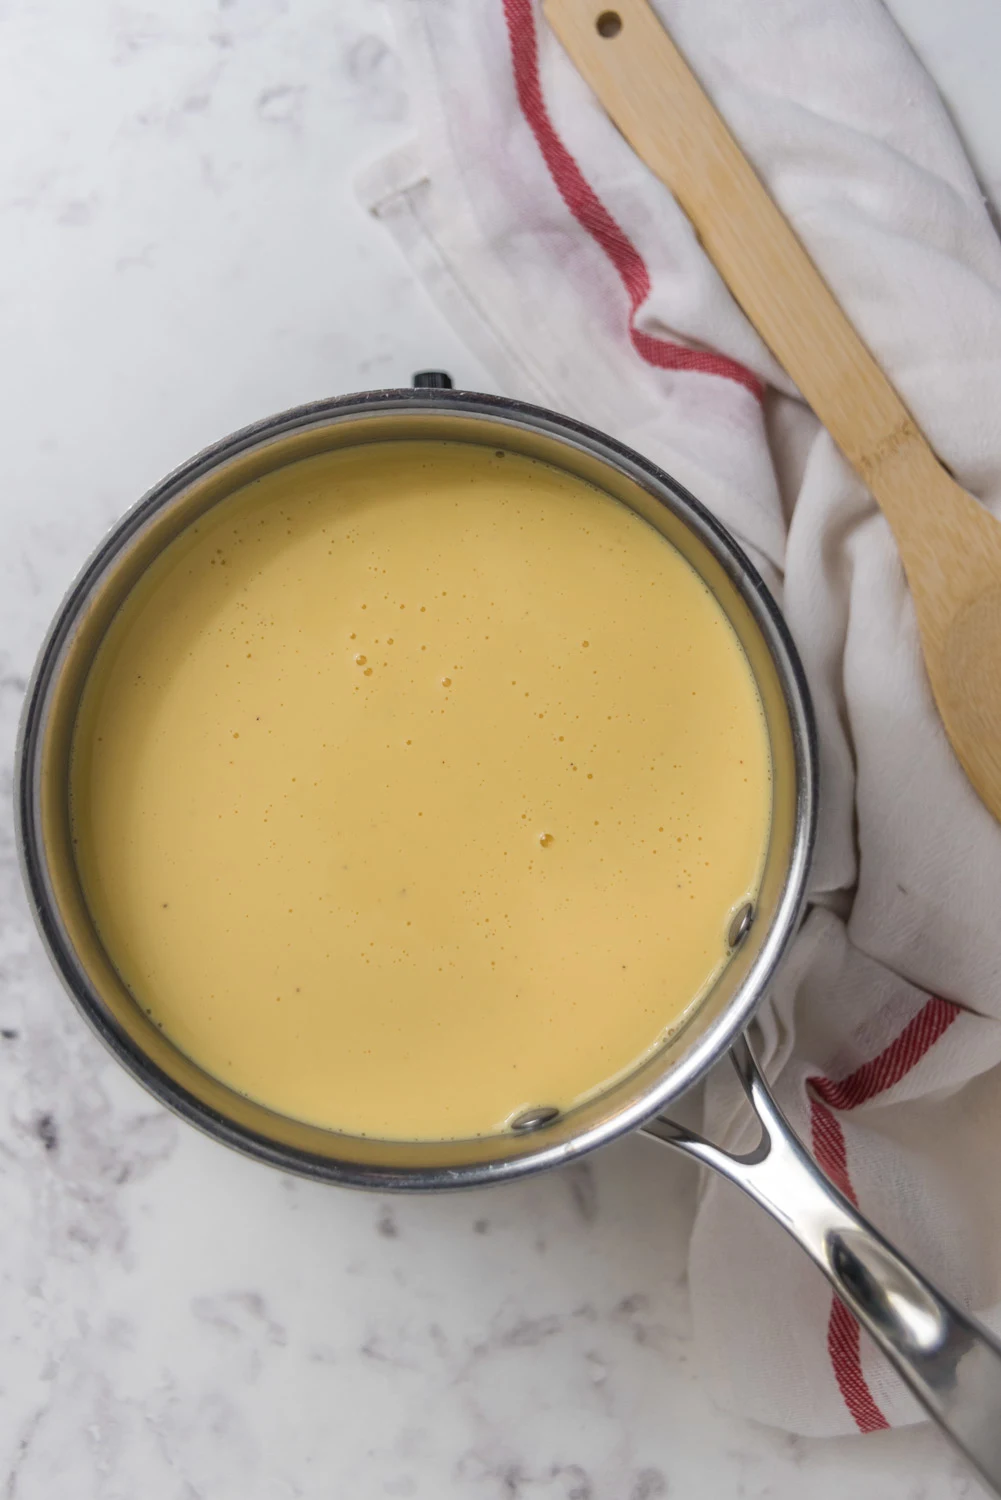
Step 2 - heat the eggnog: In a 2- or 3-quart saucepan, gently heat the eggnog until it is almost simmering, do NOT let it boil! Stir every few minutes to prevent it from burning at the bottom.
Related recipe: Lemon Cream Puffs
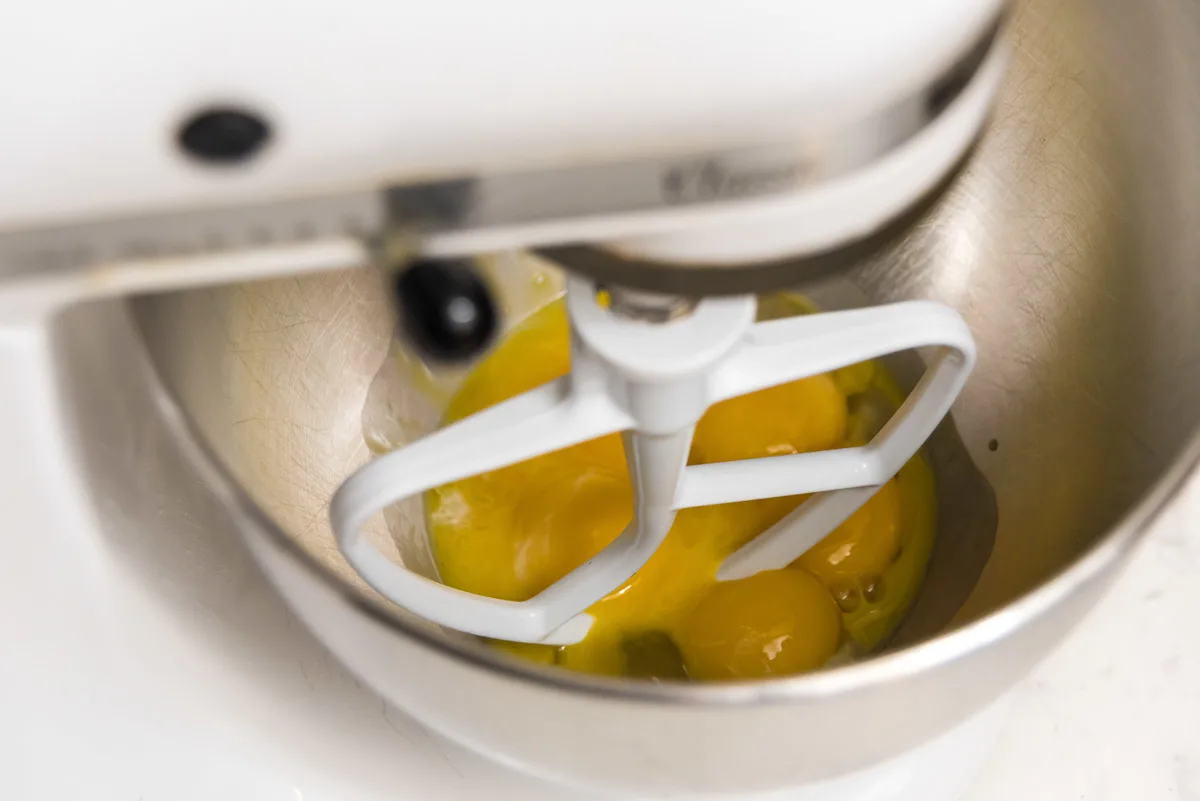
Step 3 - beat the eggs: Meanwhile, use a stand-up mixer to beat the egg yolks in a large bowl.

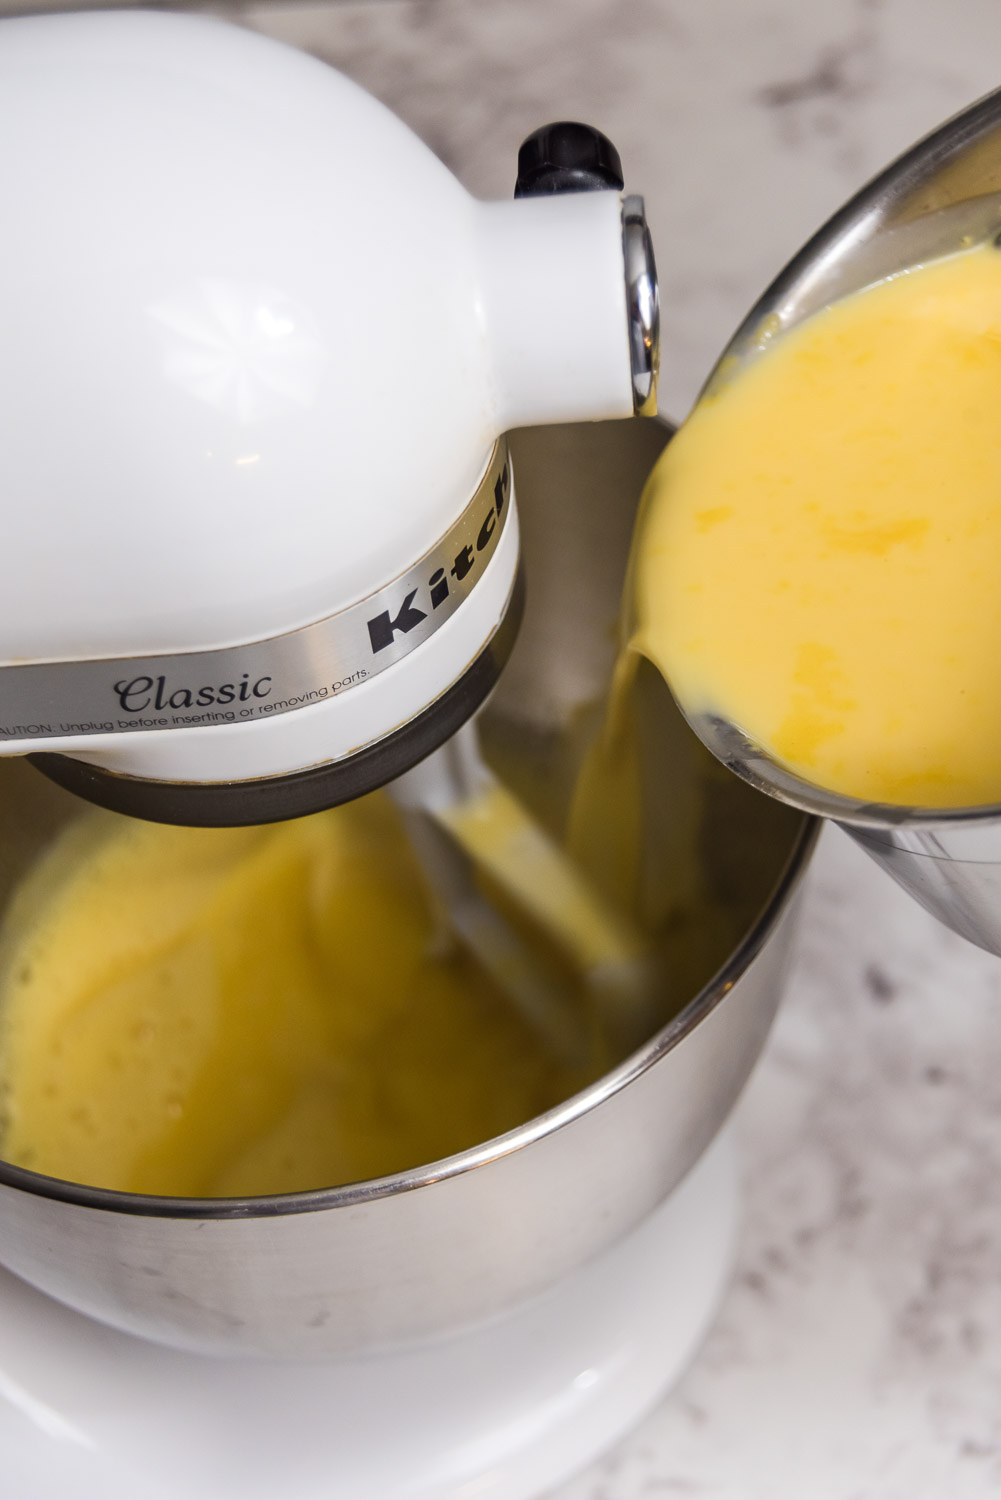
Step 4 - combine ingredients: When the eggnog is heated, slowly add it to the egg yolks while keeping the mixer on slow.

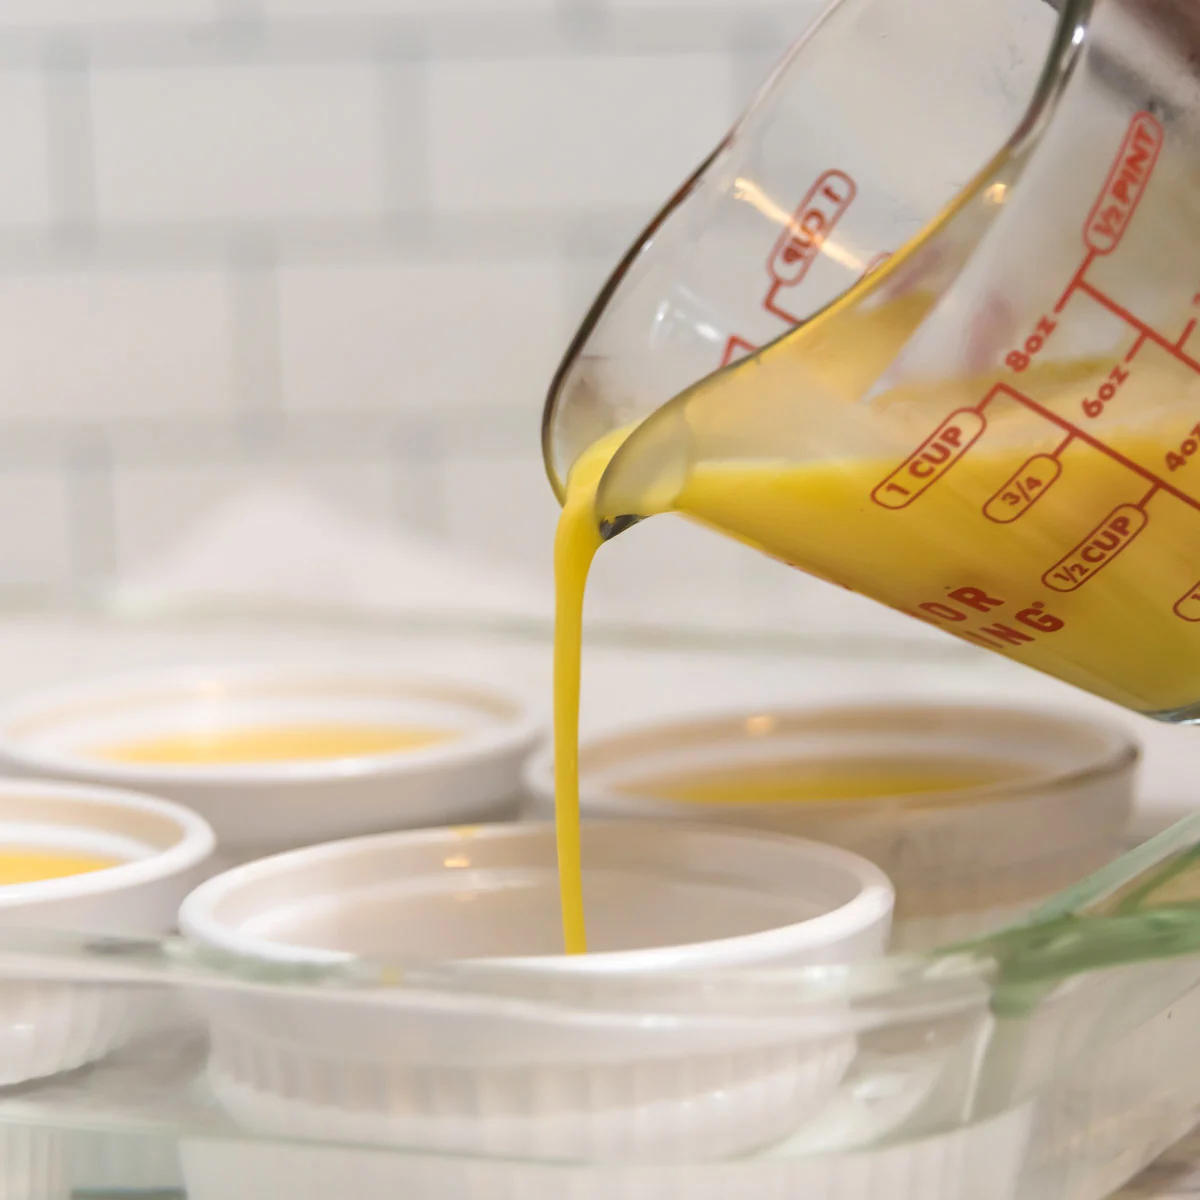
Step 5 - bake: To make individual crème brulee ramekins: Add ½ cup of the eggnog mixture to each ramekin (you'll need about 8-10 ramekins). Transfer the ramekins to a large baking dish/tray with high sides, filled halfway with water. Bake at 300F for 40-45 minutes, or until the edges are set but the center still jiggles a little - it will set as it cools. Carefully remove from oven and allow to cool to room temperature.

To make family-style crème brulee: Carefully pour the eggnog mixture into a ~1.5 quart oven-safe dish. Place the eggnog dish into a larger baking dish or tray filled halfway with water. Bake at 300F for about 90-110 minutes, or until the edges are set but the custard still jiggles in the center - it will set as it cools. Carefully remove from oven and allow to cool to room temperature.
Step 6 - refrigerate: Refrigerate for at least 4 hours, but preferably overnight so the crème brulee sets completely. Check out this awesome easy no-bake chocolate hummus dessert recipe while you wait!!
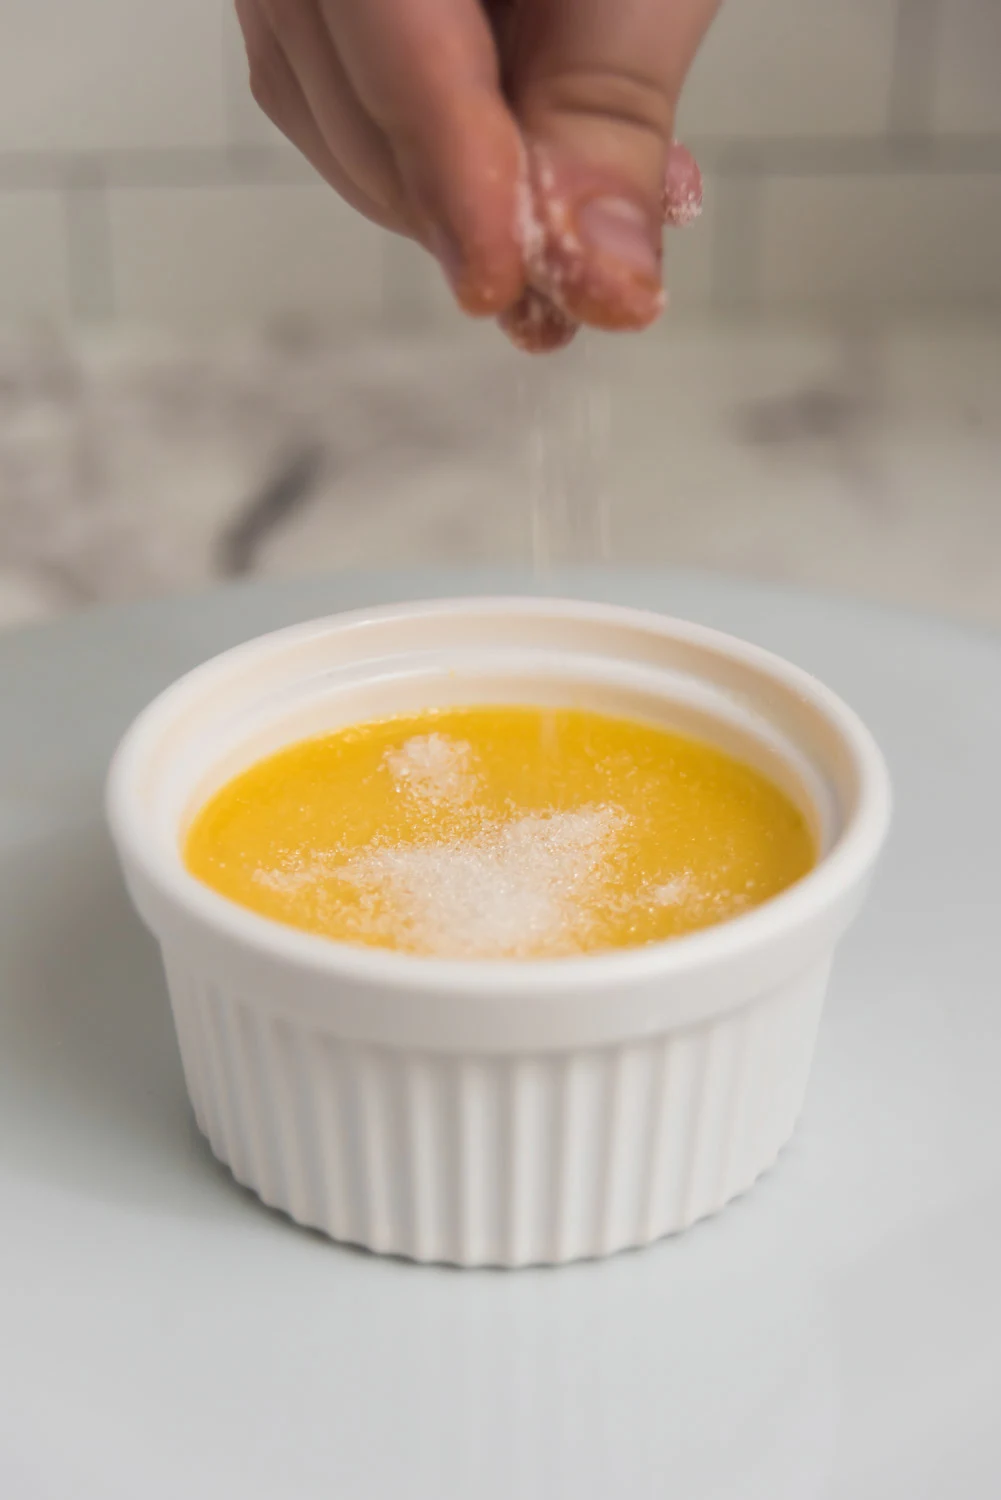
Step 7 - caramelize the sugar: Sprinkle the top of the crème brulee custard with sugar. Use a culinary torch to caramelize the sugar on top.

Serve chilled with a big dollop of whipped cream! Add some berries and garnish with mint leaves, if you're feeling fancy!

More individual holiday desserts: Champagne Cupcakes with Champagne Buttercream Frosting
Making crème brulee topping with a kitchen torch
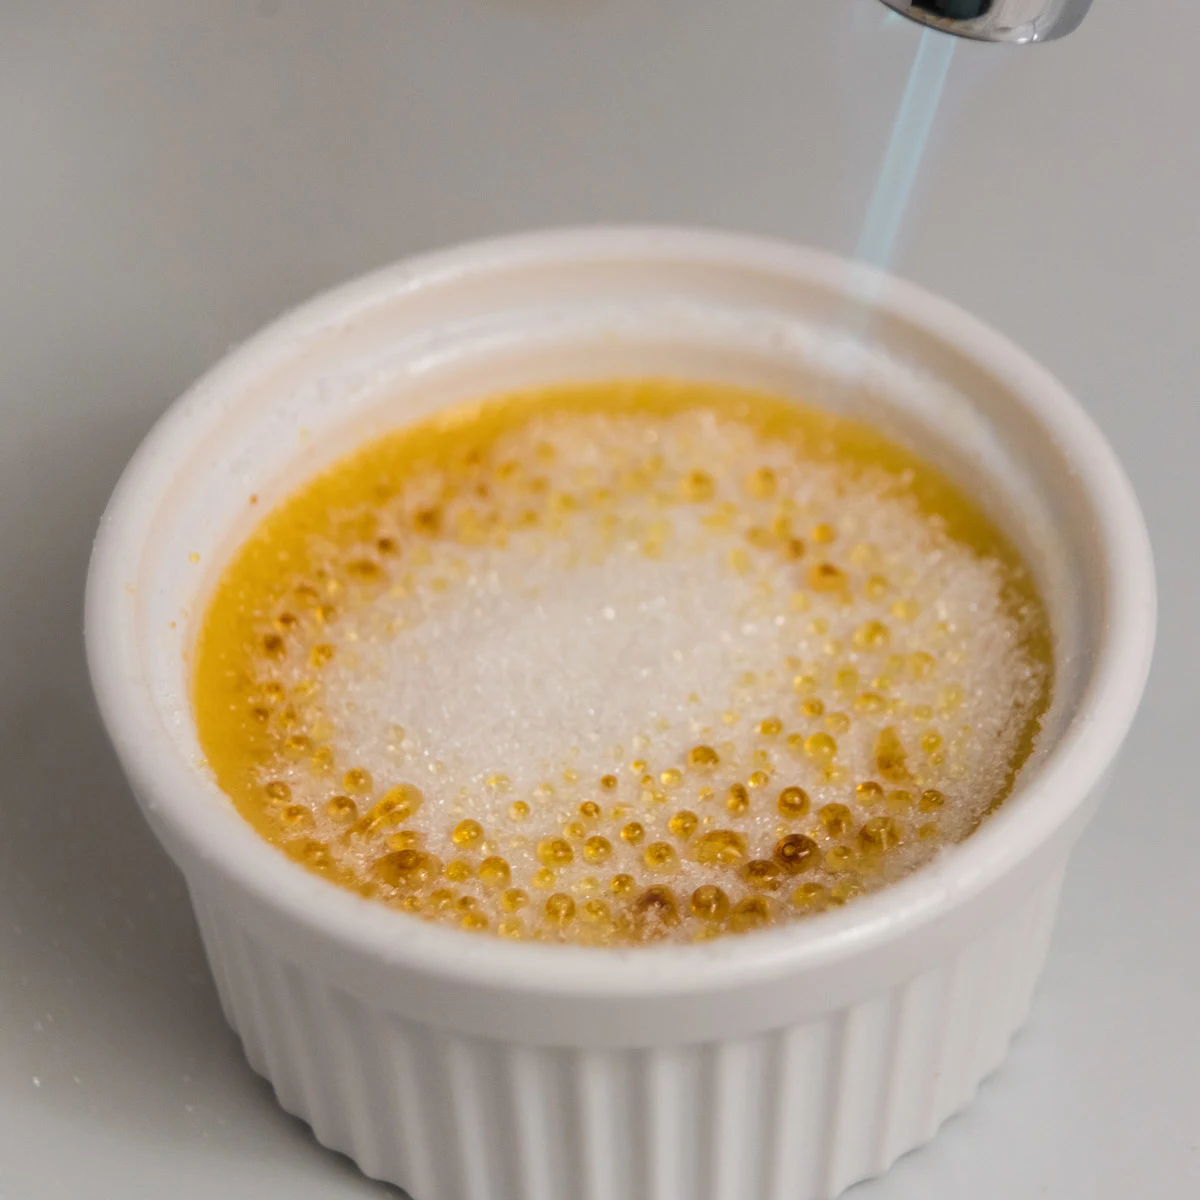
Using a kitchen torch (also called a culinary torch) might seem intimidating, but it's actually kind of fun! Kitchen torches are small, so it's not like you're dealing with a huge blow torch, and the flame is quite controlled.
There is literally no way to mess up making crème brulee topping because the sugar caramelizes slowly, so do not worry about burning it! Just pass the kitchen torch back and forth over a layer of sugar slowly and carefully until the sugar melts and turns golden brown. When the whole top is done, allow it to cool for a few minutes and caramelize.
Using a culinary torch is a FUN technique to master to take your desserts up to the next level! And once you get a culinary torch, you can make things like this Creme Brulee Cheesecake (sooo good!).
Tips for buying a kitchen torch:
Most kitchen torches do NOT come with the butane fuel cartridges that you need to make them work, so make sure you double check the listing.
This kitchen torch does include butane, but it is actually more expensive than buying them separately. If you want to save a little, get this kitchen torch and these butane refills to go along with it.
More 3-ingredient holiday desserts: Ritz Cracker Thin Mints
Tips for making crème brulee
→ The exact baking time you need will depend on the size and shape of your ramekins (or baking dish - more on that below!) and how much eggnog mixture you add. It also depends on the size of your water bath container and how much water you add - since water takes a while to heat up in the oven. Make sure to bake until the edges are set and the center still jiggles but just a little. If you're in doubt, bake a little longer. It is better to have firmer custard than a liquid mess when you are about to caramelize the sugar. The custard will set as it chills in the fridge.
→ Do NOT skip the water bath!! You need it to help the crème brulee cook slowly and evenly instead of cooking quick around the edges but still being too liquid in the center. Make sure to find a large baking dish that is bigger than your ramekins or your 1.5-quart baking dish so they fit inside the water bath dish easily.
→ Make sure to bake this dessert in advance, preferably the night before! It absolutely needs at least 4 hours chilling time, or more if you're making family-style crème brulee in a bigger dish.
→ If your custard doesn't set, you can re-bake it! It will take some for it to warm up from fridge temperature, then it will soften a little as it warms up, and then it will start to bake.
→ A stand-up mixer really helps for this recipe because you want to be stirring the eggs while adding hot eggnog to the eggs, and it's too much to try to do that all on your own with a hand-held mixer. It's doable if you add the eggnog in small batches, but tricky.
A KitchenAid mixer is the gold standard (get one here directly from the manufacturer, skip Amazon!!), but any inexpensive stand-up mixer will do!! You are not beating anything thick or heavy here. This inexpensive mixer has gotten me through years and years of baking, and it doubles as a hand mixer too! I highly recommend one if you don't have a mixer yet, it's really great quality and about 10x cheaper than a KitchenAid!!
→ Making crème brulee in small ramekins definitely has advantages: they are adorable, they bake faster, and it's more obvious to tell when the crème brulee is done baking because they will be less jiggly. This set of 8 ramekins is great because they fit 6-oz of liquid instead of just ½ cup, so you should be able to fit all your eggnog mixture into these 8 ramekins.
If you don't have ramekins or want to make this for a potluck or a work party, you can certainly bake this in a 1.5-quart baking dish (since you'll have just over 1 quart of eggnog mixture!). This set is great because it comes with a plastic cover so you can bring this crème brulee to parties and potlucks!
Related recipe: Eggnog Pancakes
Tips for serving crème brulee:
Crème brulee is traditionally served cold, so keep it refrigerated until it is ready to serve! Some people prefer it at room temperature, but definitely do not serve it warm because the custard will get too soft!
If you can manage it logistically, crème brulee is AMAZING if you can caramelize the sugar RIGHT before serving it! This way the warm caramelized topping has such a nice contrast to the chilled custard. So good!!
Serve with a generous dollop of whipped cream (homemade OR store-bought is fine!), and if you want to be fancy, have a few fresh raspberries or strawberries on hand, as well as a few mint sprigs.
So good!!

Other easy holiday recipes and desserts you will love:
- Apple pie cups - 2 ingredients!
- Almond Joy hot chocolate bombs
- Twix hot cocoa bombs
- Dulce de leche wafer cakes - 3 ingredients and no bake!
- Red velvet crinkle cookies
- Red velvet mug cakes
- Chewy triple chocolate cookies
- Apple toffee cake
- Cinnamon coffee cake muffins with crumb topping
- 2 Ingredient pumpkin pancakes
- Pumpkin spice whipped coffee
- Hot spiced tea
- Vegan eggnog
And if you're in the mood for some festive holiday drinks, I got you covered too!
If you enjoyed this recipe, let me know with a comment and a star rating below. And don't forget to share it on Facebook and save it on Pinterest for later!


3-Ingredient Eggnog Creme Brulee
Ingredients
- 4 cups eggnog
- 8 egg yolks
- ½ cup sugar - (or as needed to sprinkle on top)
- whipped cream and berries for topping
- Optional ingredient: cinnamon, pumpkin spice, spiced rum
Special equipment
- Kitchen torch
- Stand up mixer
- Ramekins
- Large baking dish
Instructions
- Preheat oven to 300F.
- In a 2-quart saucepan, gently heat the eggnog until it is almost starting to simmer, stirring every few minutes.
- In a stand-up mixer, beat the egg yolks on medium while the eggnog is heating.
- When the eggnog is heated, slowly add it to the egg yolks while keeping the mixer on. If you want to spice things up, add a bit of ground cinnamon, pumpkin spice, or spiced rum to the mixture. Continue with either family-style or individual eggnog ramekins, see directions for both below:
- Add ½ cup of the eggnog mixture to each ramekin (you'll need about 8-10 ramekins). Transfer the ramekins to a large baking dish/tray with high sides, filled halfway with water. Bake at 300F for 40-45 minutes, or until the edges are set but the center still jiggles a little - it will set as it cools. Carefully remove from oven and allow to cool to room temperature.
- Carefully pour the eggnog mixture into a ~1.5 qt oven-safe dish. Place the eggnog dish into a larger baking dish or tray filled halfway with water. Bake at 300F for about 90-110 minutes, or until the edges are set but the custard still jiggles in the center - it will set as it cools. Carefully remove from oven and allow to cool to room temperature.
- Refrigerate for at least 4 hours or overnight. Before serving, coat the top with an even layer of sugar. Use a culinary torch to caramelize the sugar on top. Serve with a big dollop of whipped cream.
Notes
- Make sure to bake this the day before you plan on serving!
- Do not skip the water bath!
- Baking time will vary depending on the shape and depth of your baking dish. When in doubt, bake a little longer until the edges are completely set
Nutrition
The nutritional information displayed is an estimate and not to be used as dietary or nutritional advice. Consult a nutritionist or dietician for nutritional info based on the exact ingredients you use.
This recipe was updated with new pictures and helpful tips and instructions. Here are the original pictures, if you're curious!