
If you have an abundance of peppers (both bell peppers and jalapeños) and are looking for pepper recipes, then I hope you will try this Pepper Jelly! It's a delicious sweet and spicy condiment that is very easy to make.
This recipe gives you canning instructions for pepper jelly, but you can also keep it in a jar without canning, if you don't plan on storing it long-term. Read below for how to use pepper jelly and how to serve it - it's so versatile and perfect for party appetizers and easy dinners.
Hot pepper jelly makes a great food gift, too! Oh, and if you like the idea of a sweet recipes using jalapeños, make sure to try my jalapeño peanut brittle too!


Jump to:
More recipes to preserve fresh peppers: Pickled Shishito Peppers
Easy pepper jelly
Pepper jelly is such a unique condiment / spread to have on hand. I definitely don't make it year round, but when I do have a few jars in my fridge I find myself reaching for it pretty much every day!
Homemade hot pepper jelly is such a great food gift because it's easy to make in a large batch and it's very budget-friendly.

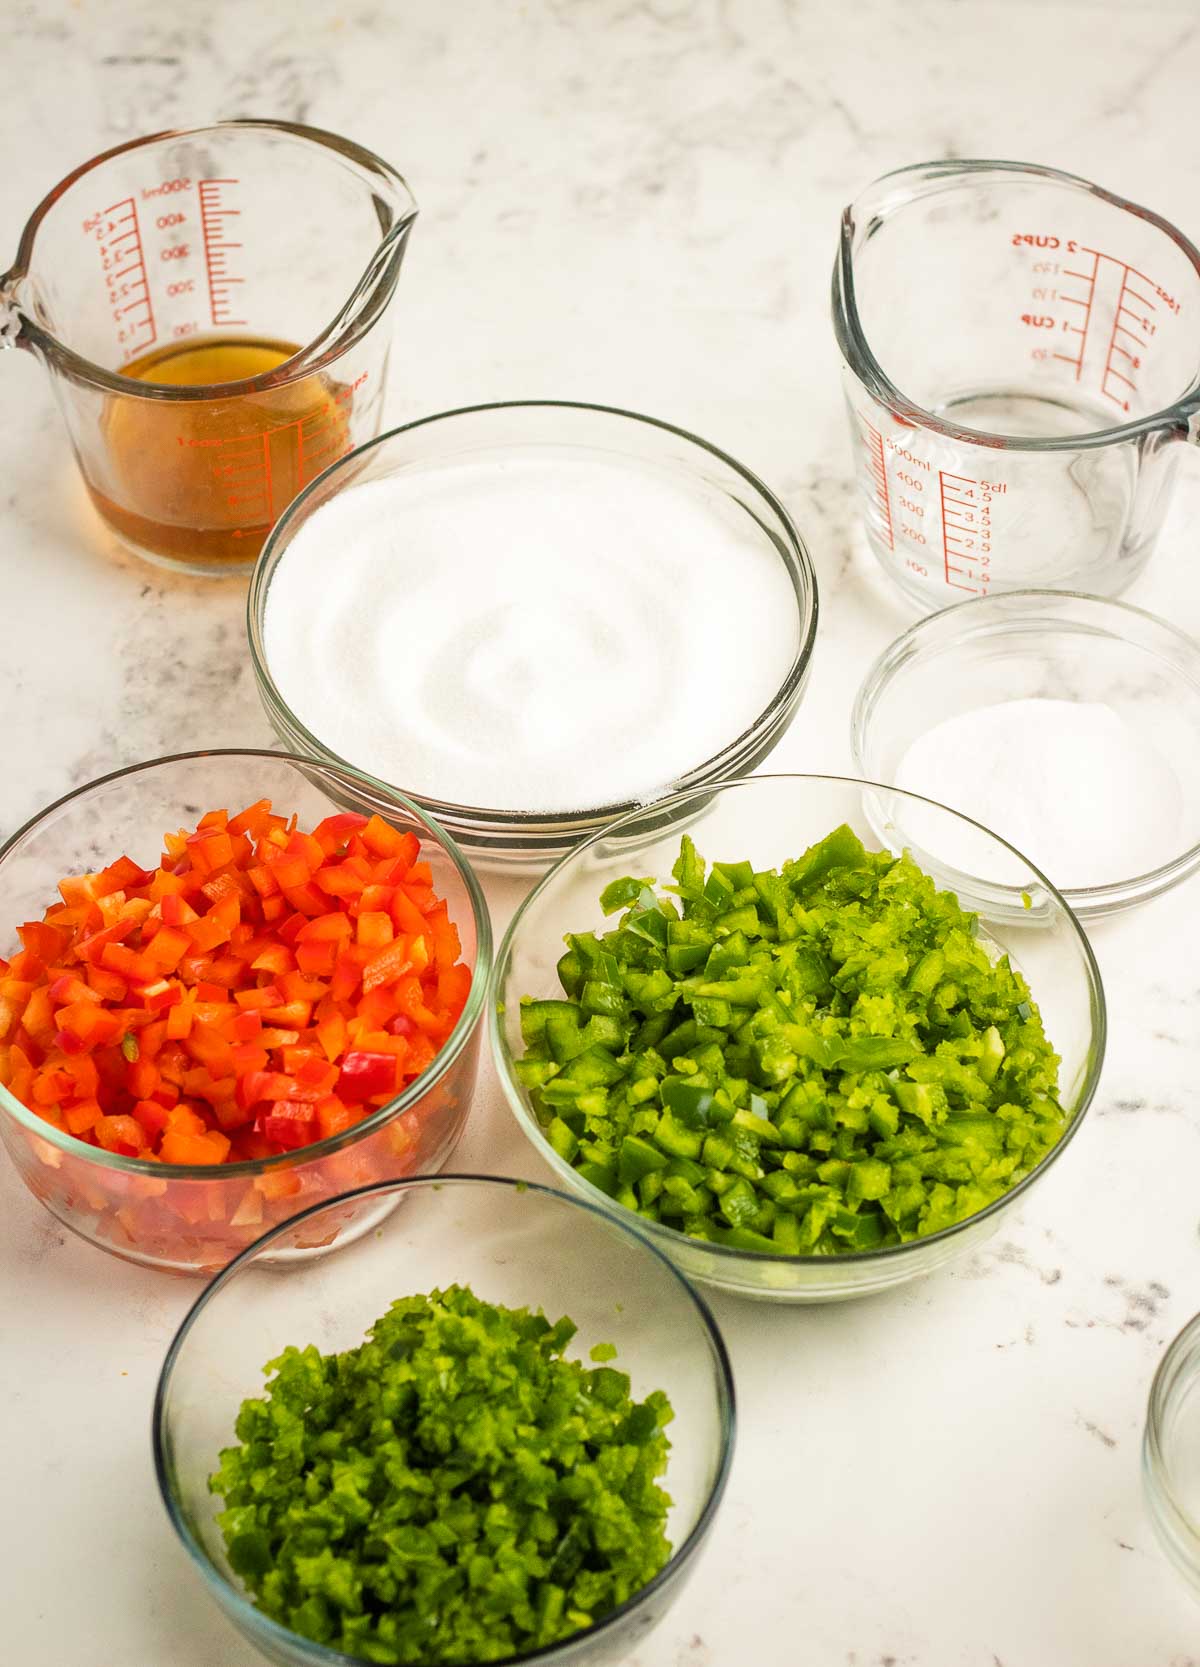
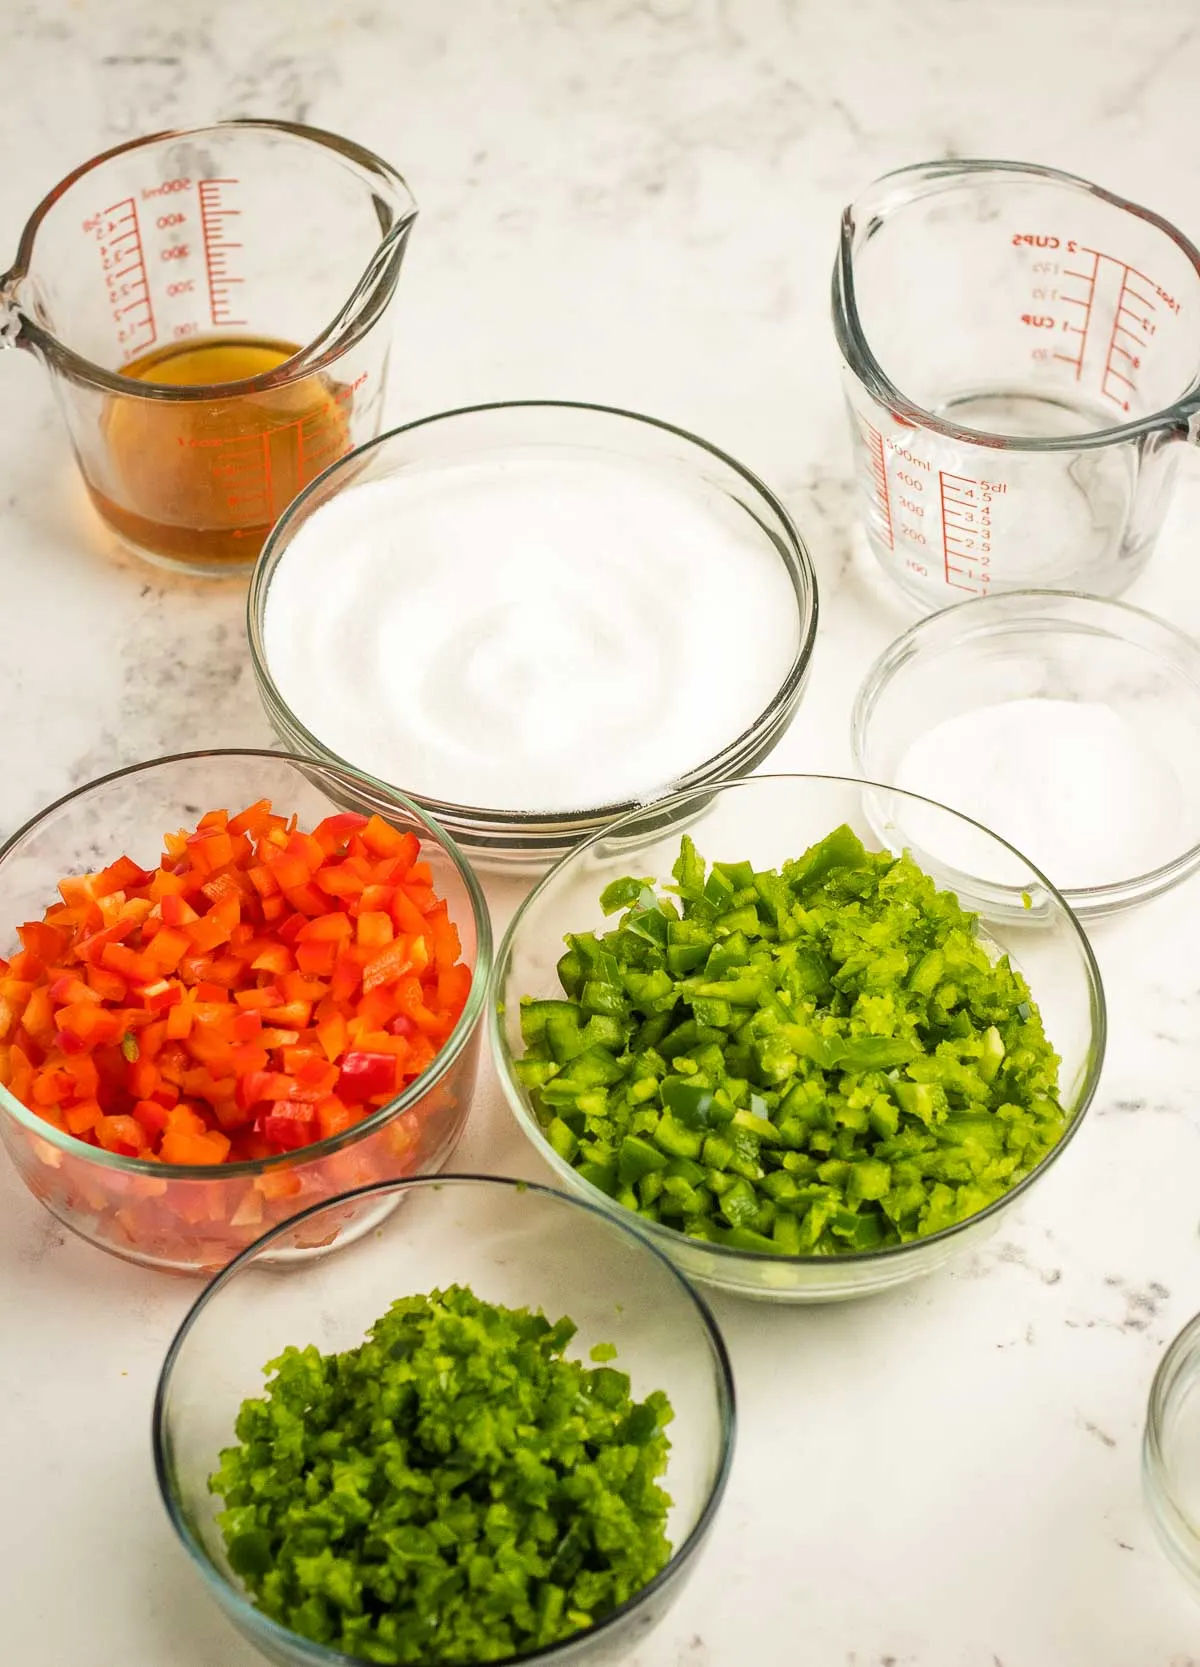
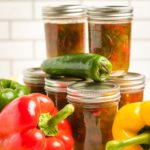
This simple recipe is made with red and green bell peppers, jalapeños, sugar, apple cider vinegar, and pectin. Plus water, if you count that as an ingredient. The 2 color bell peppers make this jelly colorful and bright, the jalapeño gives it plenty of spice without being too mouth-burning-hot, and the apple cider vinegar gives it a nice tang to balance the sugar.
If you have a LOT of jalapeños to use up, you can also try them in these recipes: Fried Jalapeños and Texas Twinkies (brisket jalapeño poppers). And if you are growing shishitos by any chance, then you've GOT to try these roasted shishito peppers.
Related recipe: Pickled Fiddleheads
What kind of pectin to use for pepper jelly
I used Sure Jell pectin for low sugar or no sugar recipes. Even though this recipe does contain sugar, the bell peppers themselves contain a lot less sugar than fruit, so I figured it's better to be safe than sorry and use pectin that works for lower-sugar recipes.
Related recipe: Pineapple Jam

How to use pepper jelly
- I LOVE this pepper jelly served over pork chops or chicken breast (check out these thin-sliced chicken breast recipes!). It's the same idea as serving cranberry sauce (a sweet and tangy condiment) with turkey breast.
- It can also be used as a glaze for pork chops, similar to how I make these honey sriracha pork chops. It can be used to add a bit of heat to sweet pineapple pork chops.
- Add a few tablespoons to spice up these glazed party meatballs.
- Spread it on a bagel or toast with cream cheese. The creamy cheese balances out the spice and it just works so so well together!
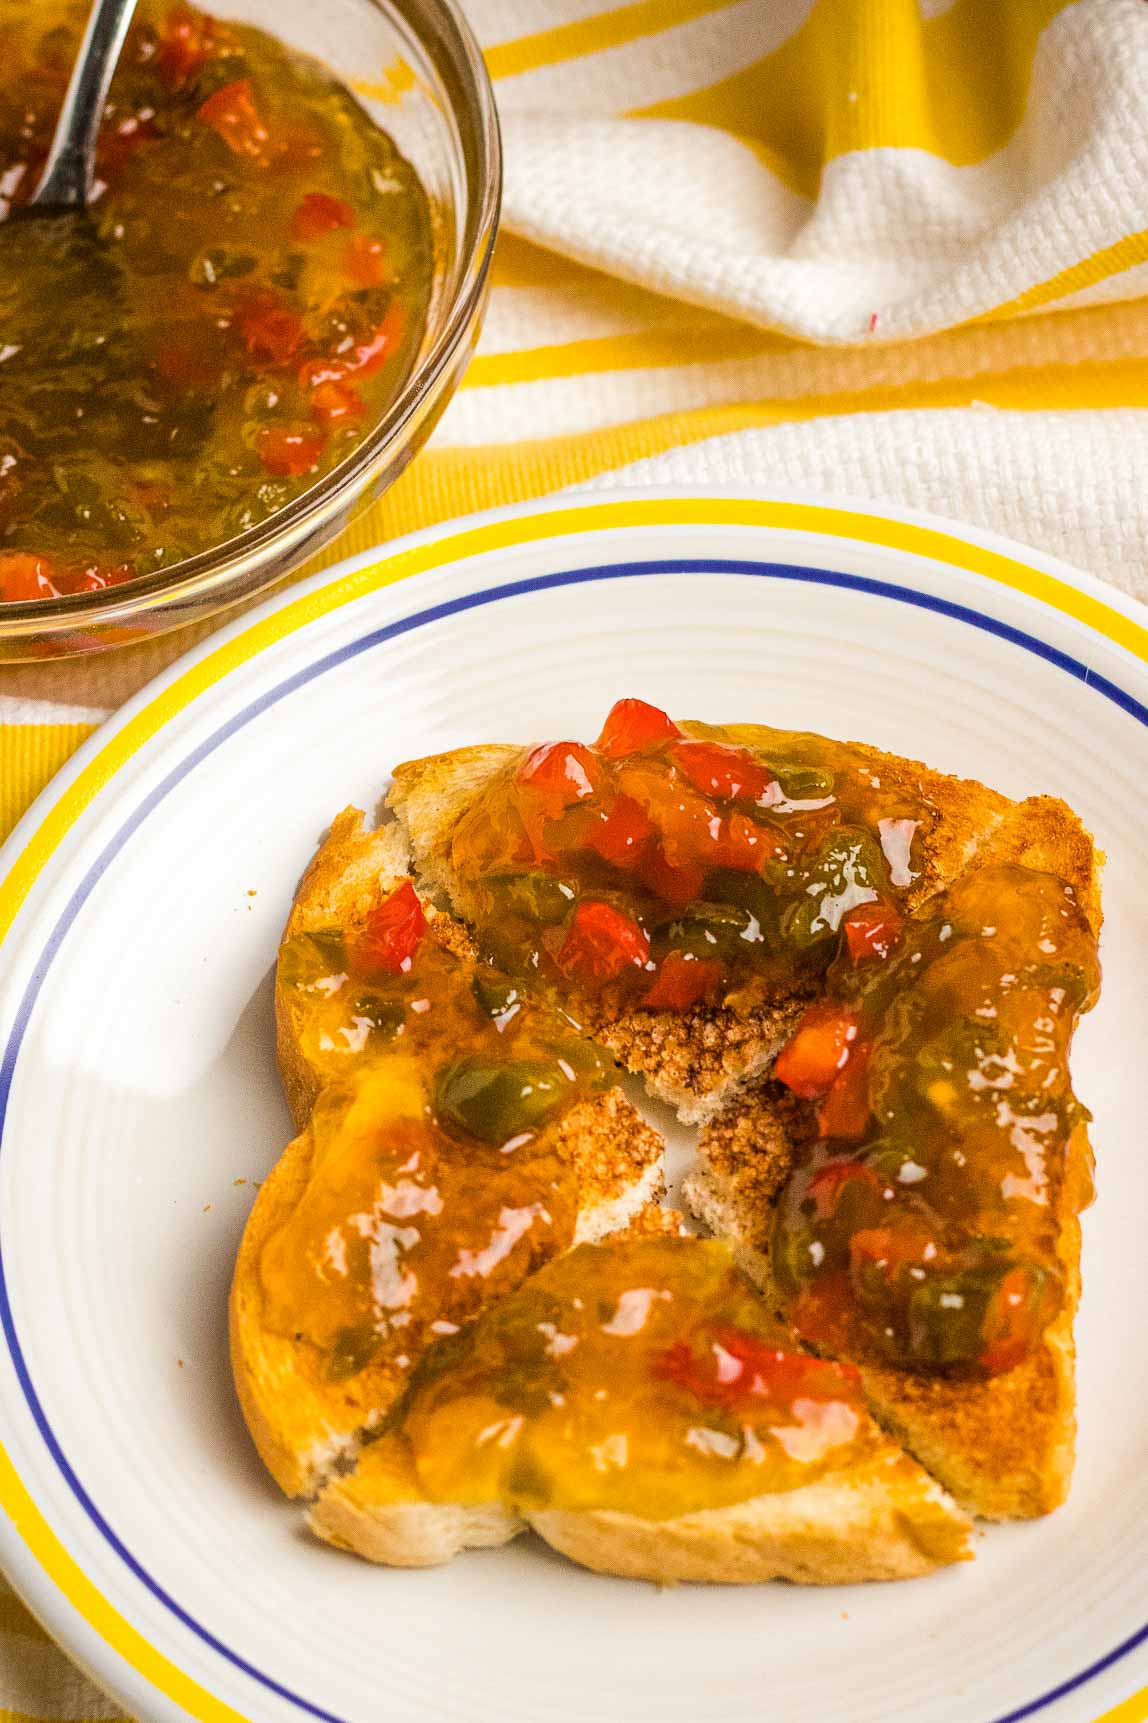
- Serve it on regular toast, or on biscuits.
- On cottage cheese toast.
- Slather it on cornbread with a little butter. Or a lot of butter.
- Stir it into a margarita to add sweetness and spice.
- Use it to make a sweet and spicy sauce, which would be great as a dip for shrimp or for these kielbasa bites.
- Bake it in phyllo dough cups with a piece of brie. The ooey gooey melty cheese is so good with hot pepper jelly!!
- Use it to glaze chicken wings.
- Spread it on a burger bun for an amazing sweet and spicy burger.
- How about a spicy peanut butter and jelly sandwich??
- On crackers with whipped goat cheese.
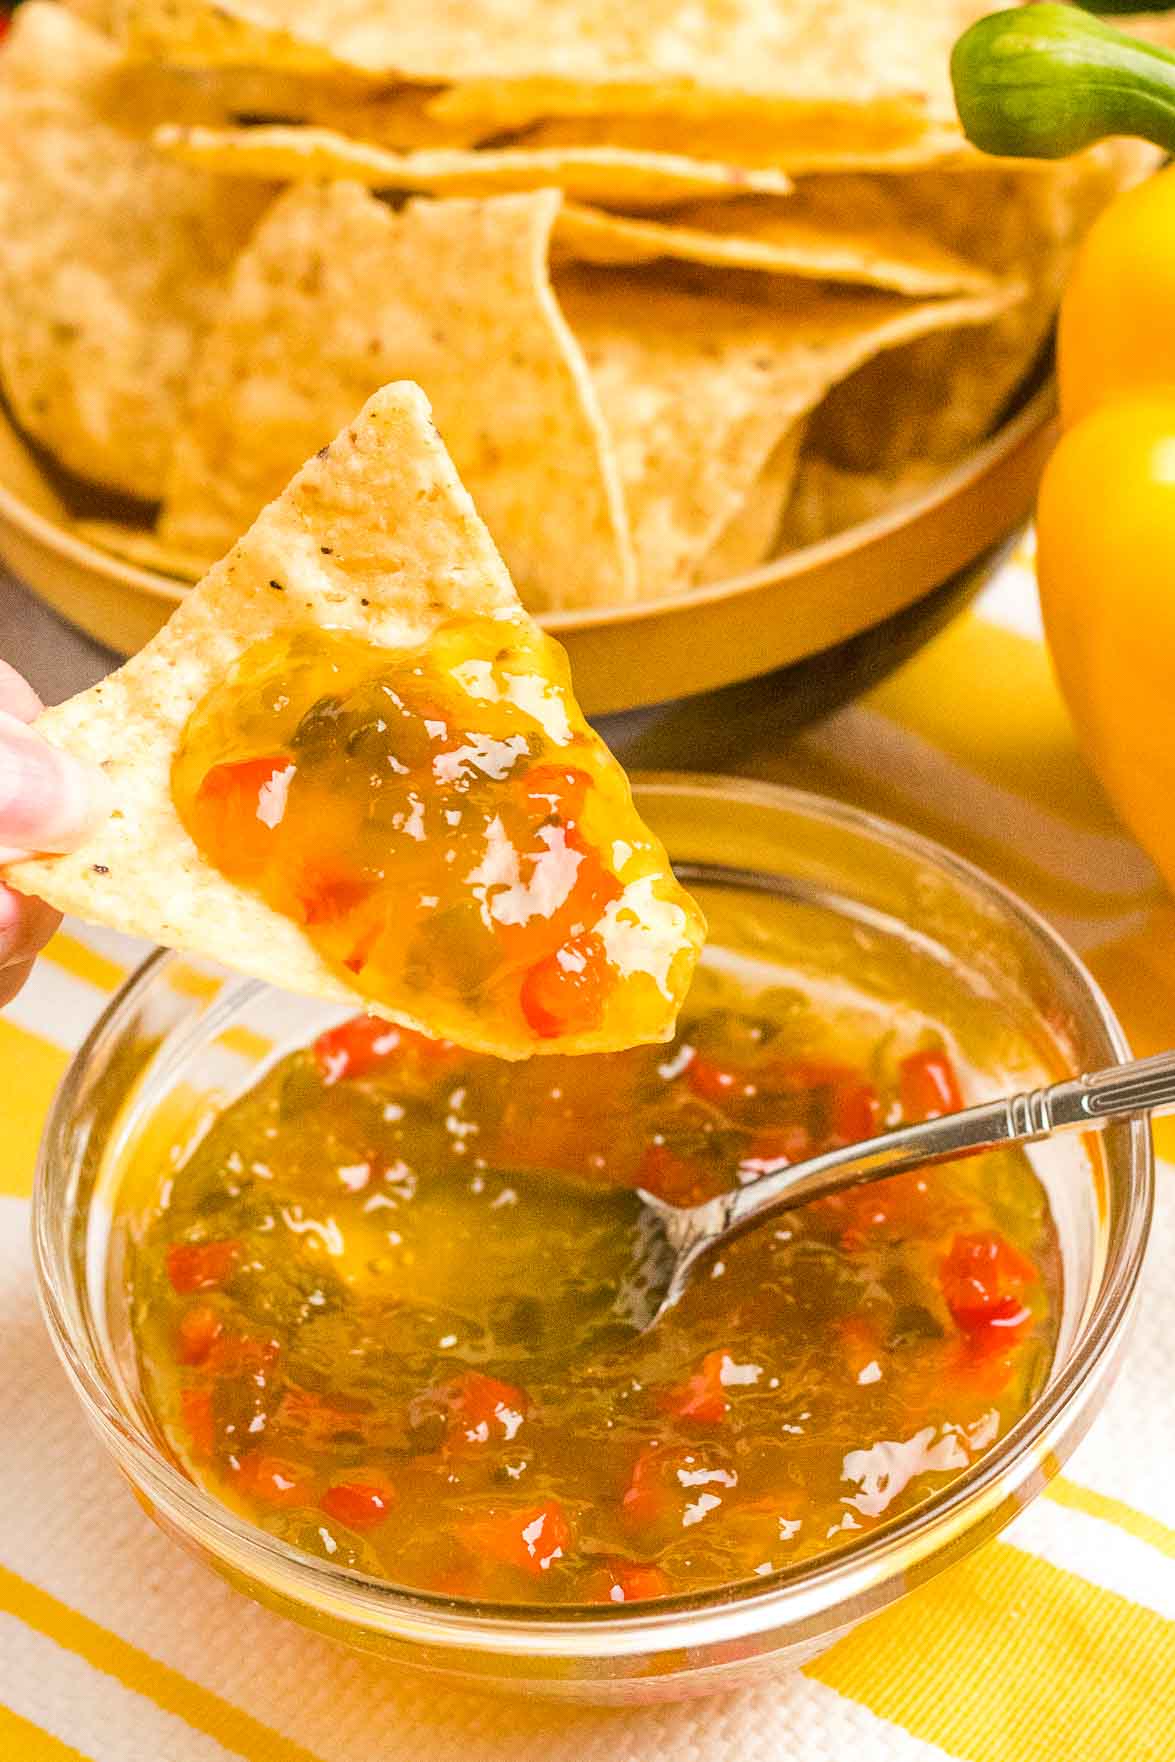
- Use it as a dip for tortilla chips.
Now that you have a million (okay, okay, about a dozen) ideas for what to serve with pepper jelly, let's get started with the recipe!
Related recipe: Blackberry Bourbon Jam
Ingredients
This recipe below makes about 8 half-pint jars, which is great if you plan on gifting some to people who will be able to eat it right away, or if you plan on canning pepper jelly. Yes, I provide the canning instructions below - make sure to read them first because I recommend starting the sterilizing step for the cans before you cook the jelly.
If you want to cut this down in half or even quarter (to make 4 jars or 2 jars), you can definitely do that!
- 2 large red bell peppers
- 2 large green bell peppers (or you can use any combination of bell pepper colors, I just recommend using at least 2 colors to make a more festive pepper jelly)
- 5 jalapeño peppers (or more if you prefer it extra hot - you can always taste and add more at the end)
- ½ cup apple cider vinegar
- ½ cup water
- 3 cups granulated sugar
- 1 box pectin for low sugar recipes (such as from Sure Jell)
You'll also need:
- Medium/large saucepan for cooking the pepper jelly
- 8-oz canning jars (or any heat-safe jar if you don't plan on canning)
- Canning tools (if you plan on canning - tongs, funnel, etc.)
- Large canning pot (this one includes all the canning tools and fits 8 jars!)
- Plastic gloves for removing seeds from jalapeños (trust me on this!! The heat burns your nailbeds and cuticles so badly!)
Related recipe: Easy Cherry Syrup
How to make pepper jelly without canning
The instructions below are for making refrigerator pepper jelly - no canning.
If you want to can the jelly, make sure to read the canning instructions below, and you'll want to time the sterilizing step to be about the same time that the jelly is cooked. The jelly recipe needs only about 5 minutes to cook, so I would prepare all the ingredients, then start the sterilizing step, then make the pepper jelly itself.
Step 1: Remove all seeds from the bell peppers and the jalapeños. Wear plastic gloves when doing this because the jalapeños can burn your skin. Rinse out any remaining seeds under cold water.
Related recipe: Jalapeño Burgers
Step 2: Chop all peppers into very small pieces. You can use a food processor but be careful to not over-chop. You don't want a pepper puree.
Step 3: Place chopped peppers into your pot. Add ¼ cup of the granulated sugar and the pectin to the peppers and stir. Add in the water and vinegar.
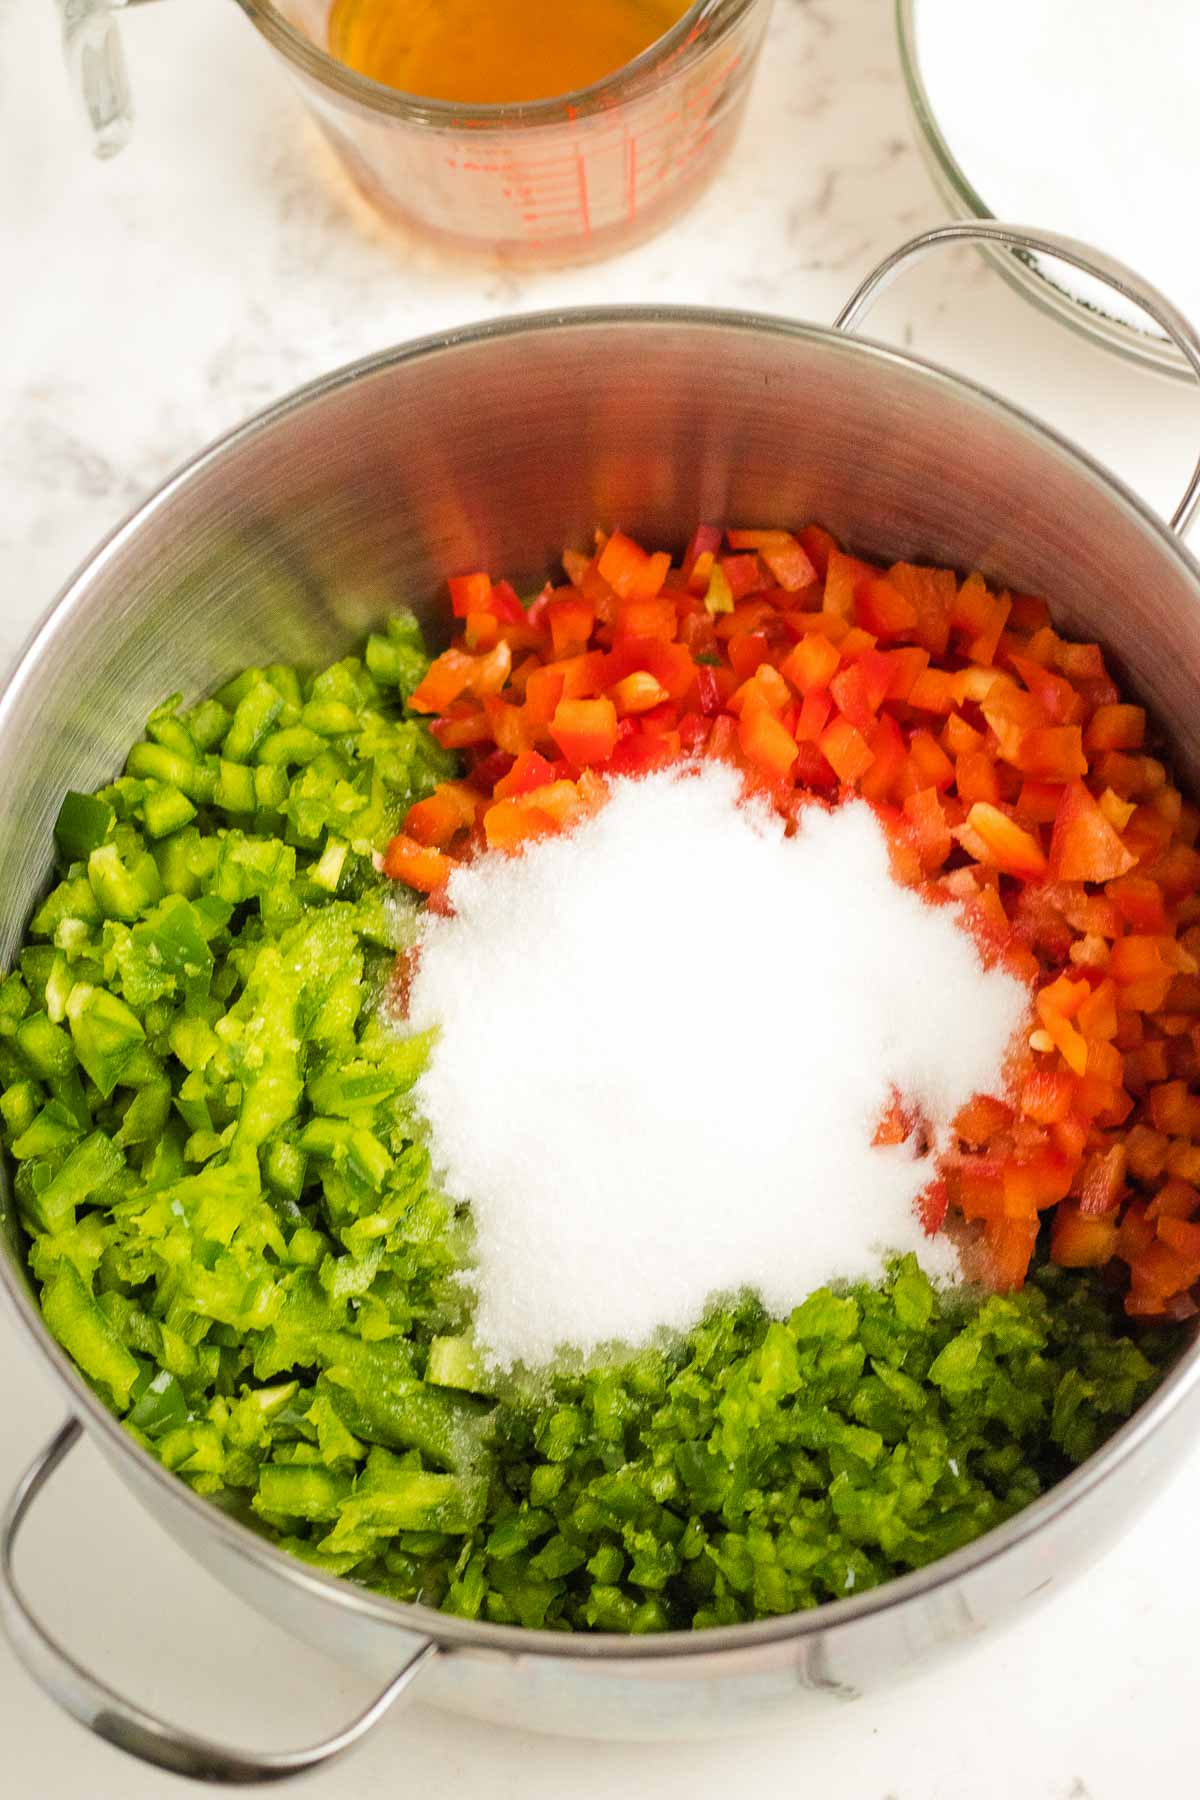

Step 4: Bring to a full rolling boil, then add in the remaining sugar and stir. Return to a boil and boil for one minute, or until you like the consistency of your jelly.
Step 5: If you don't plan on canning, allow the jelly to cool a little before transferring to a glass jar. Keep refrigerated for up to 1 week. If you want to can pepper jelly, follow the instructions below.
Related recipe: Mulberry Syrup Recipe
How to can pepper jelly
As I mentioned above, the jelly cooks in about 5 minutes total. You will want to time the sterilizing step to be done about the same time as the cooking step, so you should start the sterilizing step first.
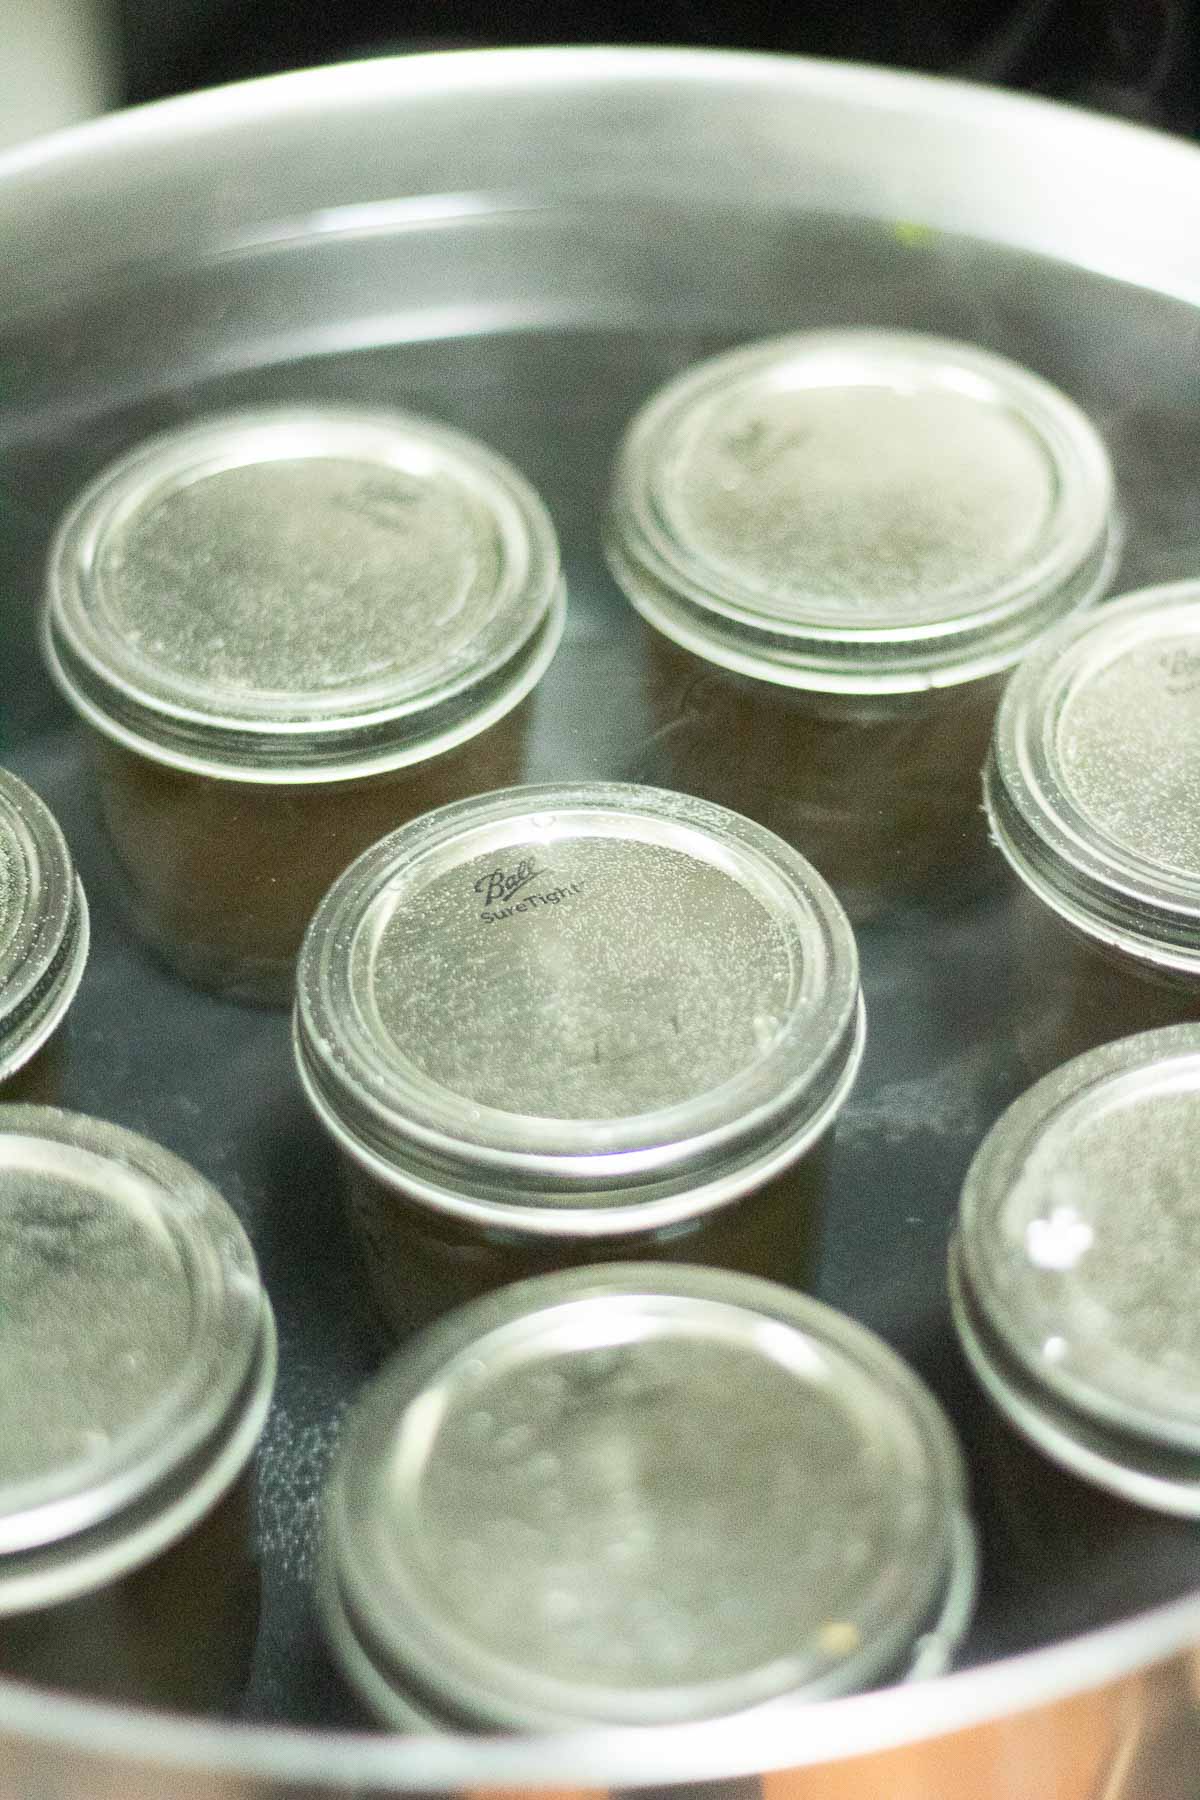
Step 1: Sterilize the jars: Place your jar and lids in a canning pot with a rack in the bottom. If you don't have a canning pot, you can place a metal rack or steaming rack on the bottom of a large pot. It is important to have something for the jars to sit on so they don't get too hot on the bottom and burst. Cover the jars with hot water, allowing the jars to fill with the water—the water should come to about 1 inch over the top of the jars. Cover the pot, bring to a simmer, and heat for 10 minutes.
Remove jars using tongs, making sure the water is drained out of them, and place them right side up. Do not touch the jars with your hands so you don't introduce bacteria, but allow the heat from the jars to evaporate the extra water so the jars are dry. Ideally, you want to time this so you are removing the jars from the pot at about the same time as the jelly is ready to porin so the jars will be still hot. Otherwise, the hot jelly can cause the jars to break if they are too cold.
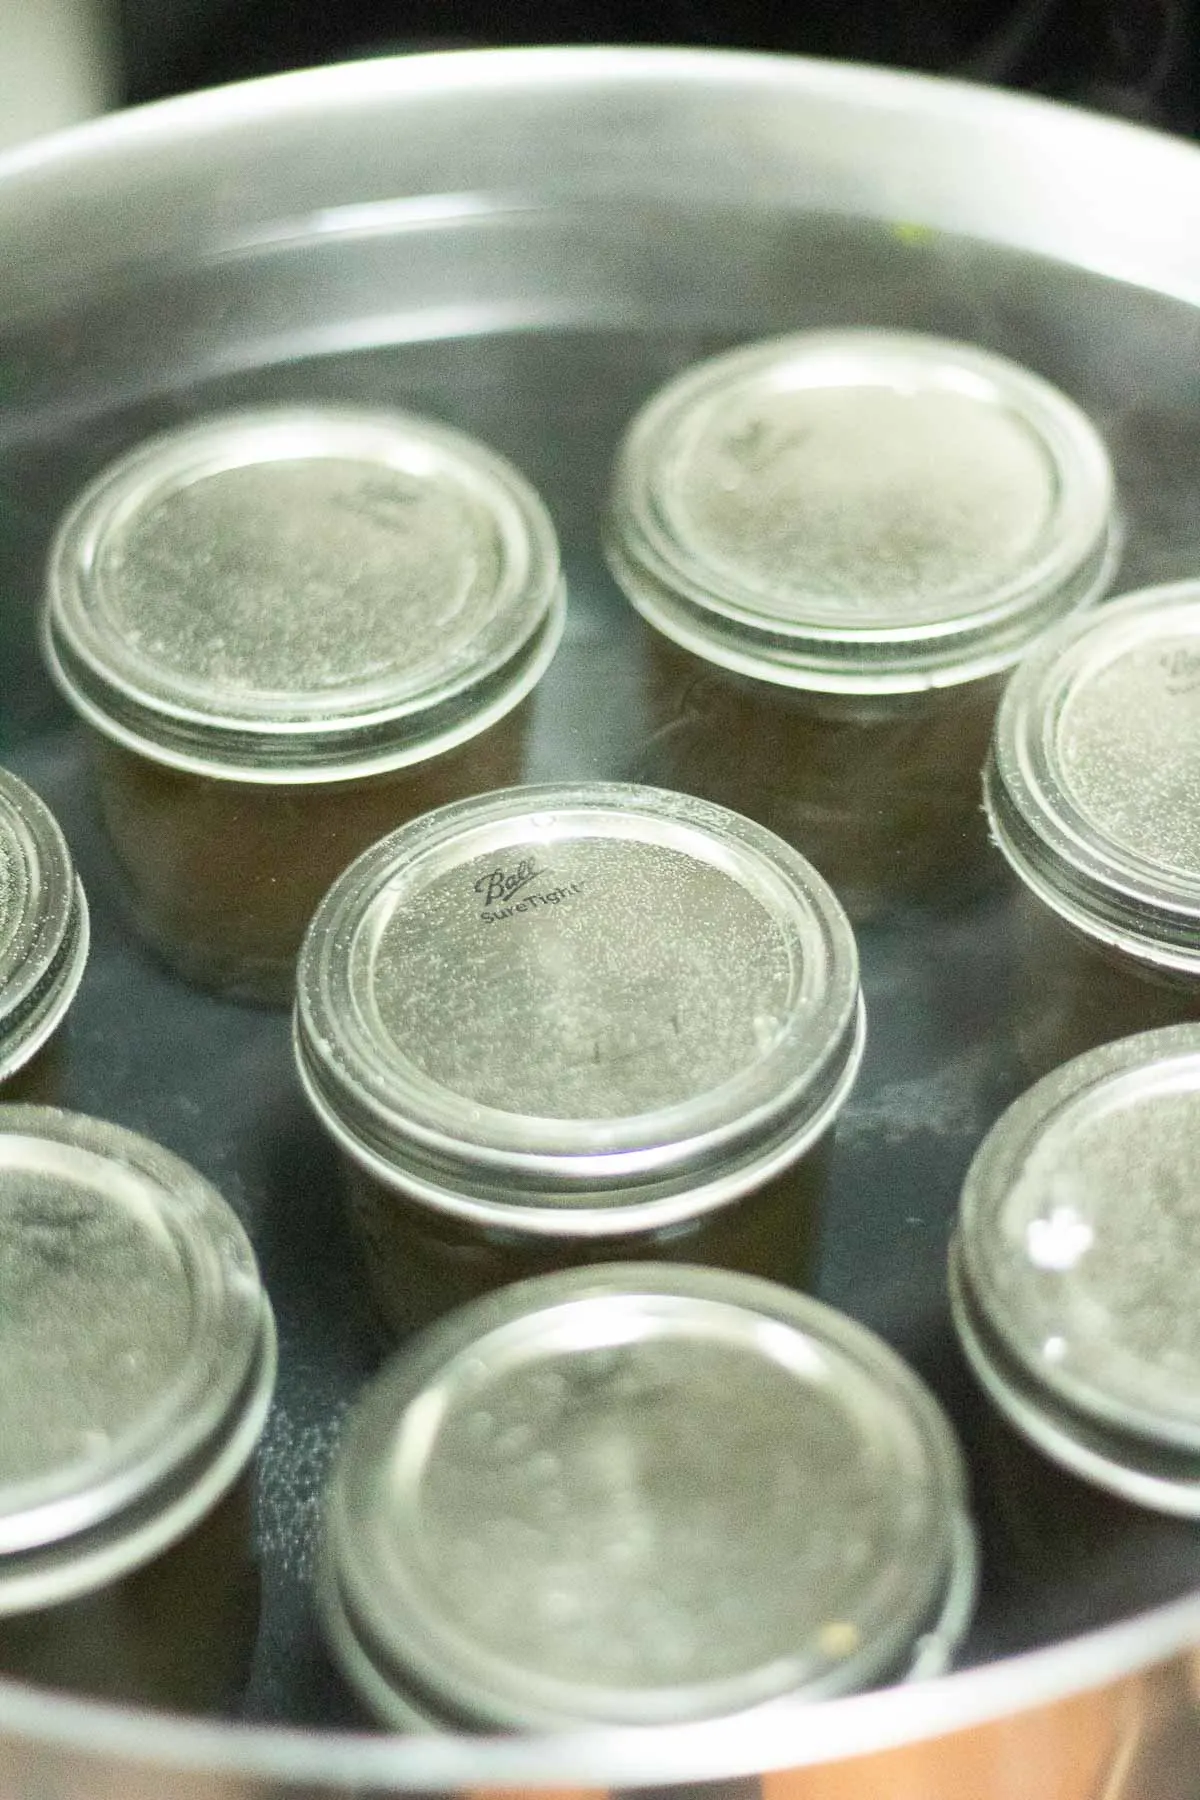
Step 2: Ladle the jelly into the prepared jars. Clean off any jelly that may have gotten onto the rims. Place the lid discs onto the jars and screw on the jar rings. Place the jars into a large pot of hot water with a metal rack. You can use the water you used to sterilize jars, but you may have to remove some of the water before placing jars in because the jars are not empty anymore. Once the jars are in the water, add any additional water needed to cover the jars by at least an inch.
Step 3: Cover the pot with a lid and bring to a boil. Boil for 10 minutes, then remove jars to cool on your counter overnight to thicken. Can be stored in a cool, dry place for up to one year.
More fresh jalapeño recipes: Roasted Blistered Jalapeños
If you enjoyed this recipe, let me know with a comment and a star rating below. And don't forget to share it on Facebook and save it on Pinterest for later!

Sweet and Spicy Pepper Jelly
Ingredients
- 2 large red bell peppers
- 2 large green bell peppers - (or you can use any combination of bell pepper colors, I just recommend using at least 2 colors to make a more festive pepper jelly)
- 5 jalapeño peppers - (or more if you prefer it extra hot - you can always taste and add more at the end)
- 3 cups granulated sugar
- 1 box pectin for low sugar recipes - (such as from Sure Jell)
- ½ cup apple cider vinegar
- ½ cup water
Special equipment
- Medium/large saucepan for cooking the pepper jelly
- Plastic gloves for removing seeds from jalapeños (trust me on this!! The heat burns your nailbeds and cuticles so badly!)
- 8 8-oz canning jars (or any heat-safe jar if you don't plan on canning)
- Canning tools (if you plan on canning)
- Large canning pot (if you plan on canning)
Instructions
- Remove all seeds from the bell peppers and the jalapeños. Wear plastic gloves when doing this because the jalapeños can burn your skin. Rinse out any remaining seeds under cold water.
- Chop all peppers into very small pieces. You can use a food processor but be careful to not over-chop. You don't want a pepper puree.
- Place chopped peppers into your pot. Add ¼ cup of the granulated sugar and the pectin to the peppers and stir. Add in the water and vinegar.
- Bring to a full rolling boil, then add in the remaining sugar and stir. Return to a boil and boil for one minute, or until you like the consistency of your jelly.
- If you don't plan on canning, allow the jelly to cool a little before transferring to a glass jar. Keep refrigerated for up to 1 week.
- Sterilize the jars: Place your jar and lids in a canning pot with a rack in the bottom. If you don't have a canning pot, you can place a metal rack or steaming rack on the bottom of a large pot. It is important to have something for the jars to sit on so they don't get too hot on the bottom and burst. Cover the jars with hot water, allowing the jars to fill with the water—the water should come to about 1 inch over the top of the jars. Cover the pot, bring to a simmer, and heat for 10 minutes.
- Remove jars using tongs, making sure the water is drained out of them, and place them right side up. Do not touch the jars with your hands so you don't introduce bacteria, but allow the heat from the jars to evaporate the extra water so the jars are dry. Ideally, you want to time this so you are removing the jars from the pot at about the same time as the jelly is ready to porin so the jars will be still hot. Otherwise, the hot jelly can cause the jars to break if they are too cold.
- Ladle the jelly into the prepared jars (I love the funnel from this canning set). Clean off any jelly that may have gotten onto the rims. Place the lid discs onto the jars and screw on the jar rings. Place the jars into a large pot of hot water with a metal rack. You can use the water you used to sterilize jars, but you may have to remove some of the water before placing jars in because the jars are not empty anymore. Once the jars are in the water, add any additional water needed to cover the jars by at least an inch.
- Cover the pot with a lid and bring to a boil. Boil for 10 minutes, then remove jars to cool on your counter overnight to thicken. Can be stored in a cool, dry place for up to one year.
Notes
Nutrition
The nutritional information displayed is an estimate and not to be used as dietary or nutritional advice. Consult a nutritionist or dietician for nutritional info based on the exact ingredients you use.
Nicole Oliver
Thursday 22nd of September 2022
Would it be possible to use liquid pectin for this? Or could I just skip the pectin altogether? Maybe I could use some cornstarch to thicken it instead? Please let me know. I have a lot of jalapeños from my garden and I’d like to try this recipe.
Rhonda S
Wednesday 29th of June 2022
***** 5 star rating
Kate
Wednesday 6th of July 2022
Thank you!! Enjoy!