

Here's a recipe to pull out when you want some bragging rights: homemade pie crust! This savory pie crust has just 3 ingredients and is super easy to make—you need about 15 minutes of prep time! I'll walk you through all the tips for making a great butter pie crust.


Jump to:
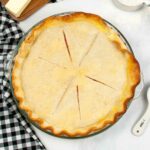
Homemade pie crust
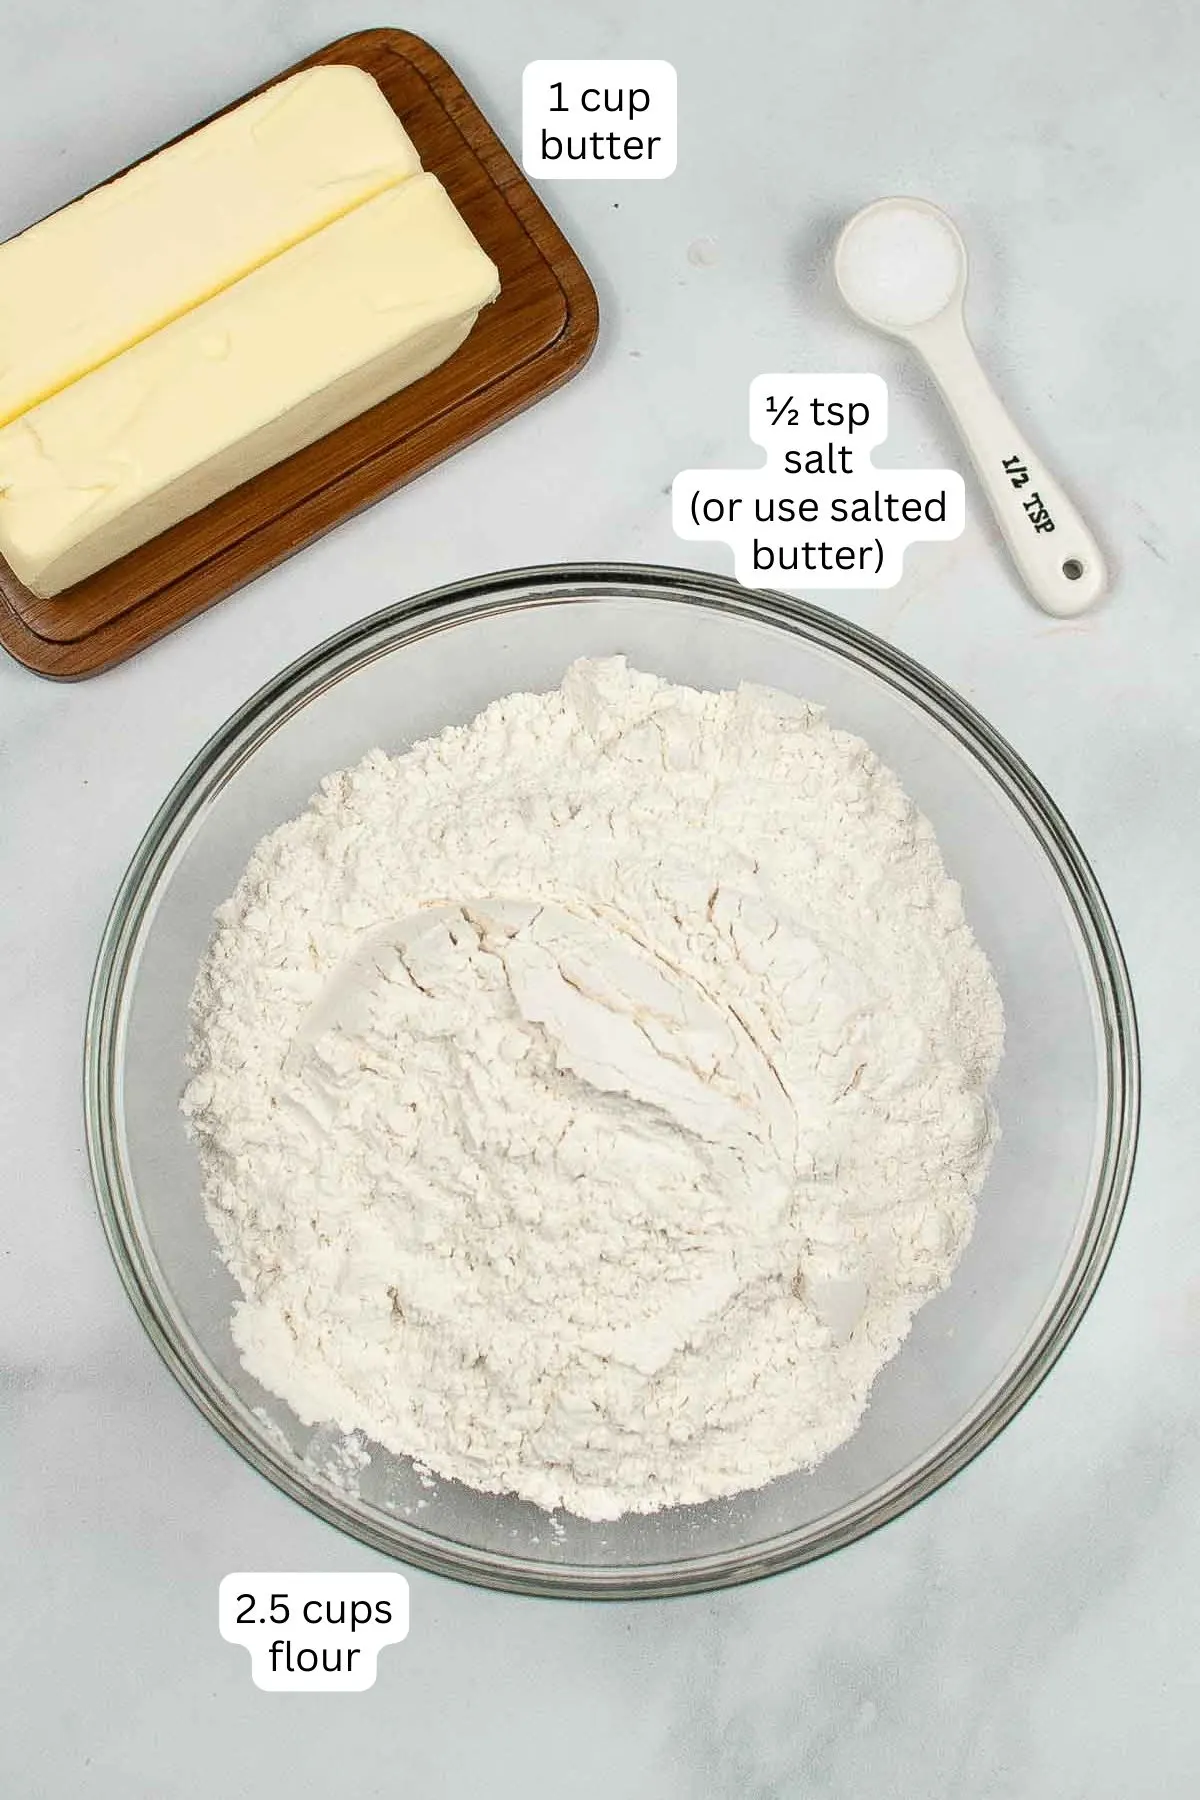
A basic pie crust needs just 3 ingredients: 2.5 cups flour, 1 cup salted butter, and ½ cup ice-cold water. If you don't have salted butter, then you just need to grab unsalted butter + ½ teaspoon salt for this recipe.
Mix them together, roll it out, and you're done! (But of course if you need detailed instructions and tips, I have those below).
From here on you're free to use this pie crust however you like.

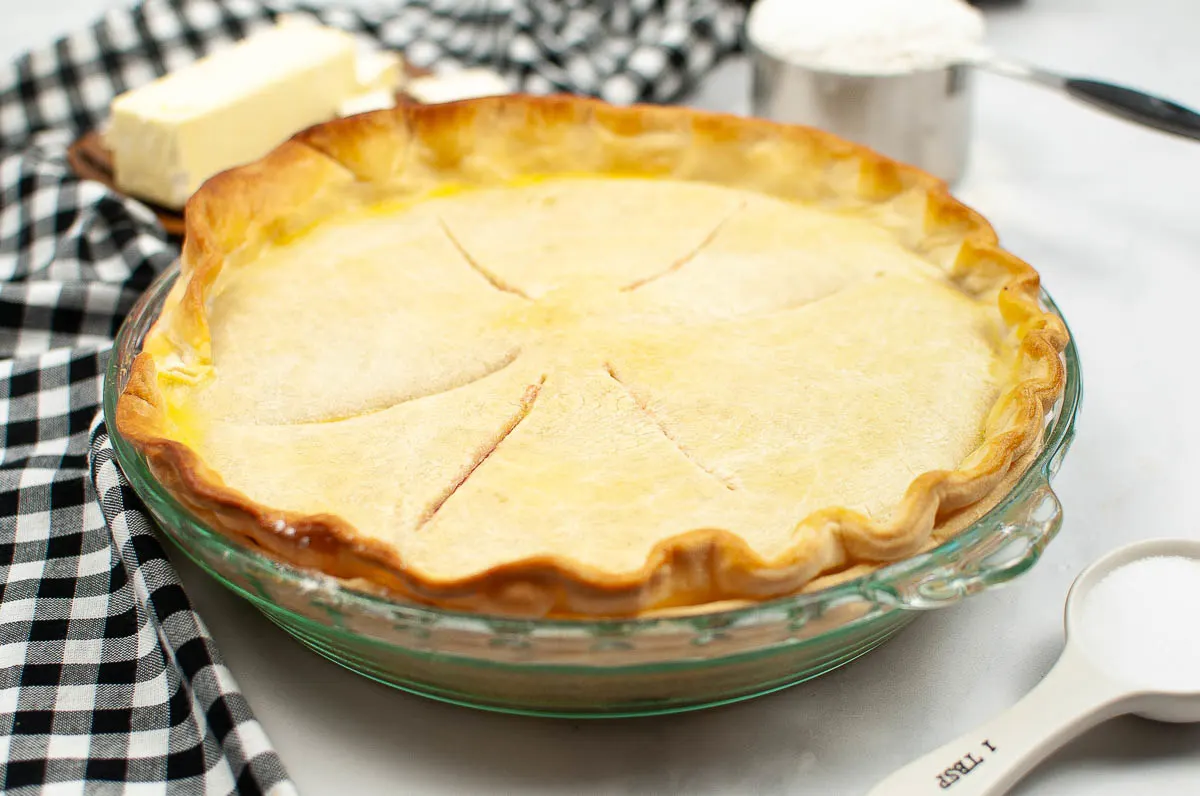
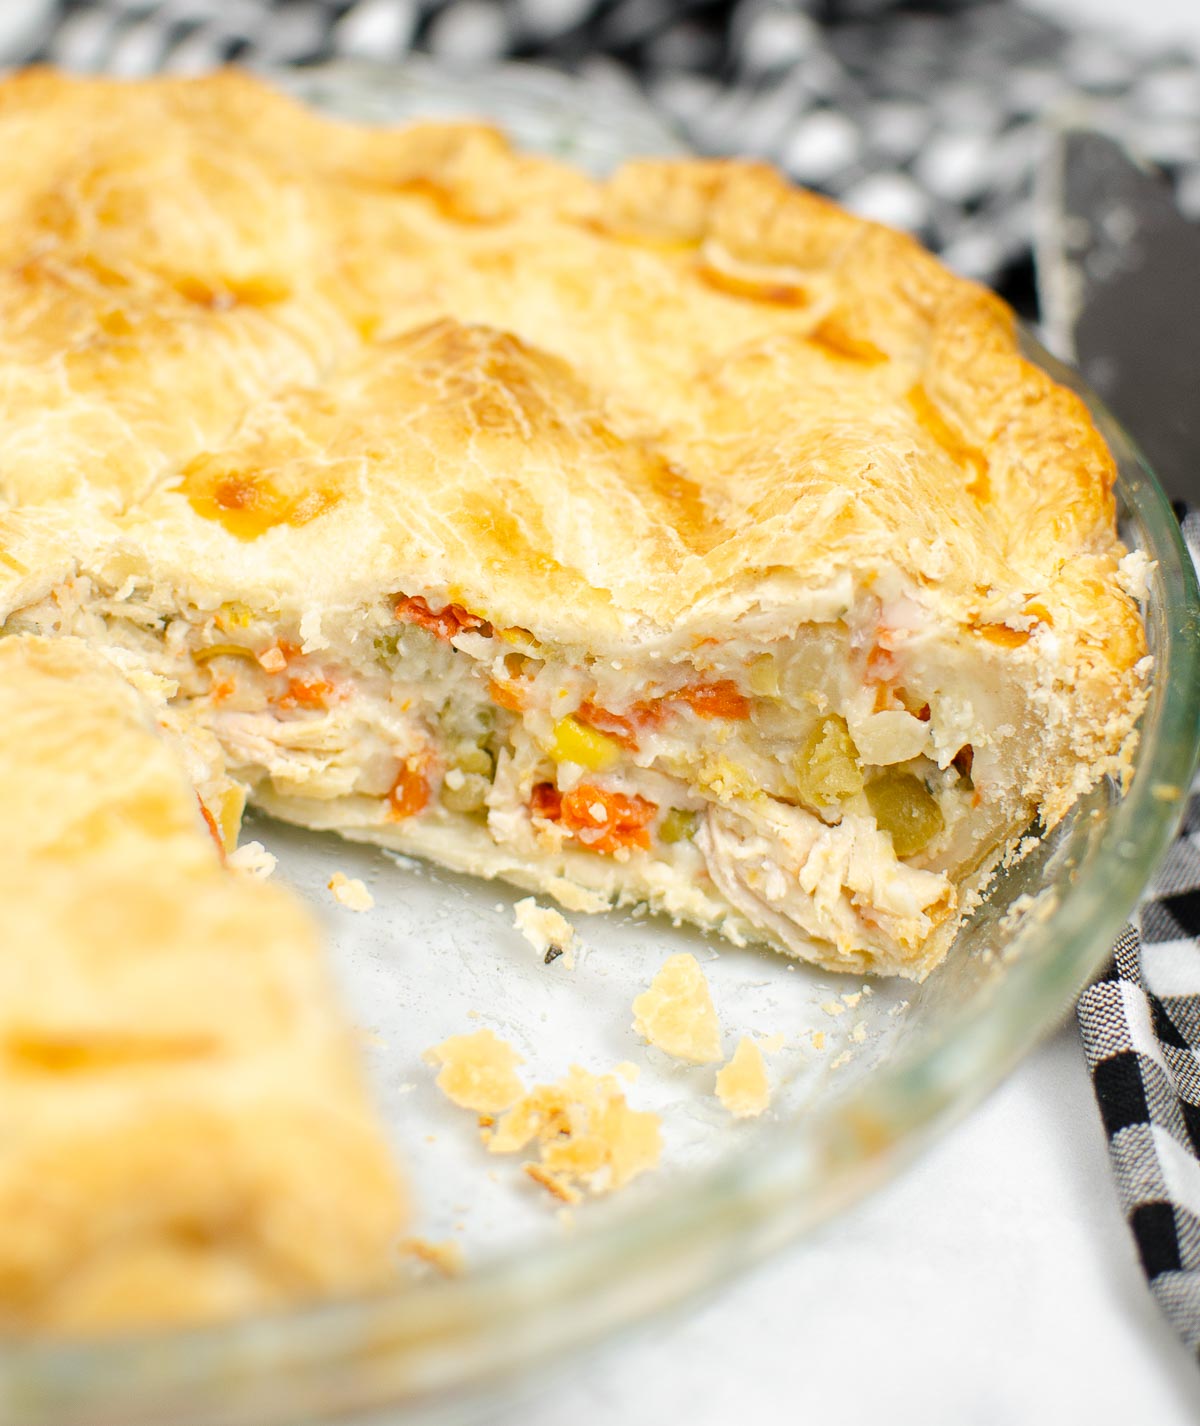
I like to use this pie crust for a savory pie (such as this turkey pot pie) because it is salted and doesn't have any sugar added to it.
However, this pie crust works really well for sweet recipes too, since you get the nice combination of a slightly salted savory pie crust with the sweet fruit filling.

More from-scratch baking recipes: Air Fryer Focaccia
Tips for the best pie crust
- Keep your ingredients ICE COLD! Get ice cold water. Make sure your butter is straight from the fridge. In fact, chill your flour and your bowl in the fridge before getting started.
- Use tools instead of your hands: a mixer and a pastry blender. This will keep the dough mixture colder longer than if you were using your hands.
- Keep your ingredients cold! Oh, did I mention that already? 🙂
The reason I am emphasizing the cold is this: You want the butter that is being mixed into the flour to not be melted. You want the butter to still be solid in tiny tiny pieces. This way, the second you put that pie crust into the oven, the butter bits start melting and forming little flaky air pockets in the pie crust. This will make a flaky pie crust that has the most pleasant texture as you bite into it!
I read all about the science behind this in the book Salt, Fat, Acid Heat. The book is a really good read if you want to learn more about how these elements affect our cooking! I'm working my way through it and bookmarking so many pages with great tips, notes, and recipes.
More from-scratch baking recipes: Basic Baguette
Pie crust rolling tips
- If you don't want to roll out your pie crust on the counter, you have a few options:
- A really large cutting board. If it slides around, lay a damp towel under it to help it stay put.
- A large baking tray flipped upside down. You'll need to lay a towel under it so it doesn't slide around or scratch your countertop.
- Use only as much flour for dusting as needed to prevent sticking, so you don't add too much flour unnecessarily... but don't be afraid to add flour as needed so that the crust doesn't stick.
- Work quickly, so the butter doesn't melt. Since you're only rolling out half the dough at a time, keep the other half in the fridge.
- Once the pie crust is rolled out, shape it around your pie dish and keep refrigerated if you're not pre-baking it or baking with it immediately.

Ingredients
- 2 ½ - 2 ¾ cups all-purpose flour, plus extra for dusting - if you have time before getting started, measure out the flour and chill it in the fridge
- 1 cup salted butter (2 sticks), or use 1 cup unsalted butter + ½ teaspoon salt. Make sure the butter is cold!
- ½ cup ice water (make sure it's ice cold!! I recommend getting a bowl of ice water, and measuring out ½ cup of that water)
Special equipment
- Stand mixer with a dough hook - chill the bowl in the fridge before getting started.
- Pastry blender (chill this too) - a pastry blender is optional, but recommended instead of using your hands, which will heat the pie crust up.
- Pie weights - to prevent the crust from bubbling as it bakes. Or you can use a bag of dried beans.
- Parchment paper - for placing the pie weights or beans into
- Rolling pin (yes, chill this too!)
Ultimately, you can make pie dough without a pastry blender or a mixer. Using your hands will be fine! It just might not reach its fullest flaky potential. If using your hands, start by mixing the flour, butter, and water with a fork as much as you can, to avoid the heat from your hands. Once a fork is not working anymore, then go in with your hands.
Instructions
Before you get started, chill all your ingredients and tools so they're as cold as possible.
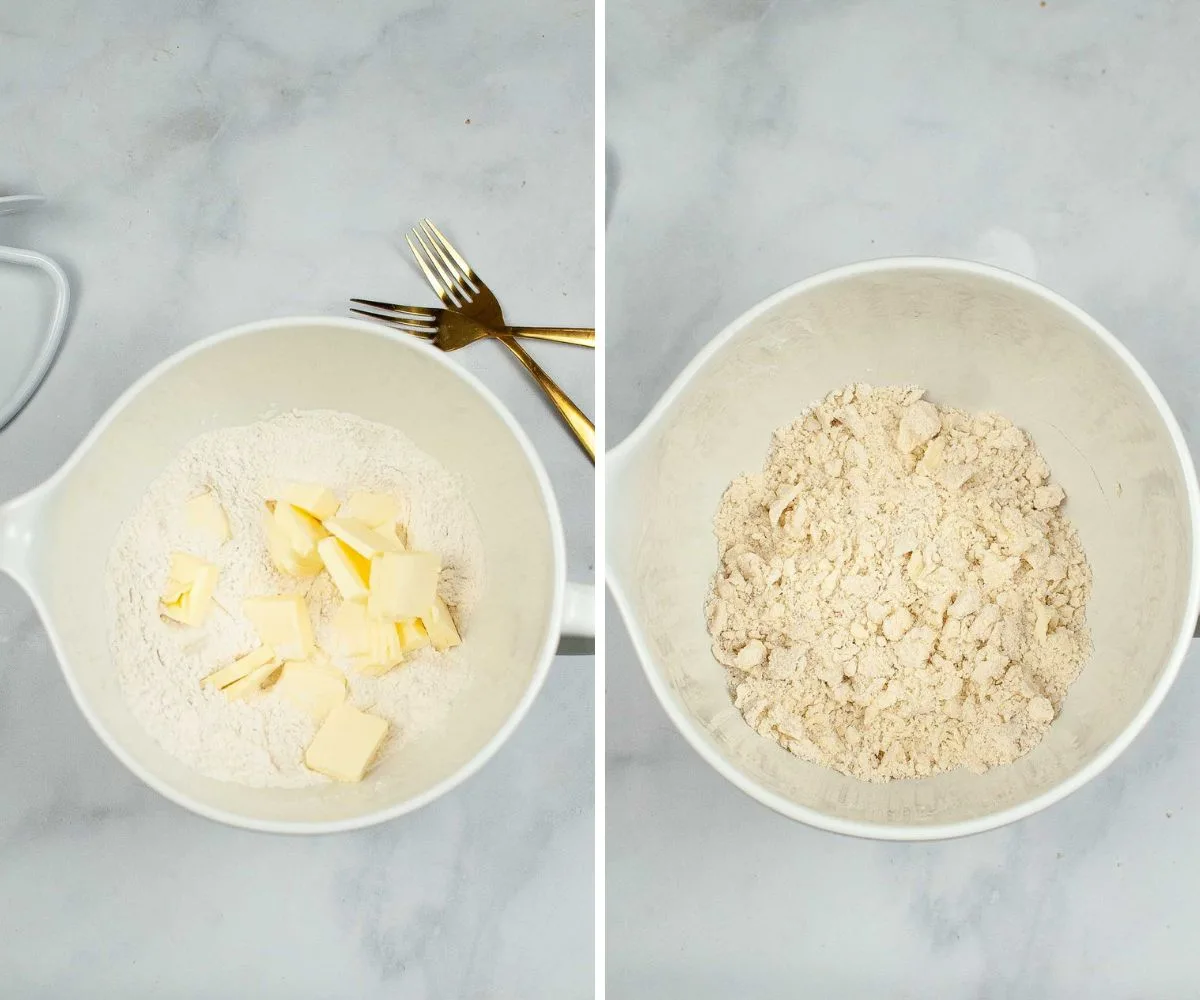
Start by dicing your butter into small pieces. After you've diced it, place it back in the fridge to chill so it gets cold again (If you have some extra time.)
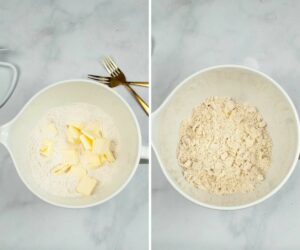
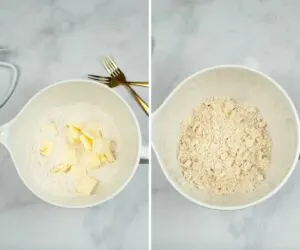
In a large bowl (such as your mixer bowl), combine the diced butter and 2.5 cups flour. Using a pastry blender, mix the butter in until the dough starts to resemble small crumbles.

Using a dough hook on a slow speed setting, add the ice water 1 tablespoon at a time, until a not-too-sticky dough forms. If you accidentally added too much water, you can add up to ¼ cup flour to get it to be not sticky again.
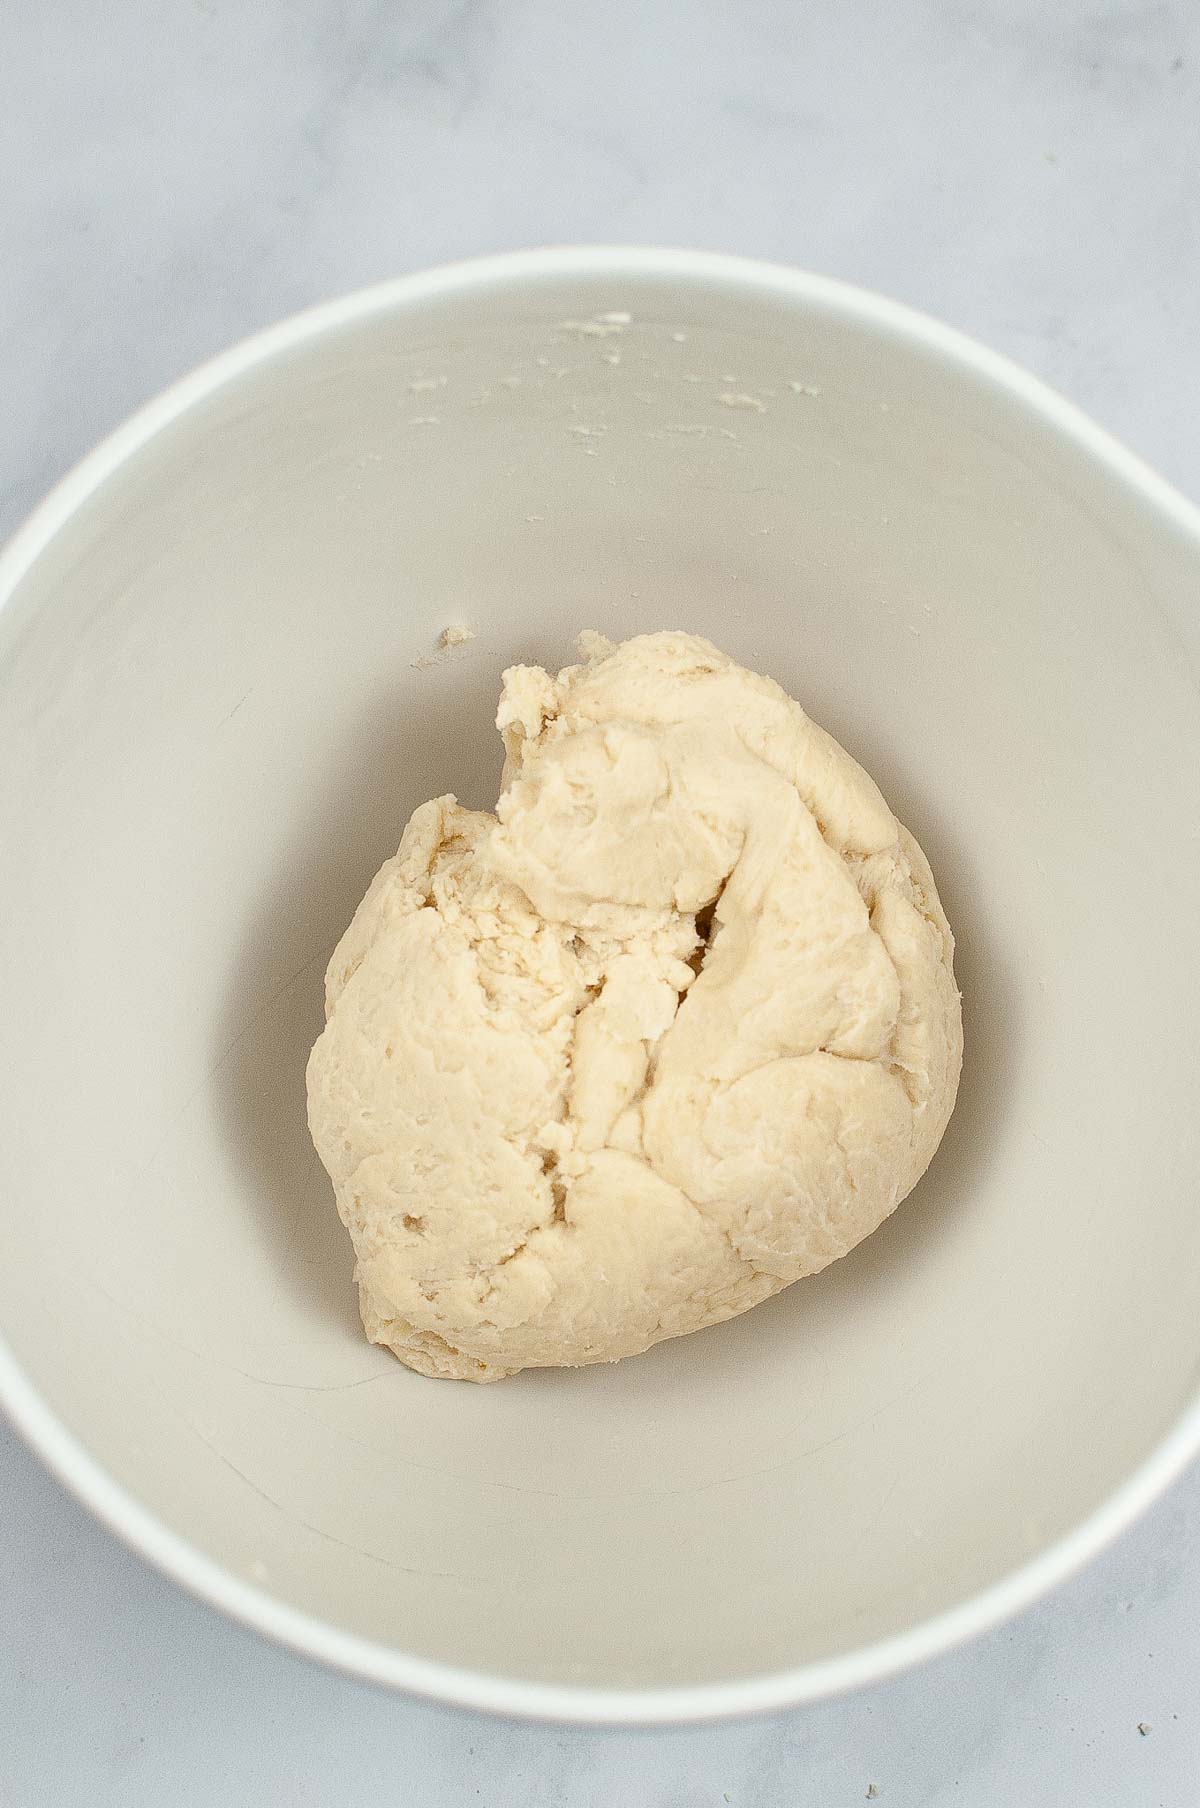
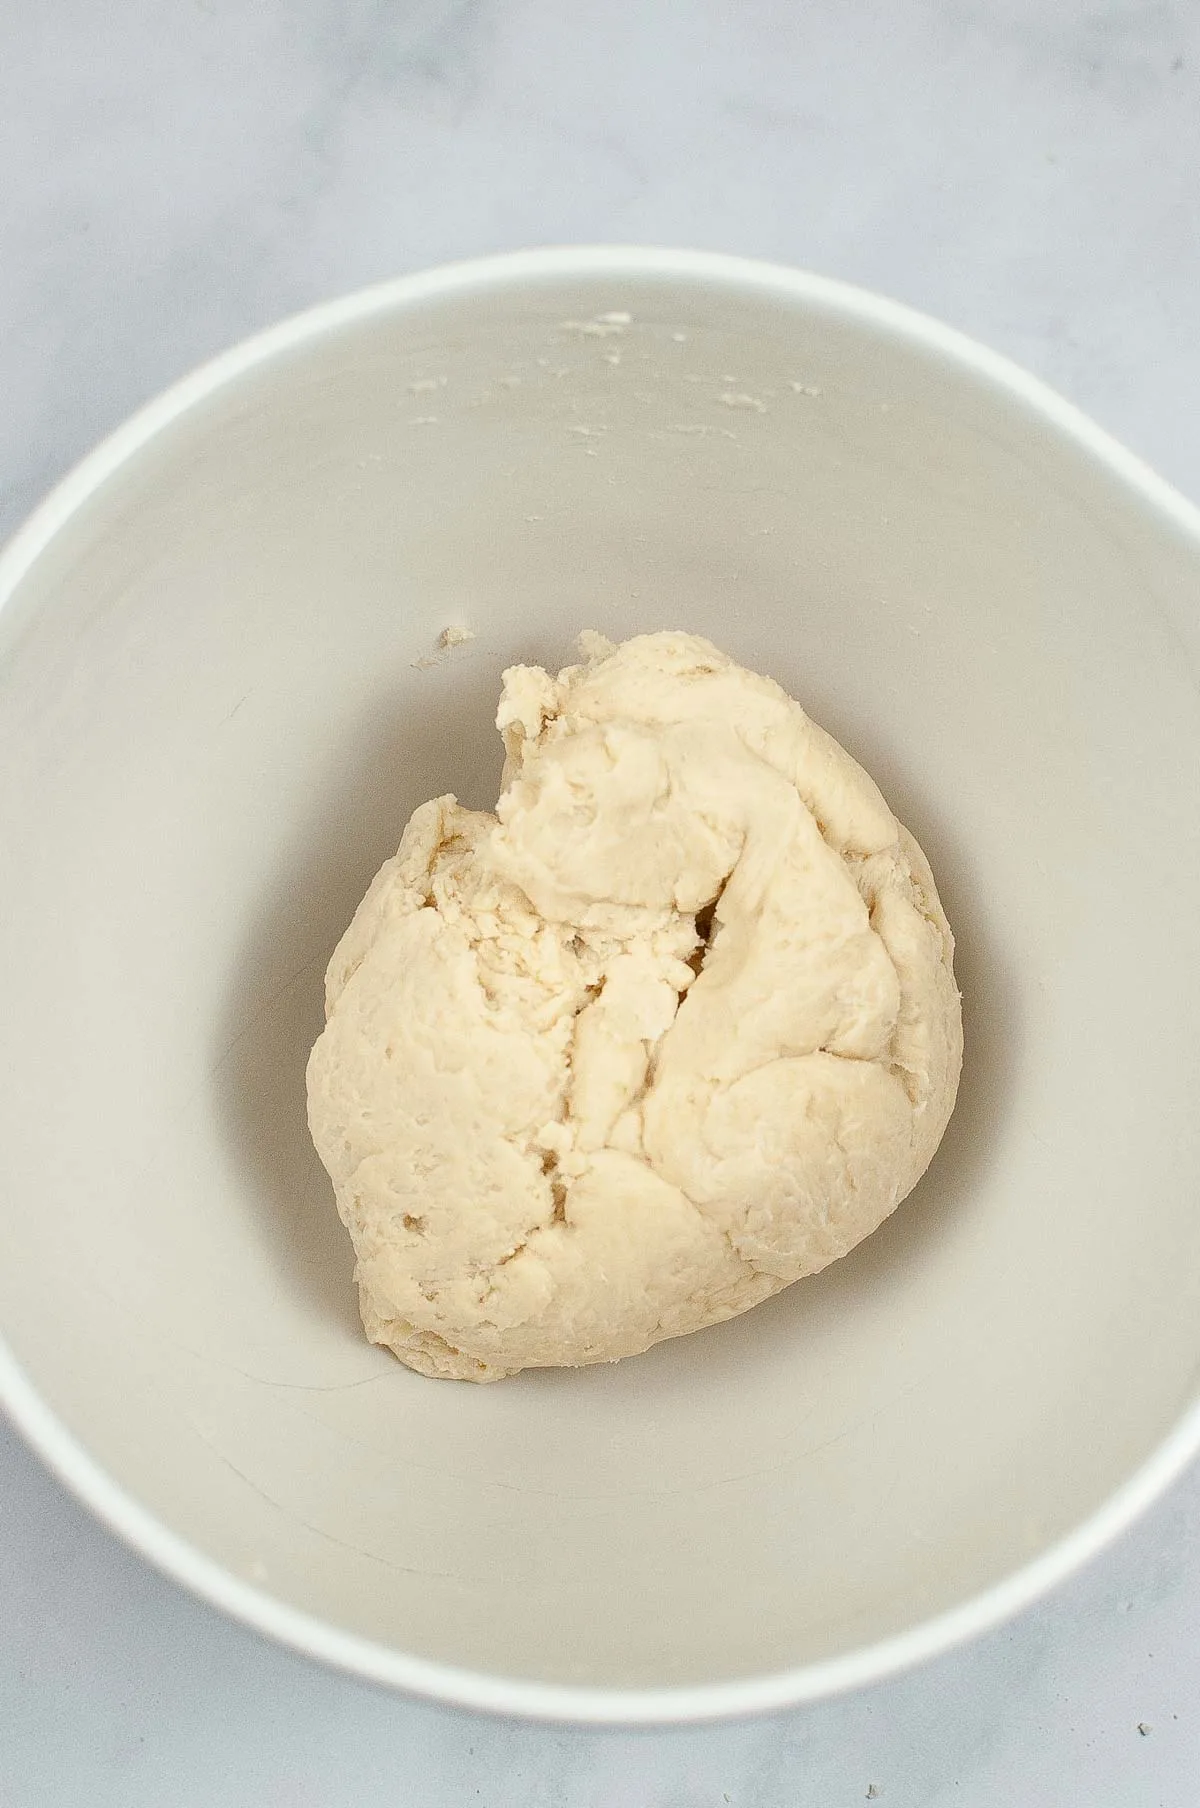
Once you’ve added all the ice water, cut the dough ball in half. Transfer one ball to a lightly floured flat surface, such as a clean counter or a large cutting board.
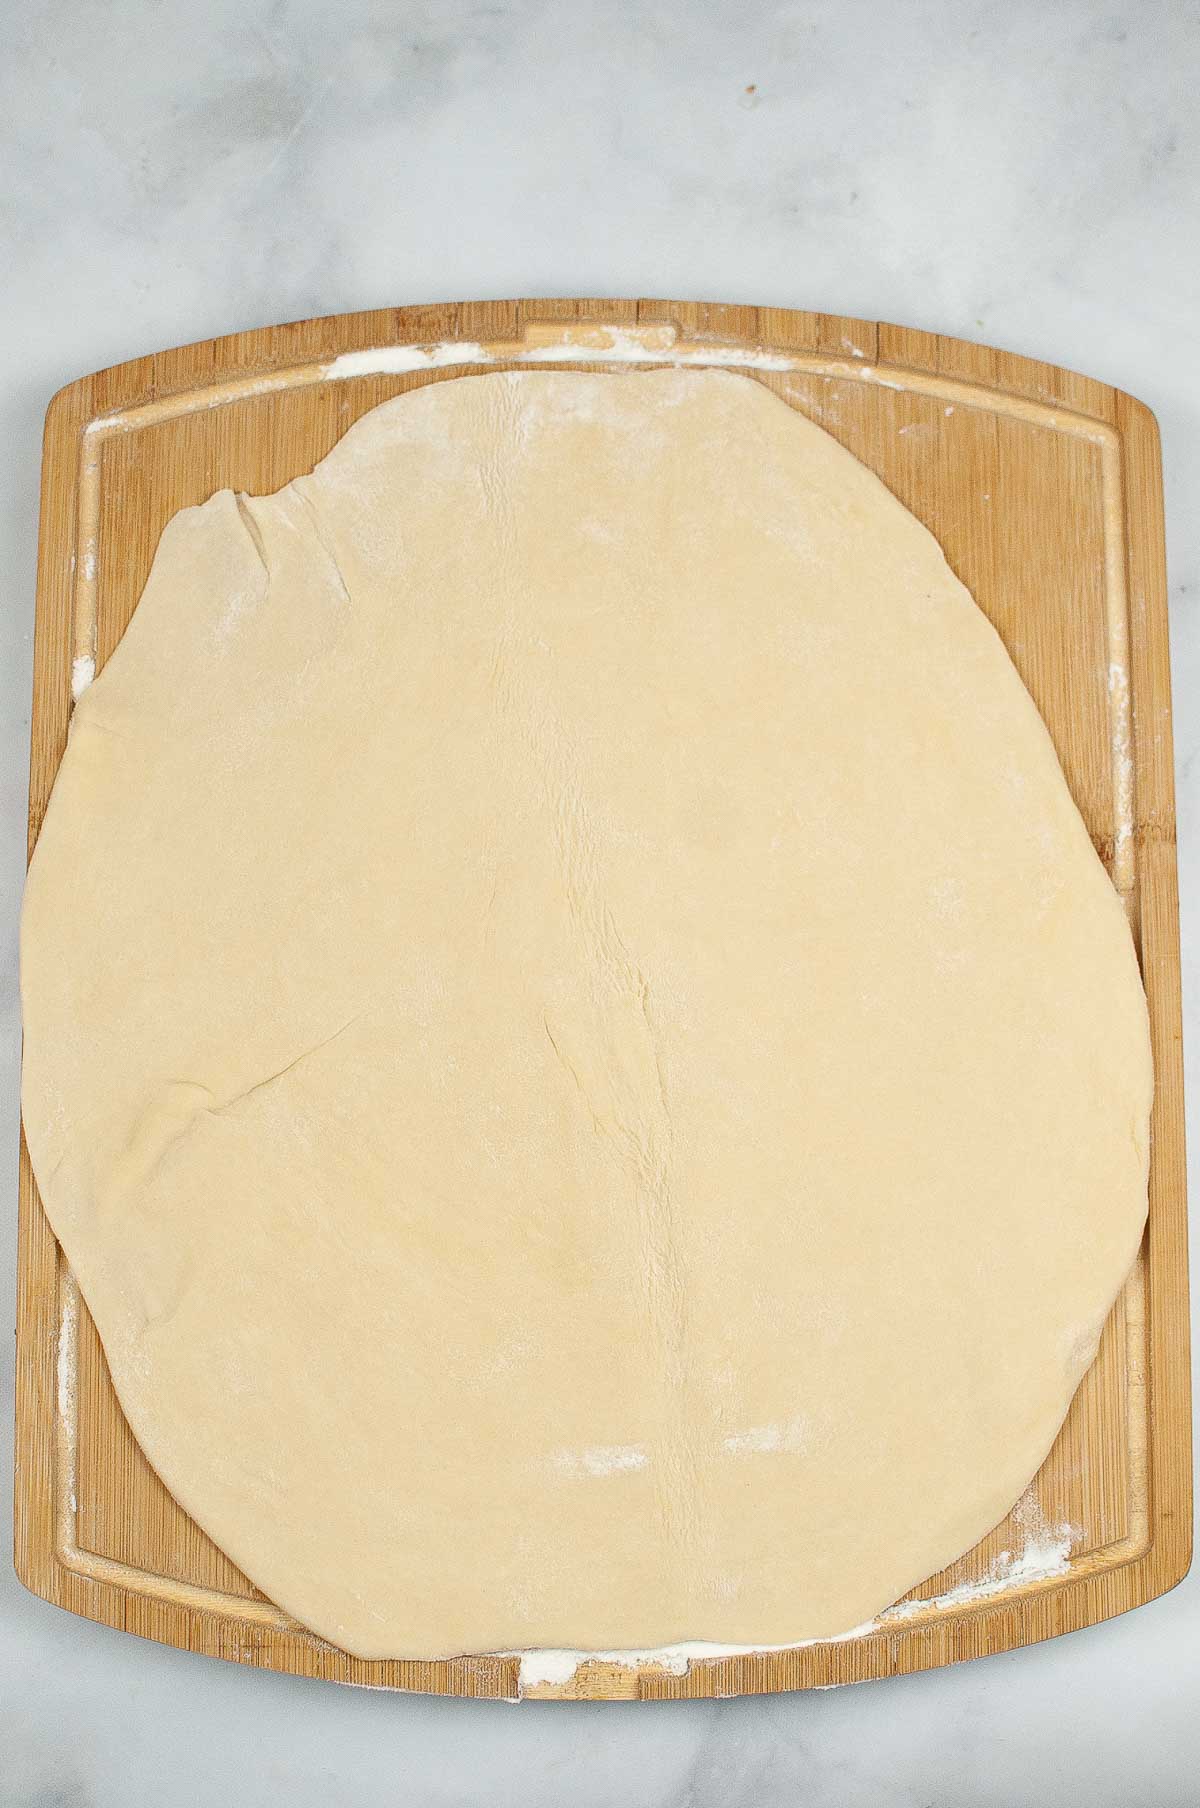
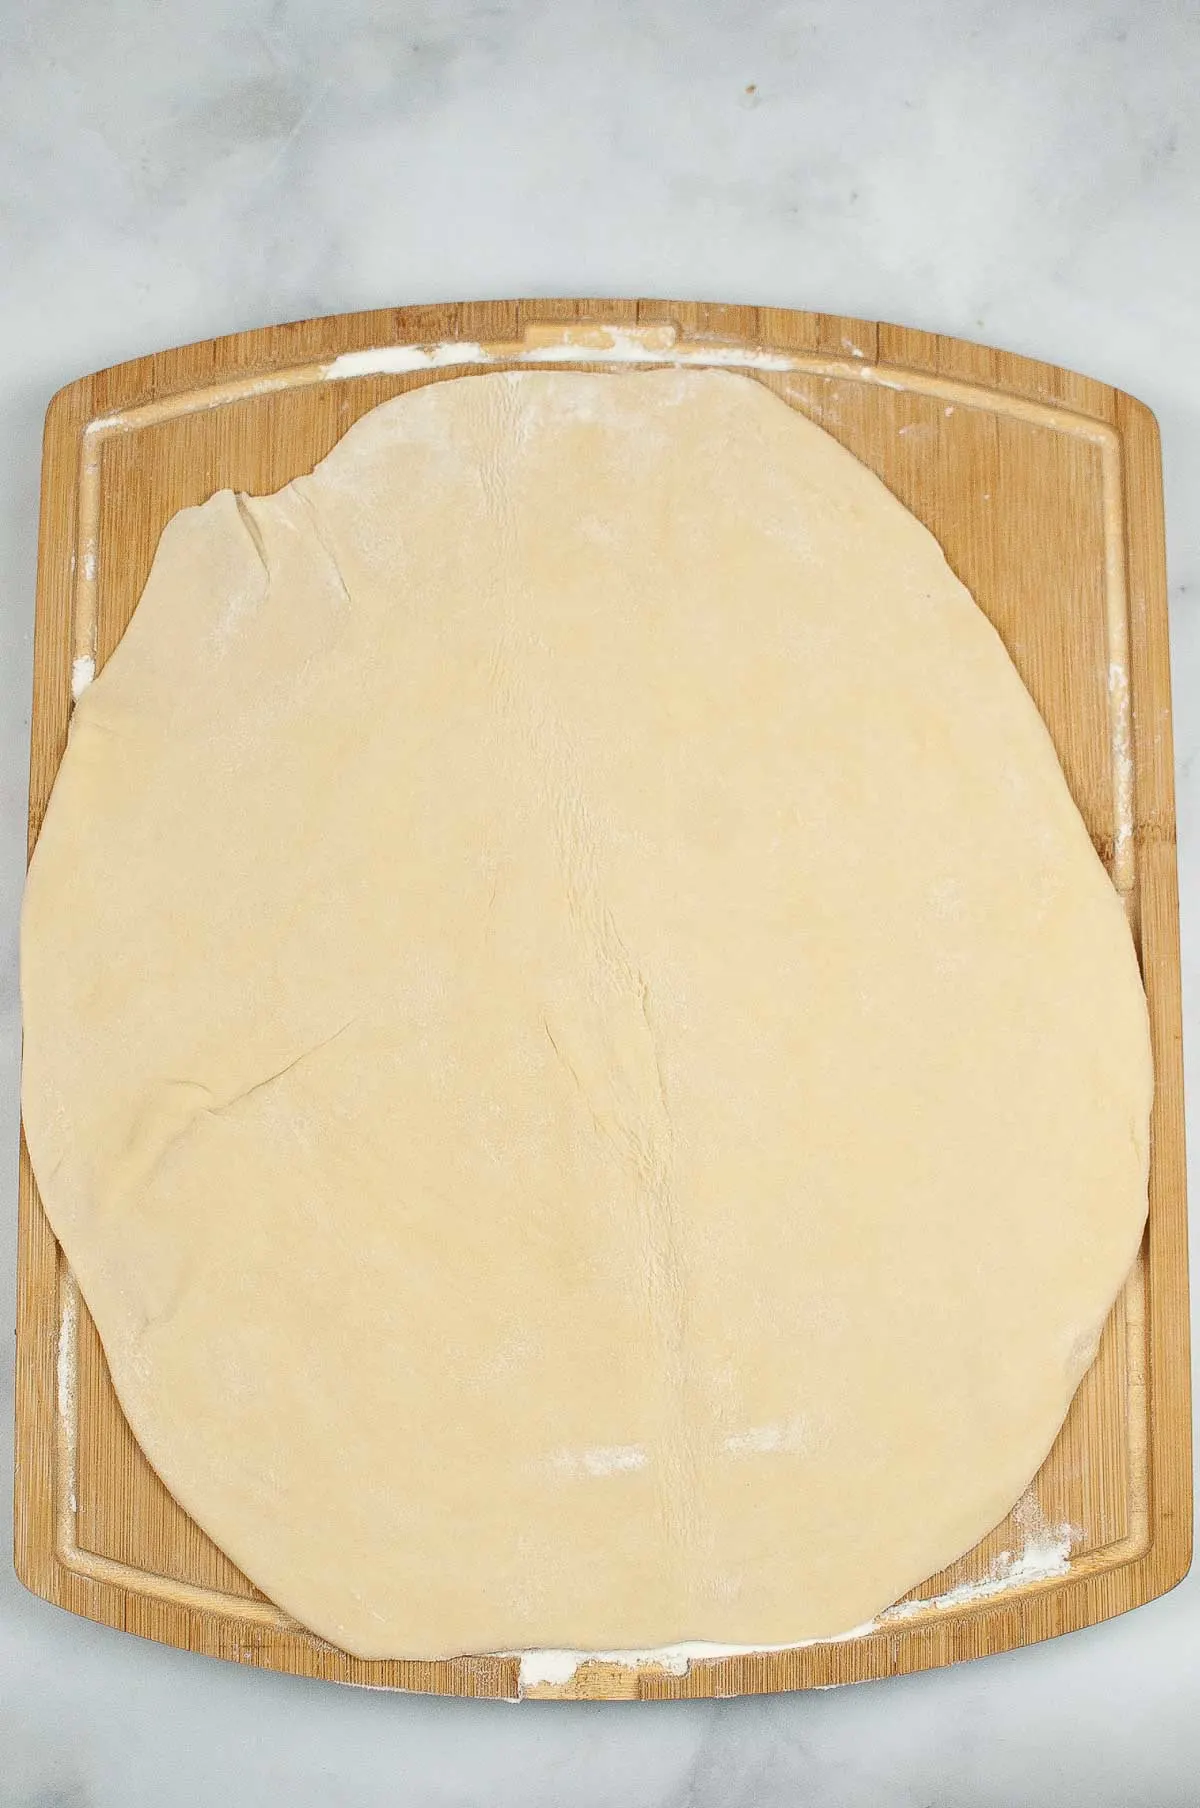
Using a rolling pin, roll out your dough into a flat round surface to about ¼-inch thickness for ultimate flakiness. It should be big enough to press into your pie dish and cover the sides. Use a knife to shape it into a round shape if it is oblong at first. Rolling tip: Lay a damp towel underneath a cutting board to prevent slipping and sliding.
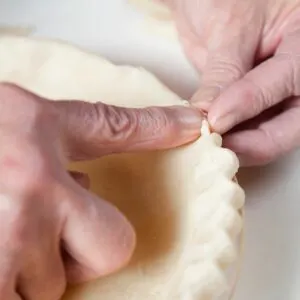
Carefully transfer your pie crust to your pie dish and gently press it down. If you are baking a one-crust pie (without a top crust) and want to form a wavy fluted edge, use your fingers to shape the dough now.


Place the rolled out pie crust into the fridge and roll out the other half. If not using the other half right away, double wrap it in plastic wrap + foil (so 3 layers total) and keep refrigerated for up to 2 weeks, or frozen for up to 3 months.
If using the other half, fill your pie crust with fillings, place the second crust on top, and press the edges together and form a fluted edge before baking.
More from-scratch baking recipes: Cheesecake Cookie Cups
Freezing homemade pie crust
This savory pie crust dough keeps well in the freezer for up to 3 months, or refrigerated for up to 2 weeks. To freeze pie crust, double wrap it in plastic wrap and then wrap in foil to help reduce freezer burn
Thaw in the fridge for 24 hours, then roll out and use it for baking!
More from-scratch baking recipes: Sweet Peach Bread
Baking with homemade pie crust
You can use homemade pie crust in any recipe just like you would use a store-bought pie crust. I typically preheat the oven to 400F and bake for 30-35 minutes, or until the top of the pie is golden brown (or until the edges are golden brown, if using only the bottom crust).
Some recipes, like fruit pies, specify to bake at 400-425F for 15 minutes, then reduce the heat and bake at 350 for about 40-45 minutes. This is to give the fillings more time to bake without burning the pie crust.
Follow the recipe and use this pie crust like any other crust!
More from-scratch baking recipes: Pizza Dough From Scratch
Par-baking pie crust
Depending on your recipe, you might need to par-bake your pie crust. This simply means pre-baking it, or baking it halfway.
Most of the time the reason for par-baking is that you have wet ingredients that would make the pie crust soggy. Par-baking it forms a crust to keep the sogginess out.
The other reason for par baking would be that that you are using pie ingredients that need less cook time than the crust, so you can par-bake the pie crust, fill it, then finish baking until the crust is golden brown.
I recommend following a specific recipe with par-baking instructions, but here's what I typically do:
To par-bake the crust, heat the oven to 375F. Press the pie crust dough gently into your pie dish, then line with parchment paper (allow some extra to stick out on the sides) and top with dried beans. Bake for 15 minutes, then remove from heat, CAREFULLY lift the parchment paper to remove the beans (they're HOTTT), allow the crust to cool a little, then add your toppings. Bake according to the recipe until the pie is done.
The dried beans add weight to the pie crust and prevent it from puffing up.
More from-scratch baking recipes: Orange Cranberry Pound Cake
Blind-baking pie crust
Blind baking is simply pre-baking the pie crust completely before filling it with a no-bake filling. To blind bake a pie crust, you'll follow the same steps as par-baking, but bake the crust a little longer without beans:
Preheat oven to 375F. Press your pie crust into the pie dish. Line with parchment paper and top with dried beans. Bake for 15 minutes. Carefully remove the beans. Use a fork to prick holes on the bottom of the par-baked pie crust. Return to the oven for another 15 minutes, or until the pie crust is golden brown and fully cooked. Allow to cool completely before filling it.
If you enjoyed this recipe, let me know with a comment and a star rating below. And don't forget to share it on Facebook and save it on Pinterest for later!

Easy Savory Pie Crust
Ingredients
- 2 ½ - 2 ¾ cups all-purpose flour - plus extra for dusting. Measure and chill the flour in the fridge
- 1 cup salted butter - (2 sticks), or use 1 cup unsalted butter + ½ teaspoon salt. Make sure the butter is cold!
- ½ cup ice water - (make sure it's ice cold!! I recommend getting a bowl of ice water, and measuring out ½ cup of that water)
Special equipment
- Stand mixer with a dough hook (optional but helpful) - chill the bowl and hook in the fridge before getting started
- Pastry blender (optional but helpful) - chill this too
- Pie weights to prevent crust from bubbling during baking (or use dry beans)
- Parchment paper for the pie weights or beans
- Rolling Pin yes, chill this too
Instructions
- Start by dicing your butter into small pieces.
- In a large bowl (such as your mixer bowl), combine the diced butter and 2.5 cups flour. Using a pastry blender, mix the butter in until the dough starts to resemble small crumbles.
- Using a hook on a slow speed setting, add the ice water 1 tablespoon at a time, until a not-too-sticky dough forms. If you accidentally added too much water and the dough is very sticky, you can add up to ¼ cup flour to get it to be not sticky again.


- Once you’ve added all the ice water, cut the dough ball in half. Transfer one ball to a lightly floured flat surface, such as a clean counter or a large cutting board.
- Using a rolling pin, roll out your dough into a flat round surface to about ¼-inch thickness. It should be big enough to press into your pie dish and cover the sides.
- Carefully transfer your pie crust to your pie dish and gently press it down. If you want to form a fluted edge, use your fingers to shape the dough.

- Place the rolled out pie crust into the fridge and roll out the other half, if using. If not using the other half right away, double wrap it in plastic wrap and keep refrigerated for up to 2 weeks, or add a third foil layer and keep frozen for up to 3 months.
- If using the top half, fill your pie crust with fillings, place the second crust on top, and press the edges together and form a fluted edge before baking.
- Follow your favorite pie recipe for baking, or see the notes below for general pie crust baking tips.
Notes
Nutrition
The nutritional information displayed is an estimate and not to be used as dietary or nutritional advice. Consult a nutritionist or dietician for nutritional info based on the exact ingredients you use.