
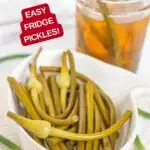
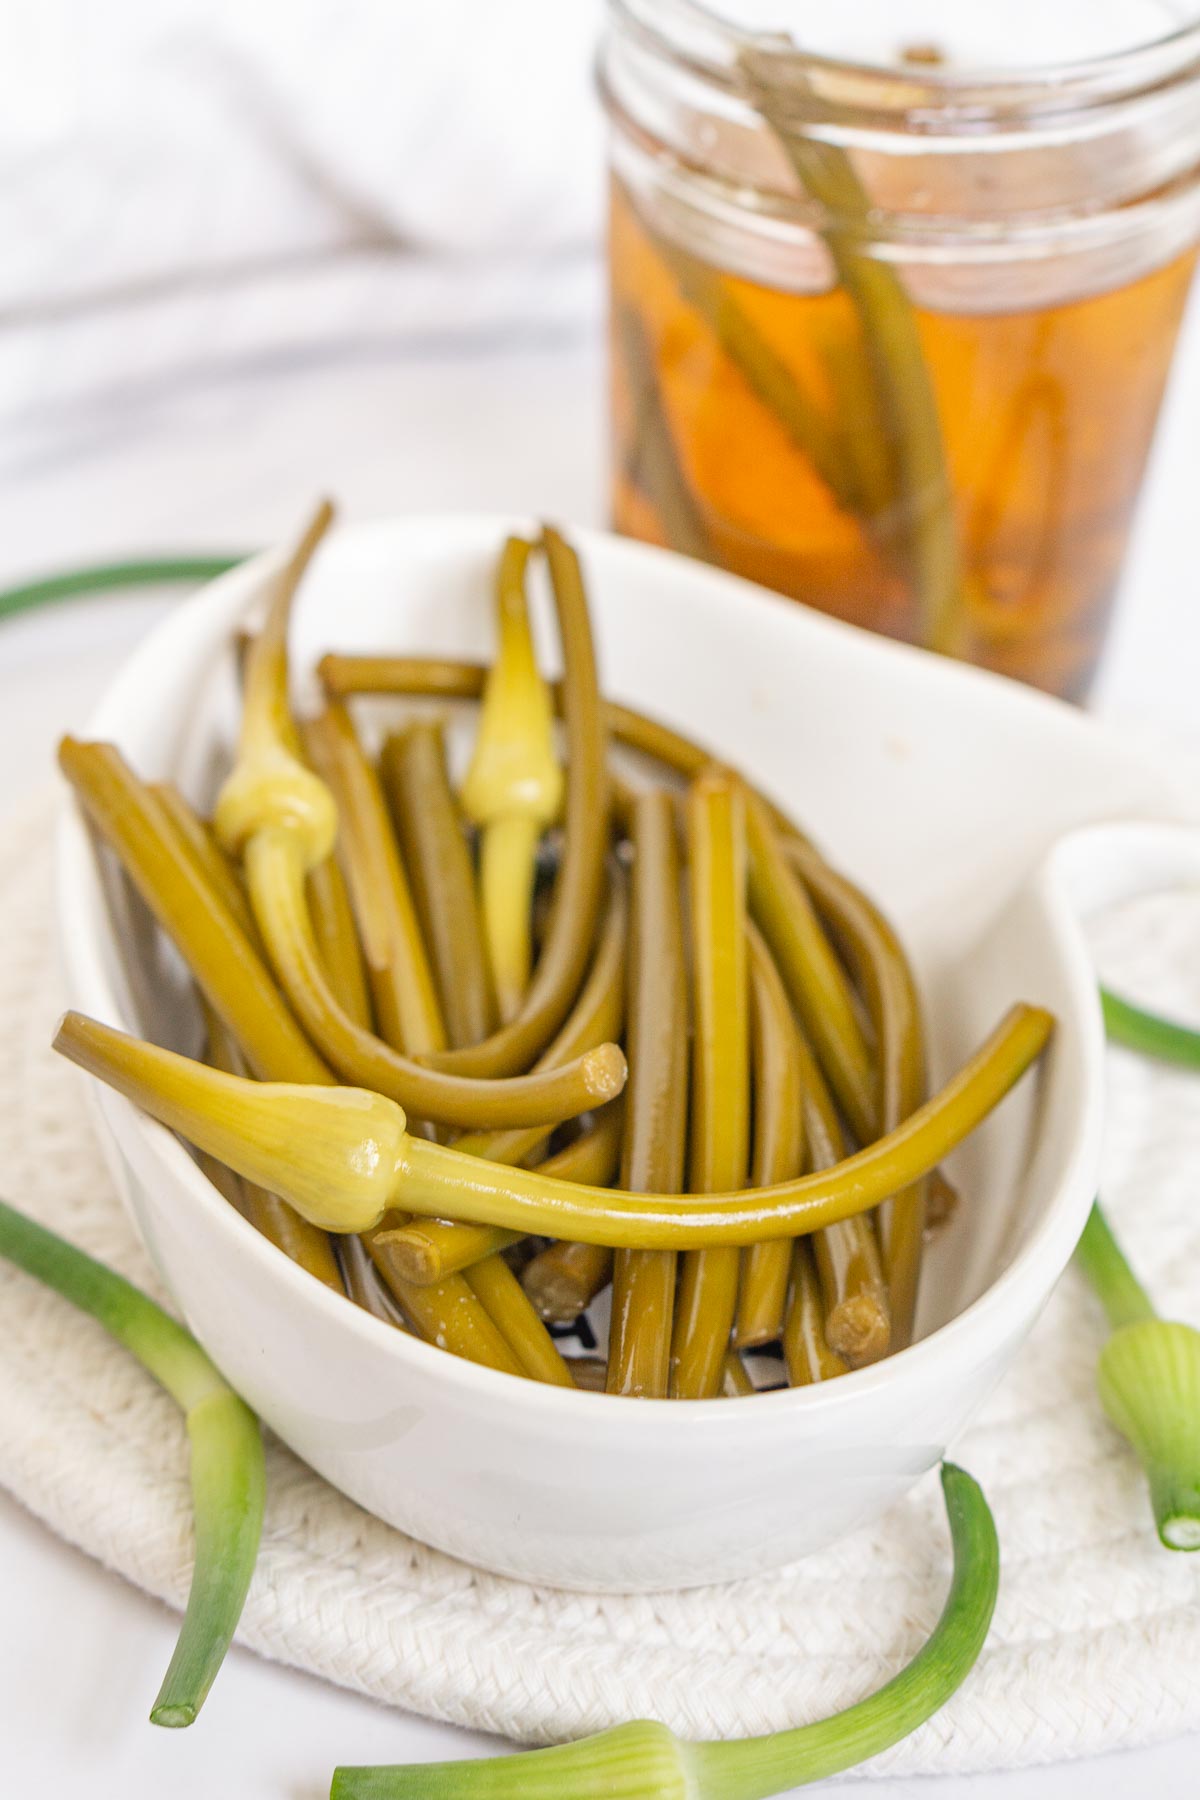
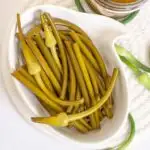
Are you wondering how to use garlic scapes every year? Make Pickled Garlic Scapes to preserve them for later! This is an easy fridge pickle recipe where the broth comes together in 5 minutes, the pickles cure in the fridge for a couple of weeks, and your garlic scapes are ready to enjoy!

Jump to:
Preserving garlic scapes
Those of us with gardens and CSA subscriptions always end up with bunches and bunches of garlic scapes every year, right?
I add them to dishes in place of garlic, freeze some, make garlic scape butter (which is sooo good by the way!!), but in the end I still have a handful of garlic scapes that I just don't know what to do with... until now!

I made pickled garlic scapes and have been enjoying them in my fridge for weeks.
What do pickled garlic scapes taste like?
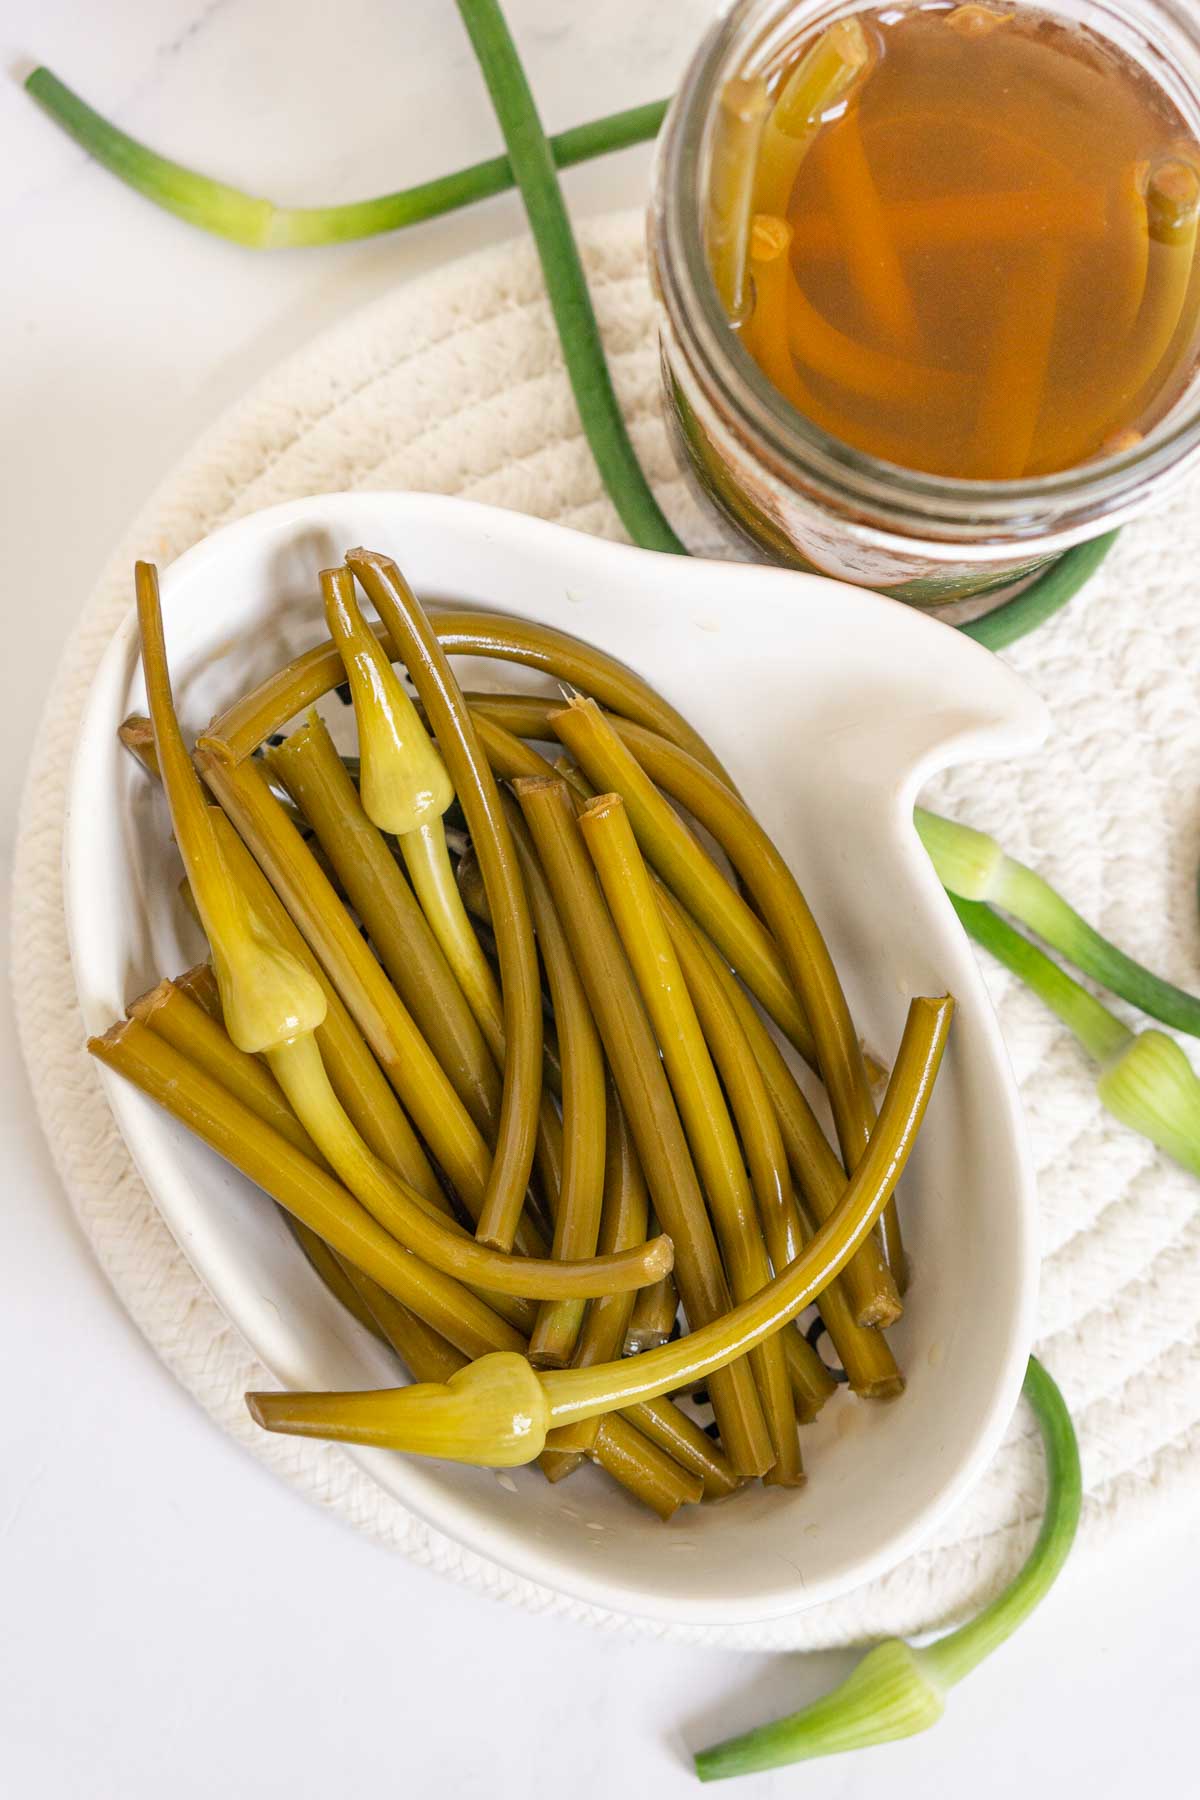
They're garlicky, briny, peppery, delicious, and make a great garnish for so many dishes. The best part is that this recipe does not require any canning tools, it's an easy fridge pickle recipe where the pickled garlic scapes are stored in the fridge to cure (meaning: to turn salty and pickled), and then stored in the fridge until you eat them all.
I always add a piece of pickled garlic scape to my plate when I'm having chicken and rice, a sandwich, or any dish that can use a hit of pickly vinegary flavor in between every bite.
So I hope you get to try pickling garlic scapes and let me know how you like it!
More easy pickle recipes: Pickled Shishito Peppers

Ingredients
This recipe below makes two 8-oz jars.
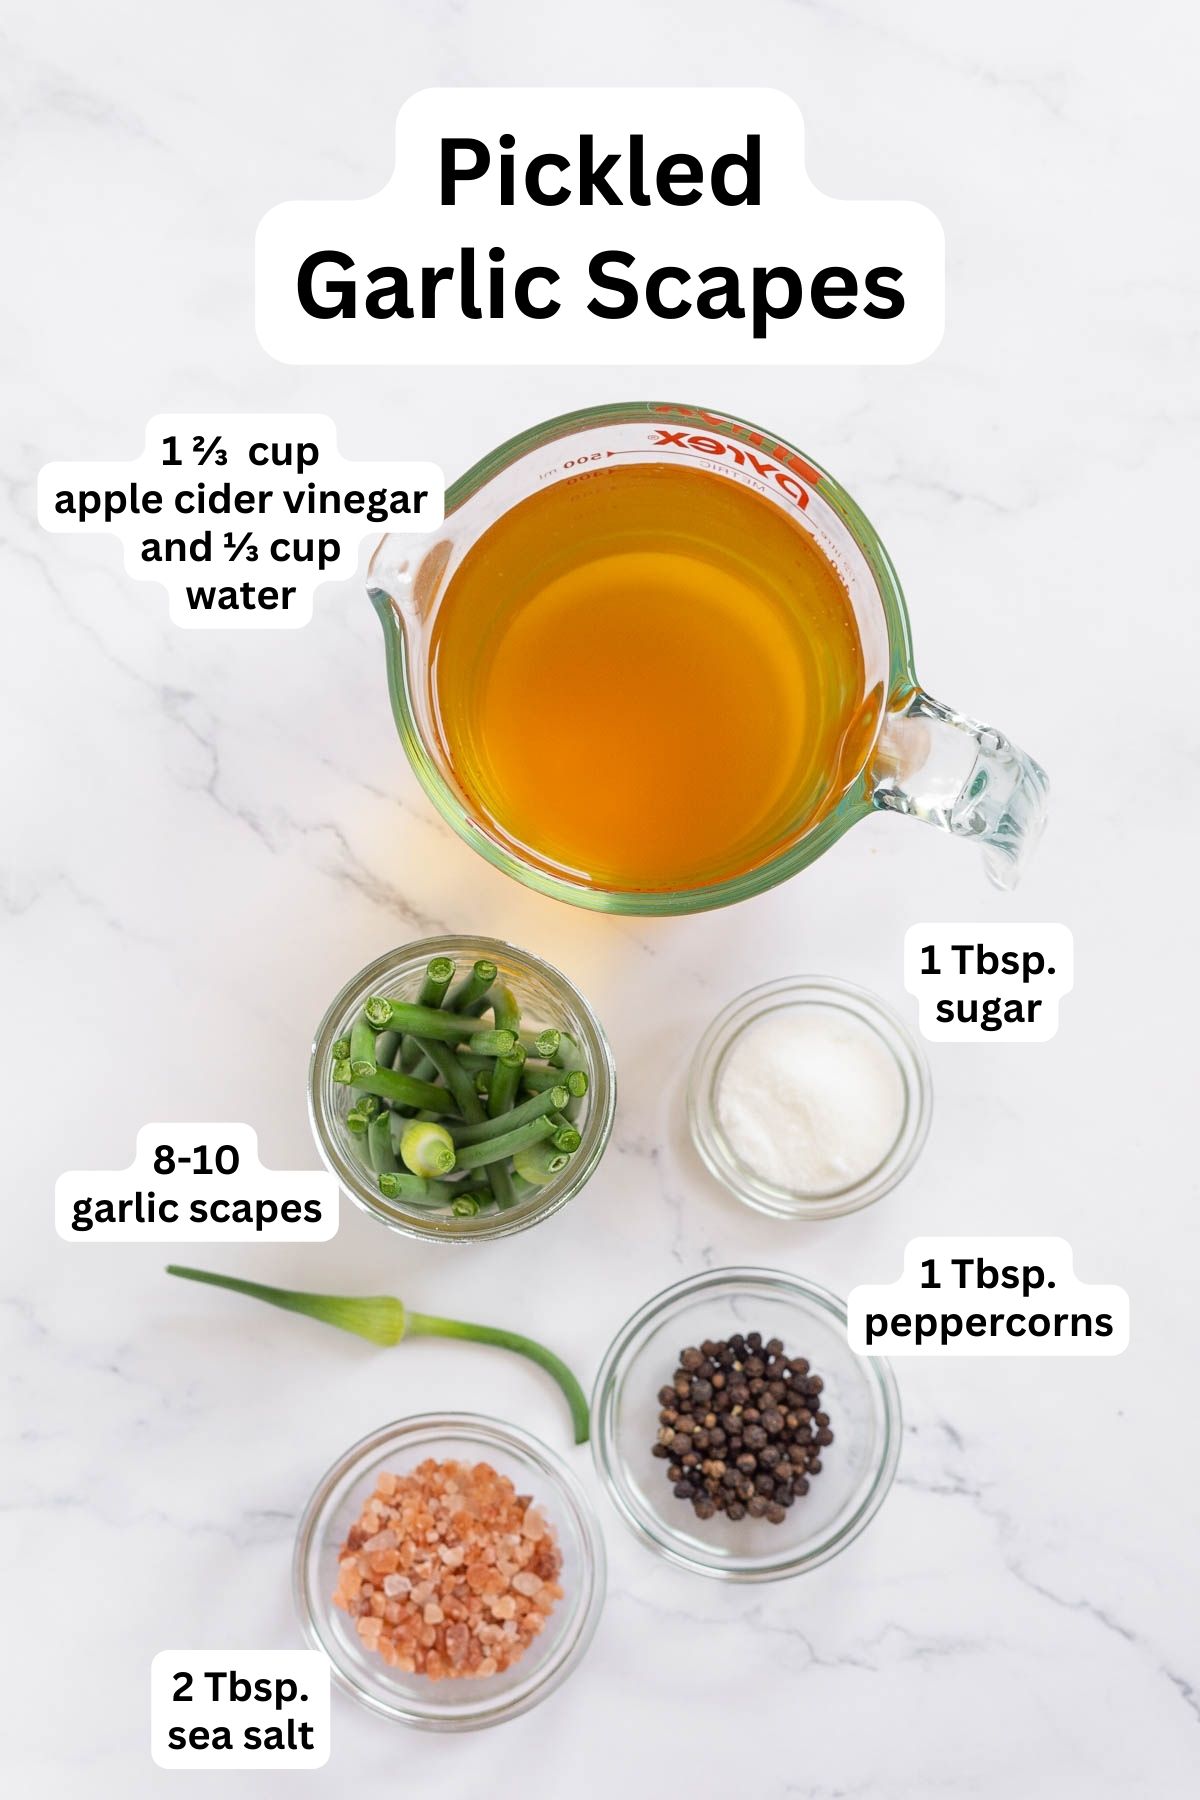
- 8-10 garlic scapes
- 1 ⅔ cups apple cider vinegar
- ⅓ cup water
- 2 tablespoons kosher salt or Himalayan sea salt
- 1 tablespoon sugar
- 1 tablespoon peppercorns
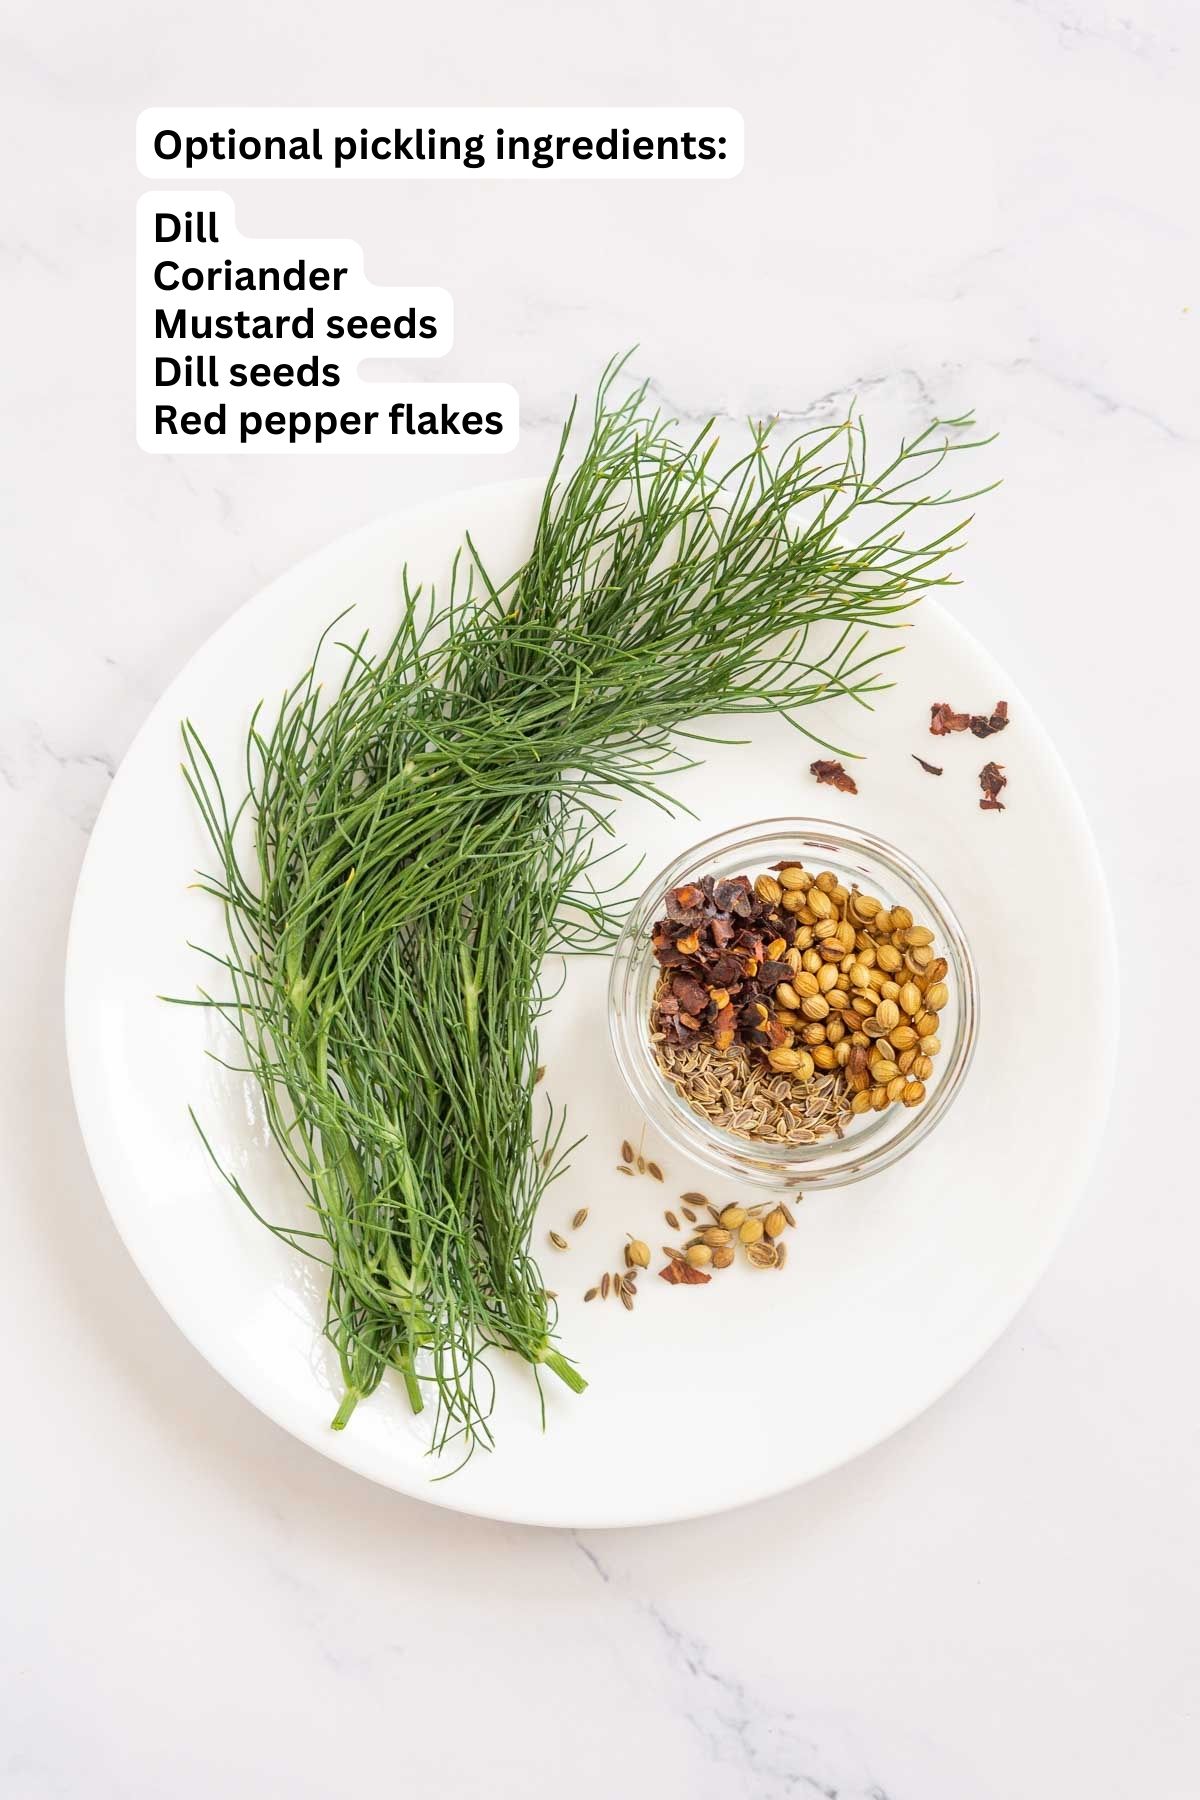
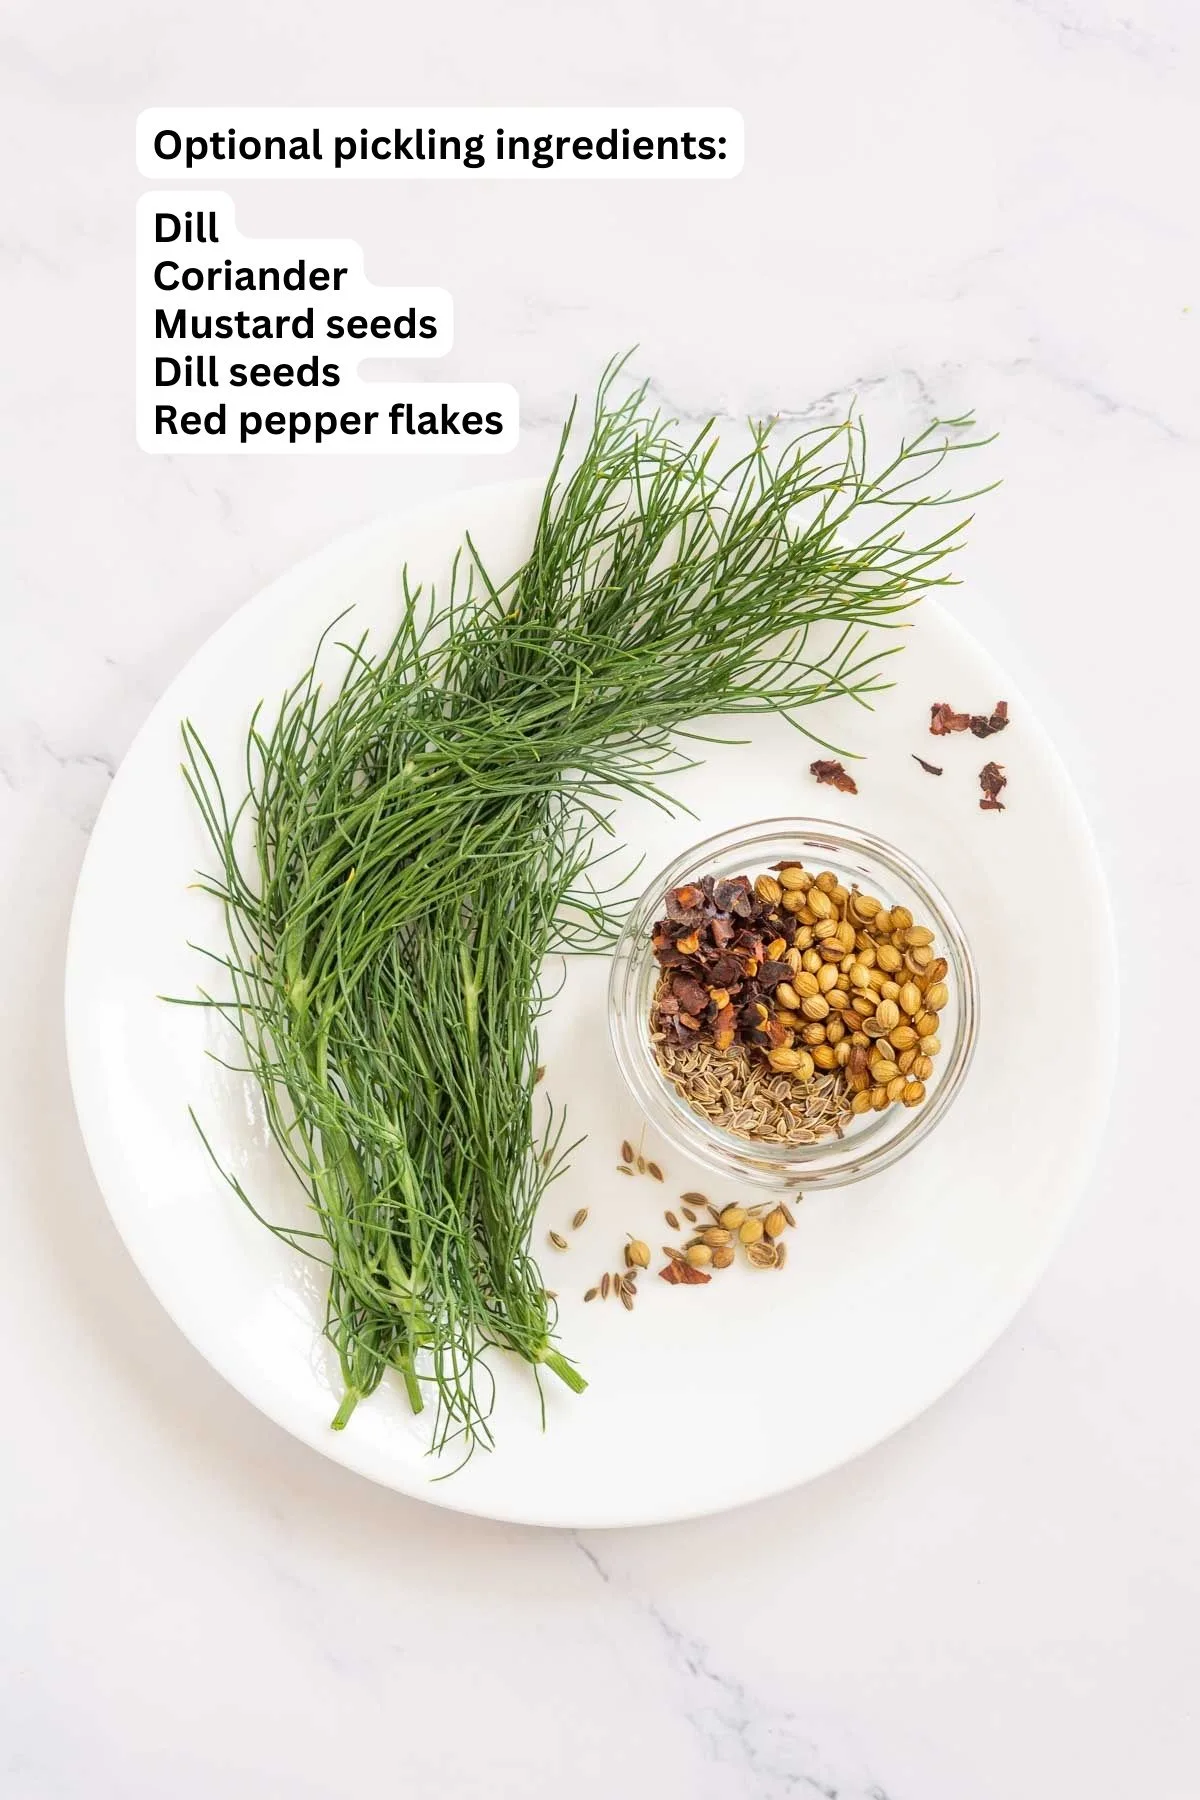
Optional ingredients: 1 teaspoon each dill seeds, whole mustard seeds, whole coriander seeds, and/or few pieces of fresh dill or a generous pinch of red pepper flakes. The red pepper flakes will make the garlic scape pickles spicy! So only use a pinch, or skip them.
Equipment
- Small saucepot
- Two 8-oz jars - if you want to can, you'll need jars with 2-piece canning lids
- Optional: canning equipment, only if you want to can the garlic scapes for long term storage
More easy pickling recipes: Pickled Fiddleheads
Instructions
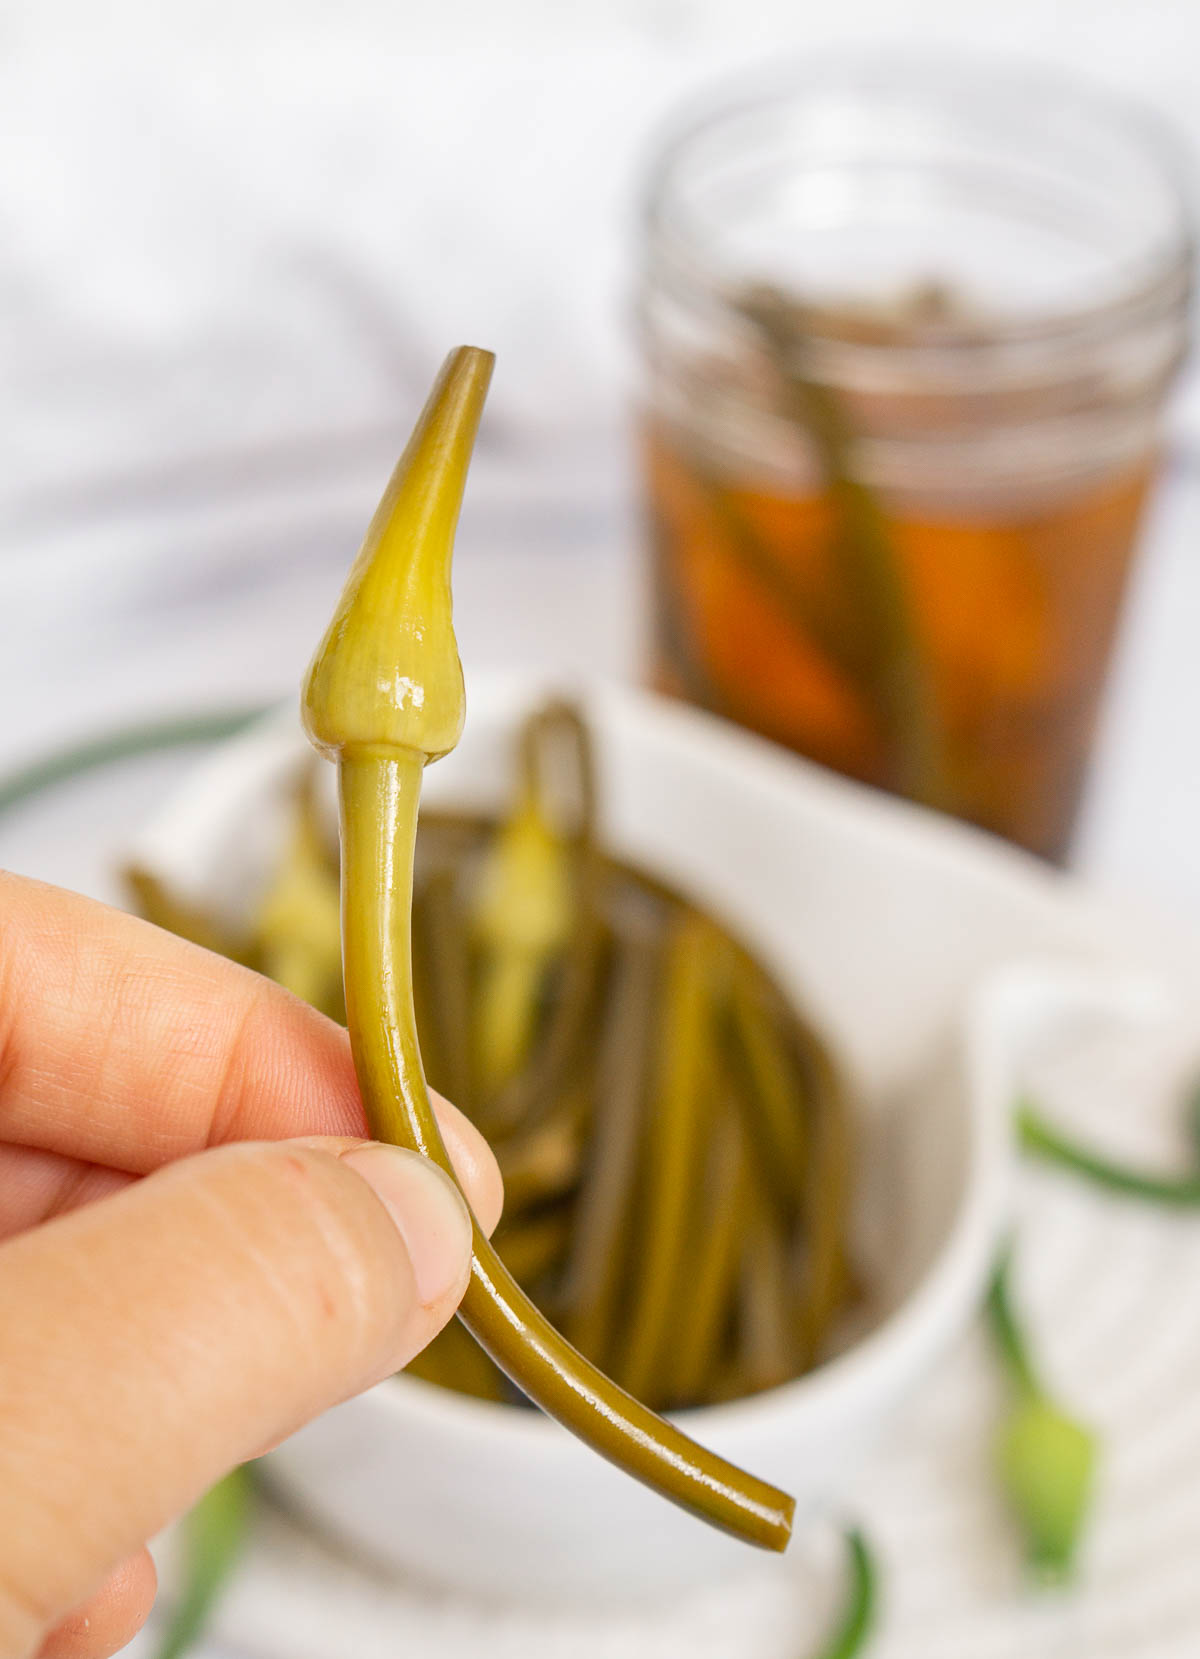
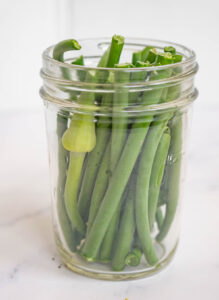
Wash and dry the garlic scapes. Cut them into pieces that will fit into your jar. No need to trim the flower heads off, unless you prefer to trim them off. The flower heads can be a little tough and woody, but I kind of like to chew on them anyway, so I leave them on.
Stuff the jar with garlic scapes so it's pretty full, making sure they all fit. If using dill, mustard, coriander, or red pepper flakes, add them to the jar. Place the filled jars onto a large plate or something that would catch the brine drip and not make a mess on your counter.


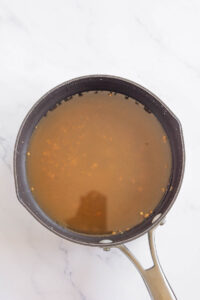
In a small saucepan, combine the vinegar, water, salt, sugar, peppercorns, and boil until the salt fully dissolves. This is your pickling brine.


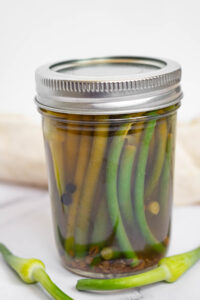
Carefully pour the boiling mixture into the jar to cover all the garlic scapes, leaving ¼ inch of space on top. If any scapes are 'scaping from the top (escaping—that was a little garlic scape pun for ya), use a spoon to gently push them into the brine. CAREFULLY cover the jars with the 2-piece lids. Don't touch the outside of the jars with bare hands, they're HOT.


Fridge pickle instructions: Let the jars cool down and transfer to the fridge to cure for at least 1 week.
Canning instructions: If you're experienced with hot water bath canning, go ahead and process the jars in a hot water bath for long-term storage.
Related recipe: Pickle Grilled Cheese
How to store pickled garlic scapes
If you're following the hot water canning method, then the unopened jar or pickled garlic scapes will keep well in a cool dark place for up to 1 year. Once opened, refrigerate and enjoy the garlic scapes within a month.
If you're letting the garlic scapes cure in the fridge, then eat the garlic scapes within approximately 6-8 weeks. I find that the flavor is best after at least 2 weeks of curing in the fridge, to really give the garlic scapes time to absorb that brine and turn all pickly.

Related recipe: Garlic Mustard Pesto
If you enjoyed this recipe, let me know with a comment and a star rating below. And don't forget to share it on Facebook and save it on Pinterest for later!

Pickled Garlic Scapes
Ingredients
- 8-10 garlic scapes
- 1⅔ cups apple cider vinegar
- ⅓ cup water
- 2 tablespoons sea salt
- 1 tablespoon sugar
- 1 tablespoon peppercorns
- 1 teaspoon dill seeds, whole mustard seeds, coriander seeds
- few pieces fresh dill
- 1 pinch red pepper flakes - (these make the pickles SPICY)
Special equipment
- Small saucepot
- 2 8-oz jars
- Optional: canning equipment only if you want to can the garlic scapes for long term storage
Instructions
- Wash and dry the garlic scapes. Cut them into pieces that will fit into your jar. No need to cut the flower heads off, unless you prefer to cut them off. They can be a little chewy, but I like them.
- Stuff the jar with garlic scapes so it's pretty full, making sure they all fit. If using dill, mustard, coriander, or red pepper flakes, add them to the jar. Place the filled jars onto a large plate or something that would catch the brine drip and not make a mess on your counter.

- In a small saucepan, combine the vinegar, water, salt, sugar, peppercorns, and boil until the salt fully dissolves. This is your pickling brine.

- Carefully pour the boiling brine into the jar to cover all the garlic scapes, leaving ¼ inch of space on top. If any scapes are popping up on top, use a spoon to gently push them into the brine. CAREFULLY cover the jars with lids. Don't touch the outside of the jars with bare hands, they're HOT.
- Fridge pickle instructions: Let the jars cool down and transfer to the fridge to cure for at least 1 week. Keep refrigerated and enjoy within 6-8 weeks.
- Canning instructions: If you're experienced with hot water bath canning, go ahead and process the jars in a hot water bath for long-term storage.
Notes
Nutrition
The nutritional information displayed is an estimate and not to be used as dietary or nutritional advice. Consult a nutritionist or dietician for nutritional info based on the exact ingredients you use.