The ultimate guide for new bloggers on how to set up Pinterest correctly and use Pinterest to drive traffic to your blog.

Did you know there is one blog for every seven people alive on this Earth? That's a LOT of blogs. We all hope to make our voice heard, to help people with our blogs, and if we're being honest, to make an income from our blogs.
And that is all totally possible. You just need to build traffic and get some eyeballs on your blog.
Pinterest and Google are the two biggest traffic drivers for bloggers. Focusing on SEO and ranking high on Google is super important, but not focusing on Pinterest would be a HUGE mistake, especially if you are a new blogger. Or a food blogger. Or a crafts bloggers. Or a parenting blogger. Or a personal finance blogger. Or a gardening blogger. You get the idea. Any topic that can have a picture or a graphic showing what an article is about is a great candidate for Pinterest.
Google will typically not send traffic to your blog for at least 6-8 months after you start the blog, and each new post can take months to rank anywhere meaningful on Google even if you optimize for SEO. It is hard to get on the first page of Google. Your Instant Pot Ribs recipe might be ridiculously good. But if there are 10 other ridiculously good recipes on the first page of Google that were posted years ago, you will never break through to the first page.
Pinterest, on the other hand, can send you traffic IMMEDIATELY. And it can send you as much traffic as more established bloggers get, because it's easier to get your gorgeous photo displayed right next to their gorgeous photos, giving it a fair fighting chance. You just have to set up Pinterest correctly and use my tips below to create the right types of pins and pin descriptions.
And this is why I am writing this guide. I see lots of new bloggers ask for help with Pinterest, but when I take a look at their Pinterest profile, I see a lot of very common "mistakes." They're not doing anything wrong per say, but they're not doing what needs to be done in order to grow Pinterest successfully.
This article will take you step by step through setting up Pinterest and show you how to use Pinterest to drive traffic to your blog. This gets detailed. Grab a coffee and get comfortable.
Table of Contents:
- Setting Up Pinterest for Bloggers
- Creating Pins for Pinterest
- Video Pins for Pinterest
- Pinterest Descriptions and Keywords
- Hashtags for Pinterest
- Scheduling Pins
- Tailwind (if you're just looking for a link for the free trial of Tailwind, click here)
- Group Boards
- Hidden Pins
- Other Pinterest Resources
- Other Blogging Resources
Setting up Pinterest for bloggers:
Use this list as a checklist to set up Pinterest correctly for your blog. You can also scroll down to the bottom or click here to get this as a printable instruction card.
- Create a business Pinterest account using the same name as your blog, or the same name as your other social media handles. Don't wait to convert to a business account. There is literally no downside, but you get access to super valuable analytics if you have a business account.
- Fill out your Pinterest profile with relevant information about your blog, add a picture.
- Claim your website on Pinterest.
- Turn on rich pins if you have a how-to or a recipe blog. Some people get less traffic with rich pins because people can see more info about your blog post or recipe and they might decide it is not for them and not click over. But Pinterest generally shows rich pins to a wider audience because they prefer the rich pin functionality, and when people do click over, you are getting a higher quality reader because they already know they want to see more about your recipe or instructional post. Some people get more traffic with rich pins. You can always turn off rich pins later and experiment with whether your Pinterest reach and traffic goes up or down. That's the recommendation for everyone from professionals.
- Create 10+ boards. Think of different categories and topics from your blog. For food bloggers, it can be: Breakfast, Lunch, Dinner, Snacks, Vegetarian, Desserts, Gluten free, Dairy free, Meal Plans etc. For parenting bloggers, it can be: Picky Eating, Toddler Food, Toddler Toys, Learning Games, Homeschooling, Crafts with Kids, Cooking with Kids, etc. For personal finance bloggers it can be: Saving, Investing, etc.
- Fill out each board description using keywords that tell Pinterest what the board is all about. Do this organically, don't just stuff the description with keywords. This gives Pinterest more information about the pins that are pinned to each board, which then helps Pinterest show it to relevant users who might be interested in that type of pin. Don't overthink it, you can always tweak them later. An example of a good board description is: "Quick and easy healthy vegan dinner recipes for busy people."
- Make some of these group boards. In the description, add instructions for being added to the group board. For example: "follow me on Pinterest and Instagram and send me a message to be added." Invite a few bloggers who you've already connected with, but don't worry if you have no one else contributing to the board yet. You can worry about that in a few weeks. One step at a time. More on group boards later!
- Optional step: make secret / hidden boards. You might want to do this to save personal pins (such as blogging how-to tips like this one!) if you don't want to have both a business and a personal account. This way your followers will only see your food pins and won't see your pins on Pinterest strategy, bathroom remodel goals, wart removal, or whatever else you want to save for your personal life.
- Add at least 10 pins to every board, so they don't look empty (more on how to do this later!). Add as many as you can from your blog, but if you are new and don't have a lot of content, add pins from other bloggers and websites. Do this before you do anything else, this will make your Pinterest profile look legit and active to anyone who clicks on your username.

Creating Pins for Pinterest
Make sure that the pins you create are vertical images - they take up more real estate on the screen (especially on mobile) and are more noticeable than square or horizontal images on Pinterest. Pinterest is currently recommending images that are 2x3, specifically 600x900 pixels or 735x1100 pixels. These are often called "pinnable images."
When I do food photography, I always make sure to take several photos that would work well for Pinterest: vertical images with some space on top to add a text overlay/caption. Or a square image so I can add text overlay on top.
Make sure the images you use (whether stock images or once you take yourself) are bright. The smaller a picture is, the darker it looks, especially on a small smartphone screen.
Make sure that your text overlay is written in a way to HELP people with a problem they are having. As a general rule, people don't care about your stories. They are on Pinterest searching for something they need, whether it is a quick recipe, a parenting tip, budgeting advice, garden inspiration, or home renovation tips. So instead of adding text saying "My Son's Favorite Vegetables" change it to "Toddler Approved Vegetables for Picky Eaters." Instead of "Our Bathroom Renovation" write "$200 Bathroom Renovation in 2 Days with No Power Tools."
Sometimes a pin doesn't need a text overlay if it is super obvious, or if it is a graphic that already describes the pin well. But if you have a picture of something like a burger, it NEEDS a description no matter how good it looks. Is it a beef burger? turkey burger? burger stuffed with cheese? on a gluten free bun?
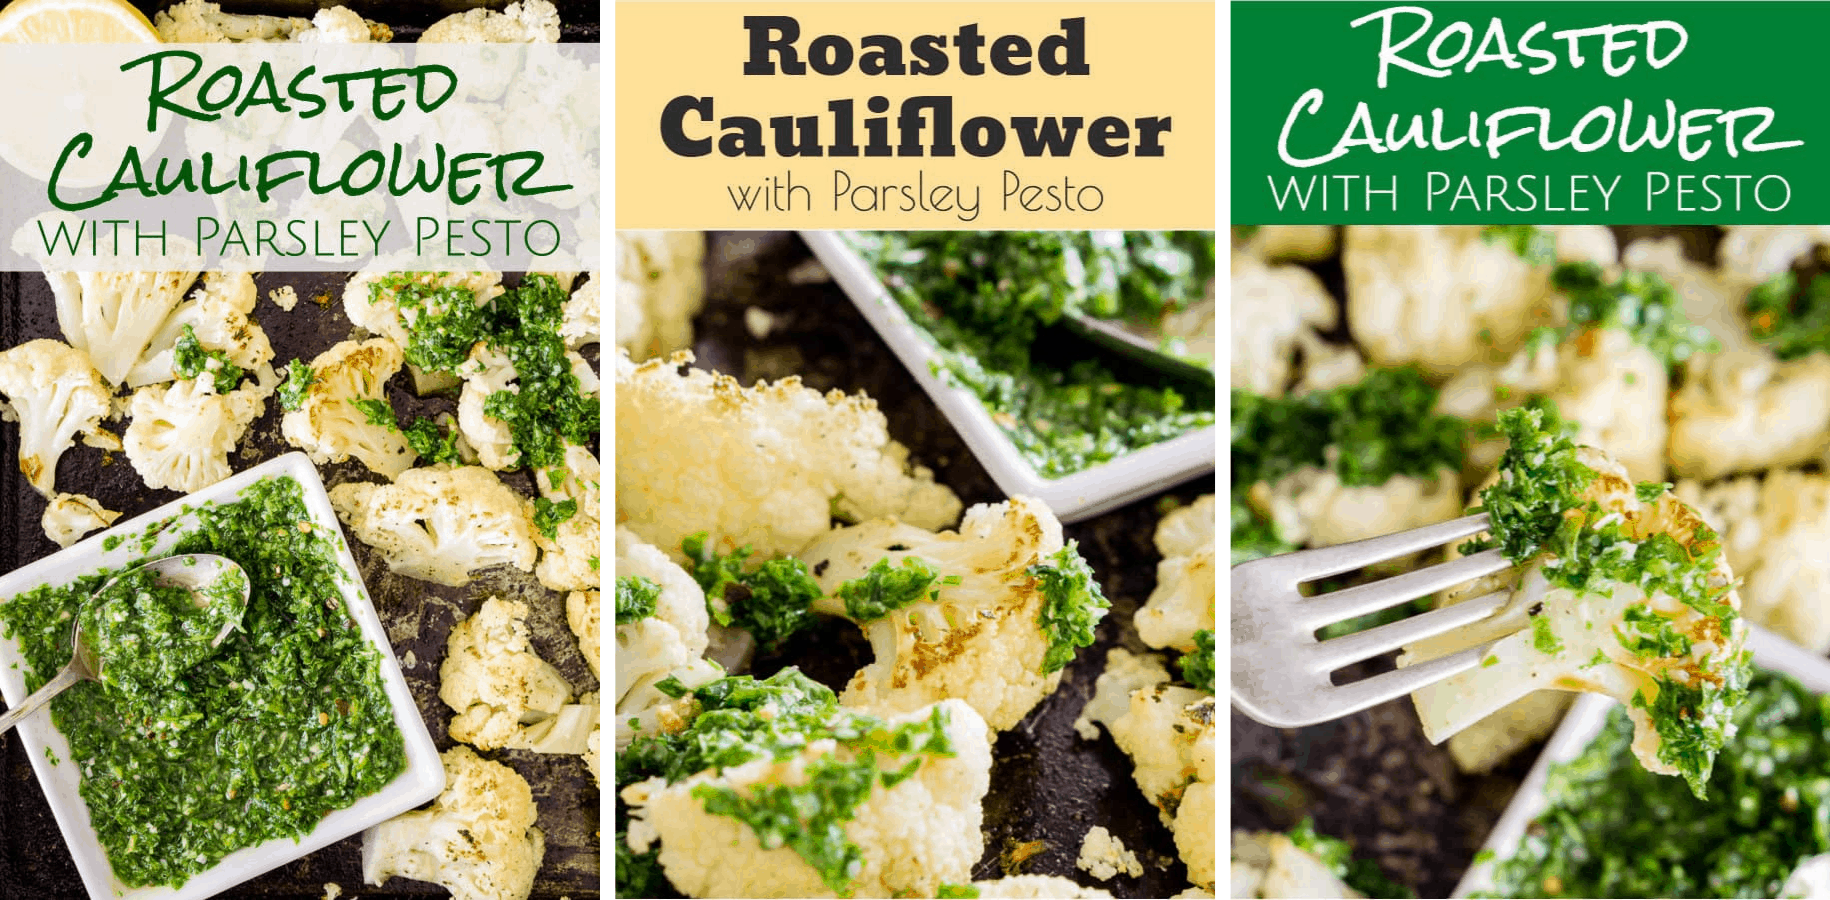
Create at least 3 different pins for each blog post. Each pin should have a different image, a different text overlay/caption if possible, or a different message that shows how it can help someone who is searching through Pinterest. Pinterest loves new content and having different pins is a way to add new content to Pinterest with minimal effort.
Here is an example of 3 different pinnable images for one post for my food blog (they will take you to the recipe post):

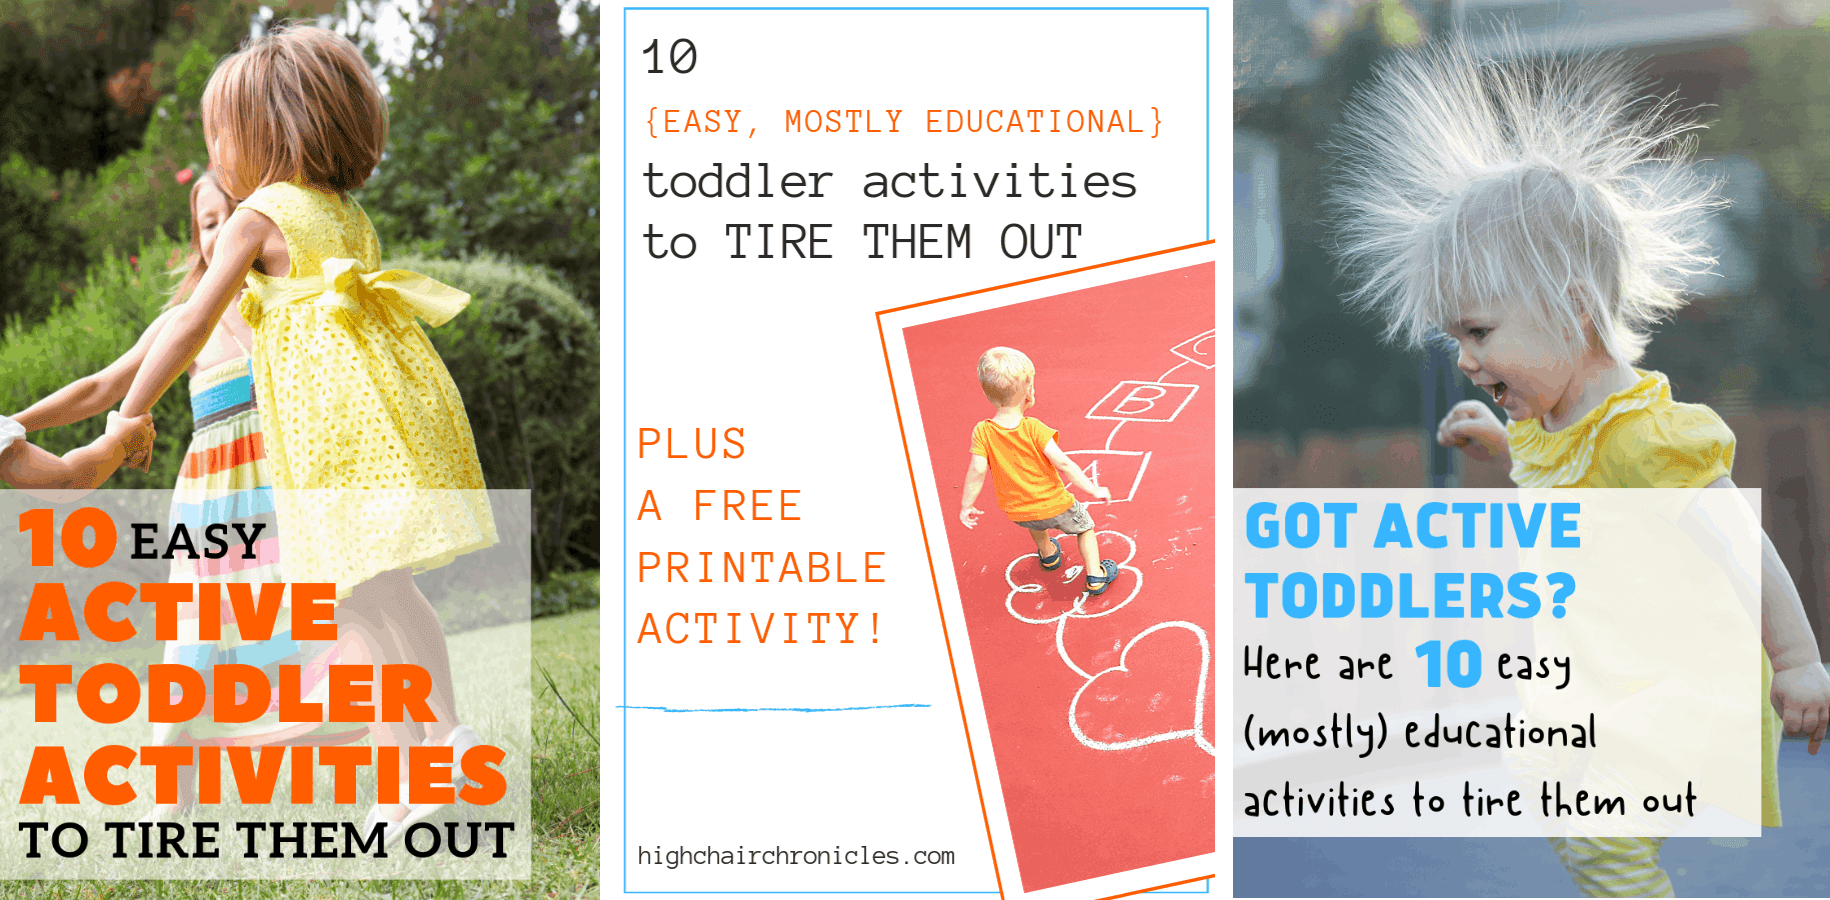
And here is an example of 3 different pins for one post for my picky eating blog (they will take you to the blog post):

Do this right off the bat when you finish writing your post, so you have these pins ready to use immediately. Don't pin them all at once (more on pinning and scheduling pins later!)
Use pin templates to save time and create consistent branding. You can do this in Canva, Stencil and PicMonkey. I used PicMonkey and Stencil for the longest time because they are so much more affordable, but I switched to Canva recently. Try out all three programs (they all have either a free trial or free versions you can use) and see which one you find easiest to use and most worthwhile. You can also create pins in Photoshop, but that is beyond my expertise.
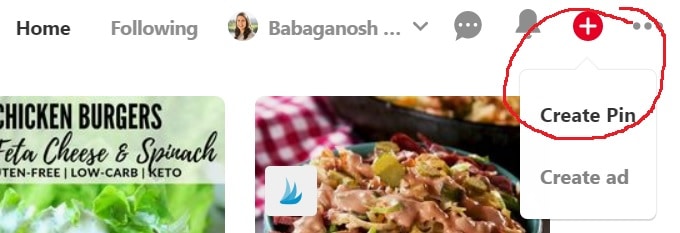
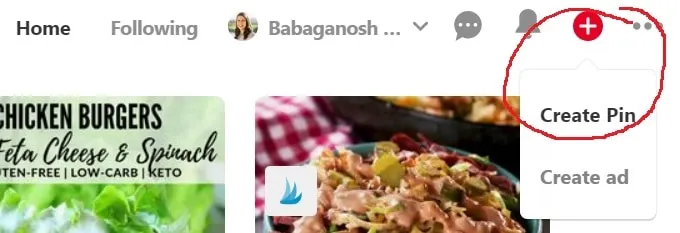
You can also create pins right in Pinterest using the little "plus" symbol on the top right (see screenshot below) however they definitely don't have all the pretty features that the other 3 programs have. The pins created in Pinterest don't seem to do any better than the pins created outside of Pinterest, so it doesn't matter which ones you use as far as driving traffic to your blog. So go for the nicely designed pins from Canva, Stencil, or PicMonkey.
Video Pins for Pinterest
Pinterest recently rolled out video pins. You see them a lot when scrolling through Pinterest on your phone, not so much on desktop. Some bloggers are seeing good success and good reach with video pins, some are not seeing any benefit to using them (that's me, I am in the latter category). Again, try video pins and see if it works for your Pinterest account and for your blog.
Tips for Pinterest Video Pins:
Again, you want to go vertical with video pins because they look better on mobile. To do this, you can either shoot video vertically (if you're doing this for IG stories anyway), or you can use an app to add a text overlay or an image on top of a square or horizontal video. Here is an example.
The bloggers who have had success with video pins all create short "teaser" videos (10-30 seconds). This makes sense, because most people are scrolling quickly and don't want to watch a whole detailed cooking video on Pinterest. They just want to see whether this recipe looks good to them, and if it does, they will click over and watch the whole video on your blog or your youtube channel (yes, you can link to your Youtube videos to help you grow your Youtube channel through Pinterest!)
My suggestion is if you're just getting started, don't worry about video pins for Pinterest. You have too many things to learn and keep track of now. Add it to your long term to-do list.
But then again, if you're already making videos for other platforms, then it doesn't hurt to spend 10 minutes and create a video pin to schedule to relevant boards.
Pinterest Descriptions and Keywords
Pinterest is a visual search engine. Think about it, people type in what they want to find and lots of pretty images come up. So make sure that your pin description has all the key words that might help people find your pin. Make sure the text overlay on the pin is descriptive too, so people know exactly what the pin is about (did you know Pinterest has technology to "read" your pins even if you don't add descriptions?). But add the descriptions anyway, make it easier for Pinterest to show your content to people.
Make the descriptions sound natural, but try to organically add as many keywords as possible. Add the most relevant info first, because users are only shown the first 50 characters on the main Pinterest screen (however the other words help Pinterest find your pins so don't stop at 50 characters!).
An example of a good description is this:
Brown Rice Taco Bowls - an easy, gluten free healthy dinner recipe with lots of flavor, fresh veggies, and delicious seasoned lean ground beef. A family friendly recipe with whole grains and vegetables.
I highlighted in bold each word that might be something that people are searching for on Pinterest. Notice how almost EVERY WORD serves a purpose. By the way, if this is starting to sound REALLY TASTY to you, I don't blame you. Here is the recipe: Taco Brown Rice Bowls. 😉
You will also want to make sure that the pin description (and hashtags, more on that below!) are included behind the scenes in your pinnable images and regular images on your blog post. All this means that if someone decides to save your blog post to a Pinterest board, the description you write with all the keywords will automatically be populated in their Pinterest description box. This way, Pinterest and other users will know what the pin is about and it will likely show up in other people's feeds and searches.
You can do this by adding this code to every image: data-pin-description="add your description and #hashtags here" or you can use a plugin such as Tasty Pins to do this. I talk about the plugin below, but basically it makes your life a LOT easier by adding the pin description, giving you the option to hide pins, or make some images not pinnable.
And you do know now to put your whole description into the alt tag, right?? Don't do that. Alt tags are for helping visually impaired people understand what's in the image, not for adding descriptions to pins.
Hashtags on Pinterest
We just can't get away from hashtags, can we?? The verdict is still out on whether hashtags on Pinterest are beneficial, but if Pinterest is recommending we use them, who are we to argue with Pinterest? The general recommendation is to use a small handful of hashtags after your description. Something like #brownrice #dinner #recipe #healthy #glutenfree should work for the recipe above.
Play around with using hashtags on Pinterest versus not using hashtags and see if you notice a pattern of some pins performing better than others! It is entirely possible that everyone will have different results when it comes to hashtags because of the different nature of their blogs and pins and users who search for their content.
Scheduling Pins for Pinterest
Tailwind, tailwind, tailwind! Seriously. Tailwind is the ONLY Pinterest-approved scheduler that is so user friendly with so many different features, and a very reasonable price. I know, if you are not making money from your blog yet you don't want to pay for anything, but you absolutely NEED tailwind to grow. You won't grow your Pinterest without it, that's the hard truth. I stubbornly waited 3 years before investing in Tailwind, and once I signed up, my traffic took off. You can read more about how I grew my blog traffic 5x in less than a year, and tailwind was a huge part of my overall strategy.
Tailwind is an investment you need to make. As a general recommendation, you need to pin ~20-40 pins per day all throughout the day to maximize the odds of your followers seeing them during different times of the day. Tailwind analyzes your Pinterest account and suggests the best time slots for pinning, and then your pins automatically get scheduled at those times. It literally takes me 10 minutes to schedule pins for months ahead, so my tailwind queue is always filled.
Imagine if you could spend 10 minutes a month scheduling pins and then walk away from your blog and STILL keep getting consistent traffic from Pinterest to your blog? That's what happens when you use Tailwind.
Try it free using my referral link here. Then send me a message and thank me. Or if you have a question about how use it, send me a message as well, I'll be glad to walk you through it.
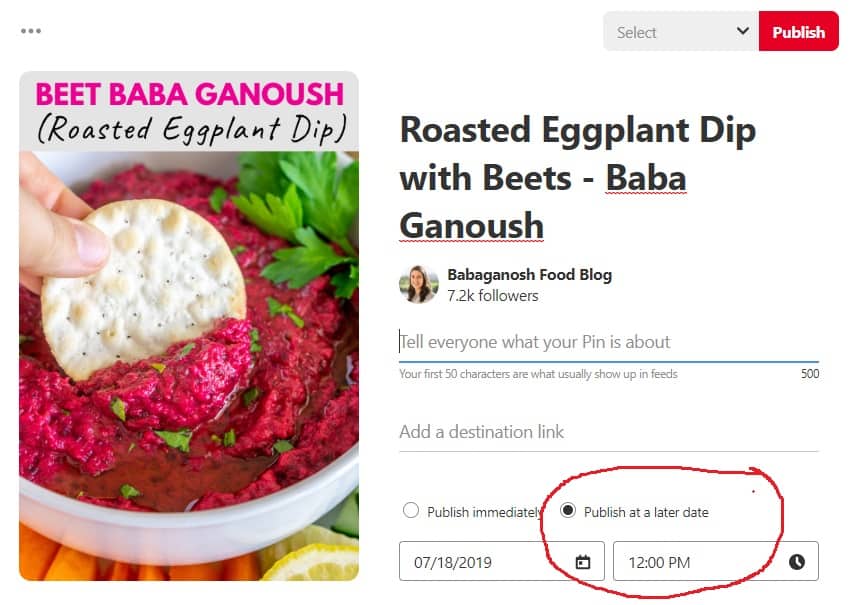
Pinterest also has a Pin Scheduler built in (see image below), and you can schedule one pin at a time. But I have over a THOUSAND pins queued up in tailwind right now. If I take a 3 month blogging vacation, I would still keep getting Pinterest traffic and keep making over a thousand dollars a month from ads, while Tailwind is only costing me $10 per month and saving me HOURS of work.

When to pin and schedule pins
The general rule is to share a pin from a new blog post immediately after publishing it. It doesn't matter much whether you pin using a social sharing button from your site (such as Social Pug), or if you upload a pin directly to Pinterest. Just pin your pinnable image to the MOST RELEVANT BOARD first. This helps inform Pinterest what kind of pin it is, so it knows who to show it to.
Then use tailwind to schedule that same pin to relevant boards and group boards, using at least at least a 24 hour interval so your account doesn't look spammy. If you are only scheduling a few pins at first, use a longer interval between pins so you don't have 2-3 of the same pin in a row on your account.
While you're at it, add the pin to any relevant tribes on tailwind.
And that's it, your pin will be shared on Pinterest over the next few days/weeks/months, depending on how many boards you have. You can now walk away and focus on sharing that blog on other social media, or focus on creating your next post.
You can even use tailwind to create lists of boards from the same category, which makes it super quick to share a pin. I made a few lists called "Vegan boards" "Gluten free boards" "Quick and Easy Recipes" and "General Recipes." With one click I can schedule pins to ALL my boards that are suitable for ALL recipes.
A few days, weeks, or months later (whatever feels right) add your second and third pinnable images to Pinterest and schedule them out. Most of the time, I like to give it a couple of weeks between adding a new pin from the same blog post, so that my account doesn't look spammy. If it's a seasonal pin, I might schedule all 3 immediately and only have 12-24 hours interval between each pin.
A couple of months down the road, look at your analytics. If you have a pin that is doing really well, re-pin it to the same boards and group boards to get it in front of the board followers again.
Group Boards
Group boards are boards where you can invite other to contribute to, and you can find other bloggers' group boards and ask to be invited to their group boards. Some people say group boards don't bring as much traffic as they used to years ago. I kind of disagree.
If you are a totally new blogger and only have 5 followers, you can join a group board with 10,000 followers and suddenly thousands more people will see your pin in their Pinterest feed.
In addition to this food blog, I have a new blog about raising a picky eater toddler, and even though I only had 40 followers at the time, one of my pins led to a THOUSAND page views in one week because I posted it to 20 group boards.
Yes, it does require some "luck" getting your pin posted and seen at just the right time in front of just the right people looking for that information. But I like to think of it differently. It's not just luck. It's your hard work being shared in a strategic way. If you didn't put in the work creating the post and sharing it correctly, you wouldn't get the traffic to your blog.
You can find group boards by looking at other bloggers on Pinterest and seeing if any of their group boards have instructions for joining or a "request to join" button. It's a little tedious but definitely worth it.
Hidden Pins
What the heck are hidden pins, you ask? It's yet another thing to add to our to-do list as bloggers. It's optional. I don't hide pins. But if you don't want to display your large pinnable image on your blog because you don't like how it looks for your readers, you can choose to hide it either with simple code or with a plugin.
You can also choose to hide extra pinnable images you upload to your blog post, so that the blog post is not showing too many humongous images that add no value to your reader. This way, the hidden images are not shown to your readers, but once they click on the sharing buttons on your blog post, they will see several options of your nicely designed pins with the descriptive overlay text and hidden description with keywords that they can pin. This way, their followers will know exactly what that pin is all about and are more likely to re-pin it. It's like a snowball effect for Pinterest growth.
Here is a good tutorial from Pinch of Yum of how to hide an image. They also have a plugin called Tasty Pins which has settings to hide pins, add Pinterest descriptions, or disable some images from being pinned (for example if you have an "uglier" process shot of raw meat, or a picture of yourself eating your delicious burger - those might not be the images you want people to save from your site because others are not likely to re-pin these). The plugin is super cheap - $29. Imagine how many hours you will save not having to add code to every pin on every blog post. $29 is totally worth it if you want to hide pins.
Learning more about Pinterest
Once you get into the flow of things with Pinterest, you might be interested in learning more about using Pinterest and how to grow your follower count. Here are a few resources I recommend:
- How to Grow Pinterest Followers - 500 followers in 78 days
- How to Grow Pinterest Followers - 1000 followers in 95 days
- Pinning Perfect - this is the most recommended course for bloggers, from beginners to advanced bloggers. It's pricey though! I would start with following this blog post and reading the two guides above.
- Sign up for Tailwind and get their newsletter. Not only does tailwind save you time and help your Pinterest account grow, but they also send helpful newsletters and host super useful webinars and Facebook live events so you can keep learning and stay on top of the changing Pinterest algorithms and industry trends.
Pinterest can start sending you immediate traffic to your blog, but just like the rest of blogging there is no magic formula to have overnight success, no matter what some courses try to sell you. If you follow this guide you will have a good foundation for your Pinterest account.
It takes time to grow your Pinterest followers and reach, and it takes several months to years of consistently putting in the work and being active on Pinterest to really see big growth. But it is so worth it! It is the best feeling in the world to check your analytics and see consistent growth as a reward for all your hard work!
So what do you think?? Was this helpful? If yes, please share it and save it on Pinterest for later. 😉 Feel free to reach out to me if you have ANY questions about ANY of this. I would be glad to clarify anything for you and answer any questions. Oh, and if you're curious to see my Pinterest account, here it is: babaganoshblog
And if you feel like this all sounds too much and you would rather focus on creating good content for your blog, then hire someone to set up Pinterest for you! I would be glad to set up your account for you. It's OK to get help, and most successful bloggers realize that they can't do it all on their own. Fill out this quick questionnaire about your blog and I will get back to you with a personalized quote.
You might also be interested in these other blogging resources:
- Instagram 101 Webinar from Tailwind - a free webinar to help you create an Instagram strategy, plan your content, and increase your following and influence
- How I Grew My Blogging Traffic 500% in less than a year.
- 100+ Tools and Tips for Food Bloggers - applicable for other bloggers too!
- 100+ Instagram Story Ideas for Food Bloggers and Other Content Creators - a great read if you want to get started with stories or need more inspiration for different types of Instagram stories.